Making Something From Trash : An Orange Crate Becomes an Indoor Flower Box
While walking along Queen Street a week ago Friday, I passed a table of potted flower bulbs out for sale in front of a small store. I was with Nick and after walking by for a long block I told him to continue on home and I turned around and went back. I needed to take a better look at what was in those pots.
The shop is one that sells mostly cigarettes and chocolate bars, and probably the emergency quart of milk now and again. I have no idea what its real name is, even though I’ve passed it hundreds of times on my way somewhere else. But we do know this store and appreciate having it in the neighbourhood because to us it is ‘The Berry Store’. Even though they carry very little in the way of fresh produce the rest of the time, for a month or so every year they always have the nicest fresh Strawberries, Raspberries, Blueberries and Blackberries. It is an odd thing for them to sell in comparison to their usual wares, and bringing in such perishable goods is clearly an effort on their part so we make a point to give all of our fresh berry buying business to The Berry Store.
It is not berry season here now however and the display table where they will be in a few months time has stood empty all winter long. And then suddenly there were these little plant pots set out, a tray containing no more than a dozen in all. They didn’t look like much and I had to read the little cards stuck into the dirt to know what they were, since all I could see were a few leaves and the odd bud poking up out of the soil. The sign said they were two for $5 so I wasn’t risking much if they didn’t bloom and I chose a couple, some daffodils (charmingly called ‘Mini Daffs’) and a Purple Hyacinth.
And on my way home, carrying one little promises of springtime colour in each hand, I thought about how I could display them. Thoughts of window boxes crammed with blooms came to mind and I knew I had just the thing to give me that look, although mine would sit on a table rather than hang from a window.
You know those nice wooden boxes that Clementine and Mandarin oranges come in, mostly around Christmas time? I’ve always found those hard to just throw away once the oranges were gone. And so we had one of them hanging around in the laundry room for the last three months, not doing much except taking up space. It would make a perfect faux flower box.
I had also saved a plastic tub from the mixed lettuce greens that we had bought in the dead of winter (Not a usual purchase for us but it was on sale and we were craving salad. This product was very good actually and we really enjoyed those baby leaves in salads and sandwiches for a whole week.) The tub fit inside the crate perfectly once I cut the rim off with regular scissors, and would keep everything tidy and the surface under the display dry.
The only other thing I needed was something to hide the pots and make them look ‘planted’ and I remembered seeing bags of Spanish Moss for sale at the dollar store. One bag was all I needed. If you live somewhere where Spanish Moss grows naturally you can use that, but from what I’ve read you really have to clean it well by washing and boiling, before bringing it inside your home. The kind you buy for crafting comes sterilized.
The pot with the daffodils had four bulbs in it, and my original plan was to split them up into another pot, each containing two bulbs. Then I’d put some Daffodils on either side of the Hyacinth for symmetry. But once I popped the bulbs out of the pot I saw that they were really intertwined and I didn’t want to risk aggressively pulling them apart so just put them back into their single pot.
Once you have the four things together – (1) an empty orange crate (2) a plastic tub that fits inside (3) some Spanish Moss to cover the surface and hide the pots (4) some potted flowering plants – this display will come together in about two minutes. Note that whatever plants you put in stay in their original pots, so there is no soil or transplanting involved in this project. And don’t forget to water the plants regularly.
My bulbs began blossoming about 3 days after I brought them home and have grown and opened fully throughout the week. The photo at the top of this post was taken yesterday, so 9 days after I bought them, and I expect them to last a few days more. The daffodils opened more quickly than the Hyacinth and it looks like they Hyacinth will last longer so I’ll take the daffodils out and move it to the centre.
All in all, we had a long lasting and very pretty and nice smelling floral display for less than the cost of a bunch of tulips. (the total cost was about $6.50 including the purchase of the Spanish Moss).
Here are some pictures taken as the flowers grew:
↑ 3 Days after buying (and before I put them into the flower box) ↑
↑ 4 days after buying ↑
↑ 5 days after buying ↑
↑ 9 days after buying ↑
Then when these blooms are done, I plan to keep my flower box going with different flowers all spring, summer and fall. I’ll be sure to show you pictures.
Also, the label on the bulbs says that I should be able to plant the used bulbs in the garden when the weather warms up. So maybe I’ll even have a Hyacinth and some Mini Daffs in the garden next year from this.
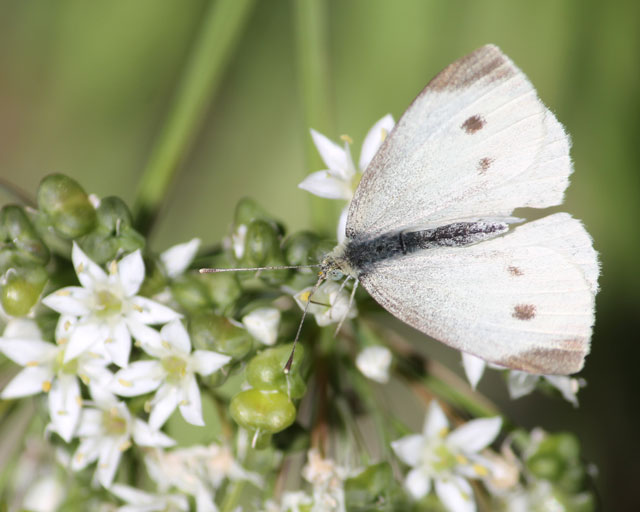
And since we do our best to bring you high quality postings, here is a little proof that the inspection process is very stringent …
Thanks very much for dropping over. I hope your week is off to a great start.
xo loulou


