Creative ReUse : Handmade Springtime Easter Baskets

Something changed in Toronto last spring, in that berries began being sold in plastic baskets rather than the recyclable cardboard ones that we were used to. We ended up with two of them and were confused about whether or not they could be put in the recycling bin, so they ended up sitting in the corner of the counter until I scooped them up and put them with my crafting supplies. (Today, I remain confused about whether these are garbage or recyclabe, as the city’s website still doesn’t mention them at all, so don’t quote me, but I think they likely go in the garbage.)
Here’s what I made with them — By weaving some cotton yarn through them, they were transformed into Springtime/Easter baskets! They weren’t particularly quick to make but they were quite fun and didn’t require much concentration, so I could work on them in the evenings while we watched Netflix (Season 2 of The OA, to be precise).
Perhaps you have some of these baskets hanging around, or will be bringing some home once berry season kicks in, and would like to try this craft yourself.

Supplies :
- Clean berry basket(s)
- Yarn of your choice, these don’t take up much. (I chose 100% cotton Bernat that I found at Michaels because I like the pastel colours and matte texture. I have plenty left-over for another project.)
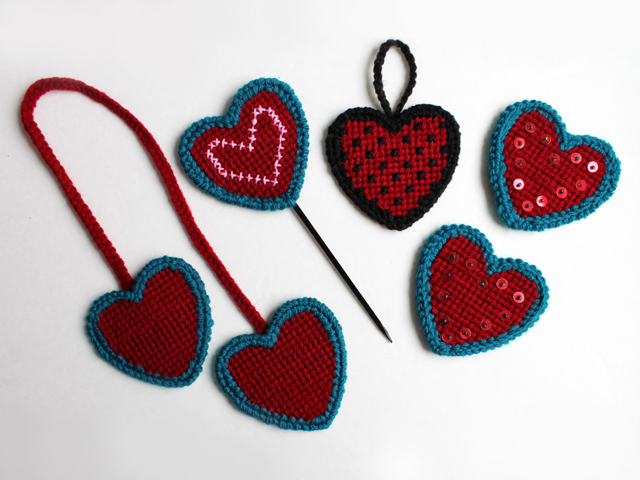
- Optional : Some Plastic Canvas mesh and/or a heart shaped Plastic Canvas shape (as described in this post)
- Optional : 4-hole buttons, if you want to make a handle.
- A darning needle

↑ Please ignore the ribbon and the needle and thread. They didn’t end up getting used in this project. ↑
How to do it : Measure a piece of yarn by wrapping it around the basket — each of the bands of colours on mine are eight times around, plus one extra wrap for knotting and ease.
Thread onto your darning needle — you’ll be weaving with one thickness of yarn (not double) so don’t tie the ends together.
(Note: these instructions, specifically, the parts about “hiding the tails of yarn” so you can’t see them can be ignored if you don’t mind what the inside of the basket looks like, since nobody but you will really be looking at it. If you don’t mind the knots and yarn-ends showing inside the basket, don’t worry about hiding them within your weaving. Just clip the ends once you’re done.)
Tie one end to a corner “rib” of the basket, leaving a tail that’s a couple of inches long. Then begin weaving in and out, through the ribs, around the basket, hiding the tail within the weaving, as you go around.

↑ It looks like I’m weaving a double thickness of yarn, but that’s just the part that’s threaded through the needle. The weaving is one thickness of yarn, going around eight times per colour (except the bottom green band and the middle purple one, which I’ve just noticed now, were woven 9 times, oops. It doesn’t really matter – vary your colours however you want.) ↑
Note that these baskets have an equal number of ribs around, so, in order to weave properly (Row one: under/over/under/over etc. Row two: over/under/over/under etc) you’ll have to skip a “rib” at the end of each row. For one basket (the one with the handle) I skipped that rib at the same corner every time, and for the other basket, I varied the corners where I skipped the rib. If you know that you’ll be looking at the basket from one side only, go with the “same corner for every row” and then display with that corner to the back, but if you plan to rotate the basket you might prefer to vary where you skip the rib. In hindsight, since I ended up covering an area of one of my baskets with the heart, I should have “skipped the rib” under where the heart was going to be.
As mentioned, each band of colour on mine is eight times around. When you get to the “corner rib” for the final time, tie the end to the rib and clip the yarn, leaving a tail that’s about 3 inches long. Then, measure and attach your next colour. When you weave around, hide the tails within the weaving.
These types of baskets have a middle row of plastic, securing the ribs together. For one (the one with the handle), I hid that plastic row by wrapping some yarn around it. I found that four times around covered the plastic enough. You’ll see that I used two different colours of yarn to do that, going around twice with one colour and then another two times with the second colour, but sticking with one colour would be fine (and easier!)

The berry basket I used for the one with the heart was made of more flexible and thinner plastic, so I was able to cut out that middle plastic piece, by clipping close to each side of each rib with a pair of scissors. Note: This caused the basket to lose some of its rigidness, so the sides swayed in a bit as I wove around.
Once the basket is woven to the top, you can hide your last tail-end of yarn by passing it back down behind the corner stitches.
Then, finish the top by going around as many times as will hide the plastic. I found that four times did the trick, with some extra wraps and back-stitches at the corners.
On one of the berry baskets used, there was a wide band of plastic visible around the bottom, so I hid that with stitches, as well (it’s the one with the handle). On the other one, this band was very narrow, so I just left it.
Finish the bottom of the basket if you want (there’s a good chance no one will ever see that part). I did finish the one with the handle by weaving through the holes, but that wasn’t really necessary. I was just into it!
For the second one, I just left the bottom as is, considering that there would be some paper grass or a plant pot in it. Or, for an easy treatment, some felt, cut to size, could be stitched onto one or both sides of the bottom.


The handle is optional. To make one, cut some plastic canvas (I had some on-hand, but sheets of this can be found at Michaels. I used the version with a smaller/closer grid.)
If you want the handle to have a hinge, and therefore be able to move up and down, make sure the width is an even number of holes across (mine is 6). Also, make sure the handle will be long enough to drop down to the side of the basket. Then clip out a hole by removing the cross of plastic between four holes, at either end of the canvas. This was easy to do with an X-acto knife. Or, if you just want to stitch the handle onto the basket in a permanent upright position, don’t worry about making the holes.

Then, needle-point stitch to cover the plastic canvas, avoiding the holes. Hide tail ends of yarn under the stitches on one side of your piece only (that will be the underside of the handle). Finish the edges by whip-stitching around, using a contrasting colour, if desired.


To attach the handle — if you went for the hinge-free option, just go ahead and stitch it to the basket, using buttons as decorations only, if desired.
If you’re making a hinge: cut two pieces of yarn about 12-inches each. Thread them through a button, as shown. You’ll have four pieces or yarn coming down. Braid a short length (just a three strand braid, two-strands, one-strand, one-strand). Pass the four pieces of yarn through one hole of the handle, so the braided bit goes through the hole in the handle. Then, pass the four pieces of yarn through the side of the basket, on the outside of the two centre “ribs”. If you don’t mind what the inside will look like, tie the ends of the yarn into a knot on the inside. Or, to hide the knot, pass the yarn through another button and then tie the knot behind that button.


To Make the Heart Decoration: This plastic canvas heart shape was one left-over from this Valentine project. Instructions for completing it are found in that post. Stitch your completed heart onto the side of the basket.


↑ Making your own paper grass is easy — just fold a piece of new or used tissue paper several times and cut. Unfold and fluff.

↑ Heart-shape optional. ↑

↑ See how the hinge allows the handle to be moved and put down. ↑


↑ My little 12 year old African Violet plant was graciously in flower for the holiday! ↑
Thank you for checking out my post. Wishing you a happy Easter weekend, if you’re celebrating! xo loulou
These stories were linked to.
Related Subjects
holidays-eastermaking-things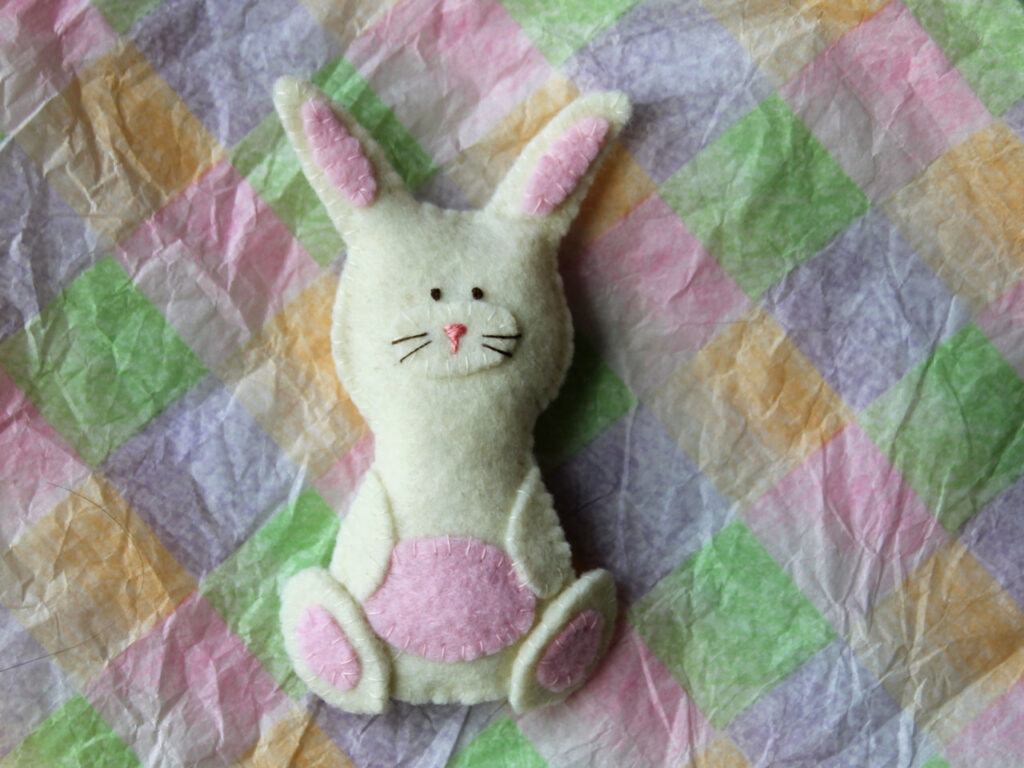 A Handmade Little Felt Rabbit
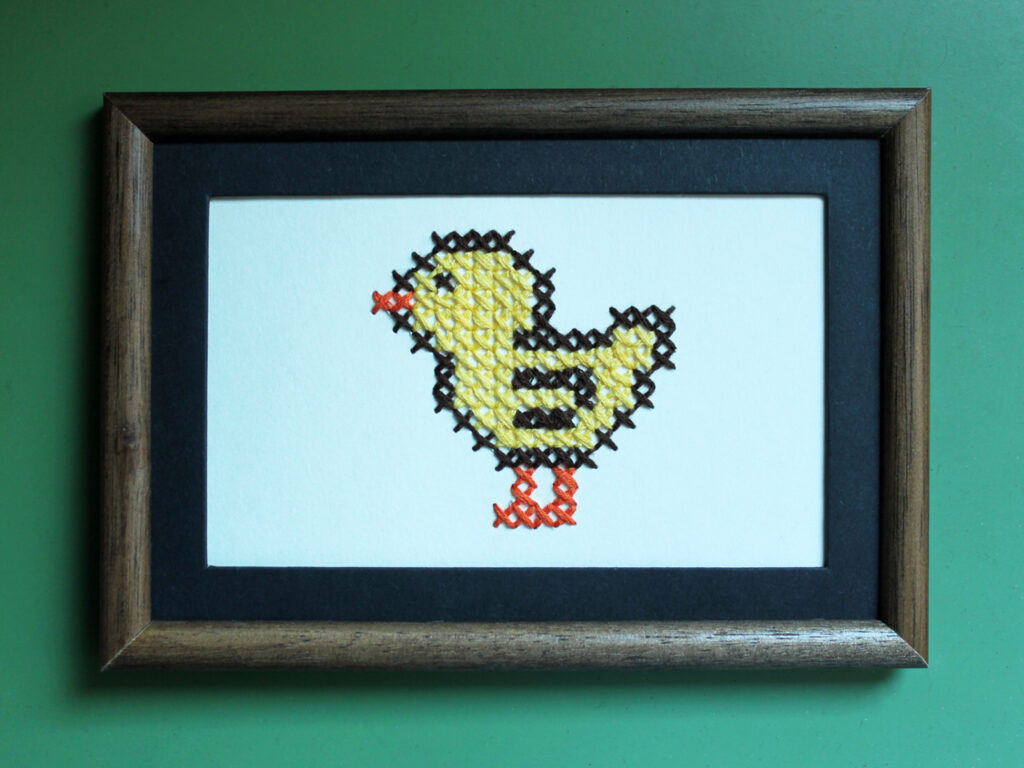 Week 15 Creative Challenge : A Cross-Stitch on Paper piece and Spring ...
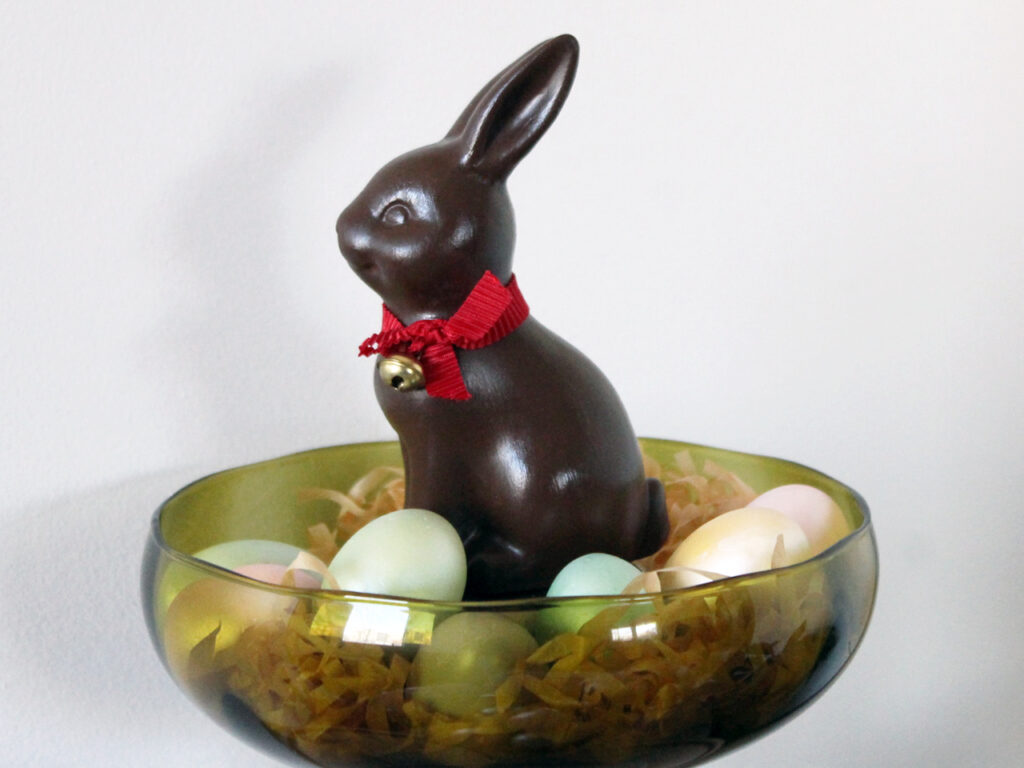 Week 14 Creative Challenge : Painting a Ceramic Bunny Figurine to Look...
 Week 13 Creative Challenge : Crocheted Easter Eggs
 Week 12 Creative Challenge : Fabric Carrots with Crocheted Greens