How to Make a Gift Bow Using a Hair Comb – V2

Greetings! It being the Thursday before Christmas, I imagine there are some people out there who will be wrapping gifts this weekend. Here’s a way you can add a handmade element to your presentation.
This is actually an add-on to a previous post How to Make a Fancy Bow Using a Comb, in which I demonstrated how to make a ribbon gift bow using a hair comb as a tool. Of course, we’re talking about a comb that has been dedicated to the use of bow making, right from the get go. In that other post I showed you one way to use a comb to make a bow and today I’ll be showing you a second way. With it’s tiers of ribbon, today’s bow is a bit more fancy than the previous version, but it’s also a tiny bit more challenging to make. It’s not too difficult, though, and anyone who enjoys making things should be able to whip up a few of these in short order.
I’ve learned from experience, that people will reuse handmade bows, so, while they take time to create, they are never a waste.

Supplies :

– Ribbon of your choice, in regards to colour, width and texture. The length depends on how many loops you want to include, ranging from around 10″ to 25″. You can wait to cut the ribbon until after you’ve threaded it on the comb, so no pre-measuring required.
– A large unused hair comb. (In the previous version, we took a few of the tines out of the centre of the comb, but in this version that is not required, unless you decide to tie the ribbon on, as I did with the white one.)
– Some sort of clamp. I stuck with the hair tools and used a hair-dressing clamp, but anything that will temporarily hold your ribbon in place will do.
– A needle and thread in a colour that matches the ribbon. (unless you’re going to tie it with a second piece of ribbon, as I did with the white one.)
How to Make One :

↑ – Make a loop at the end of the ribbon, that’s about 3/4 inch across, making sure there’s a good overlap in the middle. ↑

↑ – Put the loop onto the centre of the comb. ↑


↑ – Create your tiers by going back and forth along the back, hooking the ribbon onto evenly spaced tines, moving further from the centre with every layer. Note that with a comb like mine, where one side has thicker tines that the other, you might go more on look, rather than counting tines. I didn’t worry too much about the bow being perfectly symmetrical, so for some I adjusted for the unevenness and some I didn’t bother to. ↑

↑ – Once you’re happy with the size / number of tiers, remove the bow from the comb, holding onto the centre so it doesn’t all fall apart. ↑

↑ – Attach your temporary clamp, while you thread your needle, and knot the thread. If there’s extra, cut the ribbon, making sure that it’s long enough underneath, so the last tier will be included when you stitch the layers together. ↑

↑ – Stitch through all layers (except top of beginning loop), until the bow is completely secure. Knot and clip thread. ↑


↑ – The finished bow. ↑

↑ – Use a second piece of ribbon, or twine as I did with the brown one) to attach the bow to the gift, by sliding it through the loop. ↑

↑ – Making a smaller one. ↑
Alternate way to finish the bow, by tying with a second piece of narrow ribbon. This works ok for narrower ribbons but doesn’t do well with wider ones. This technique does require you to remove a few tines from the comb. All steps are the same, except that once you have the ribbon all wrapped, with the number of tiers you want, pass the extra ribbon through the loop and tie tightly in a square knot.


Here are some that I made, in action …


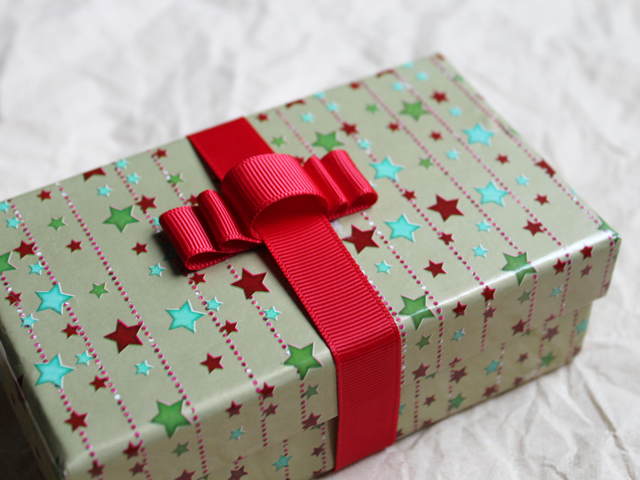


↑ Won’t Nick be surprised (and a bit disappointed) when he finds the pair of socks I wrapped so nicely in this brown package? lol ↑
I hope you’ll try it!
Thanks very much for reading.
xo loulou
These stories were linked to.
Related Subjects
gift-wrapping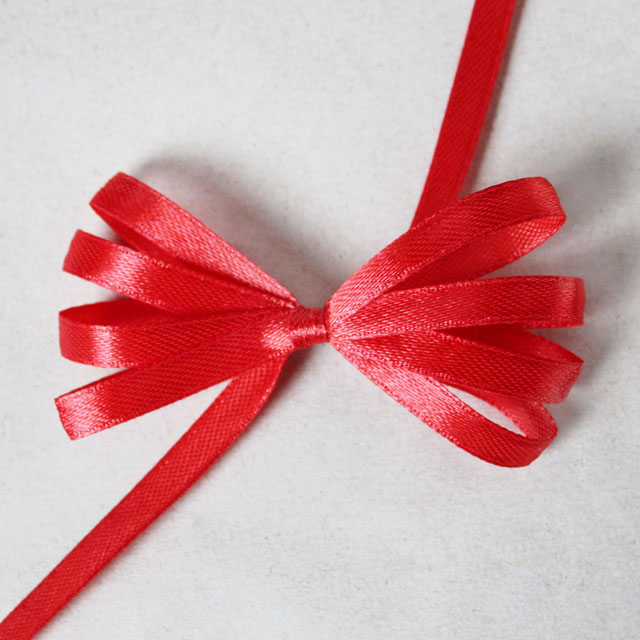 Gift Wrapping : How to Make a Fancy Bow using a Comb
 Making Gift Decorations with Coffee Filters
 Gift Tags Made With Sequins and Beads
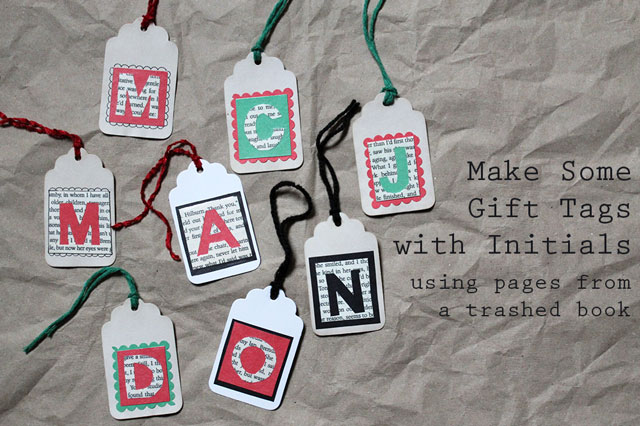 Making Initialed Gift Tags with Pages from a Trashed Book
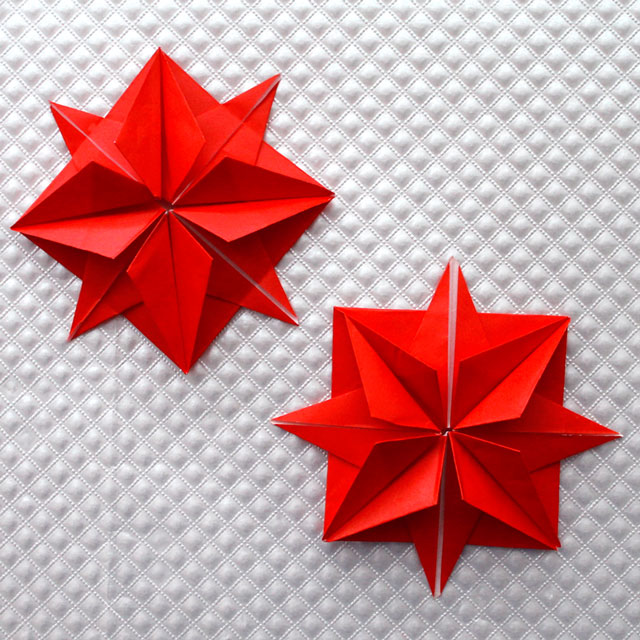 Making Origami Stars
 Handmade Gift Tags using Paper Aged with Tea
 DIY : Coloured Feather Gift Decorations
 Christmas Gift Wrapping : How to Make a Tiny Wreath Gift Topper
 How to Make a Ribbon and Buttons Gift Topper
 Gift Wrapping : How to Make a Felt Flower Topper