How to Make A Little Bunting Thank You Card

You might be needing a Thank You card right about now, after all the gift giving that went on last month.
In case you were wondering, according to the Emily Post Etiquette People, “The rule of thumb is that you should send a written note any time you receive a gift and the giver wasn’t there to be thanked in person.” They go on to say, “But notes are not always necessary. If, for example, the gift is from a close friend or relative (and it’s not a wedding gift) you can email or call instead if you prefer.”
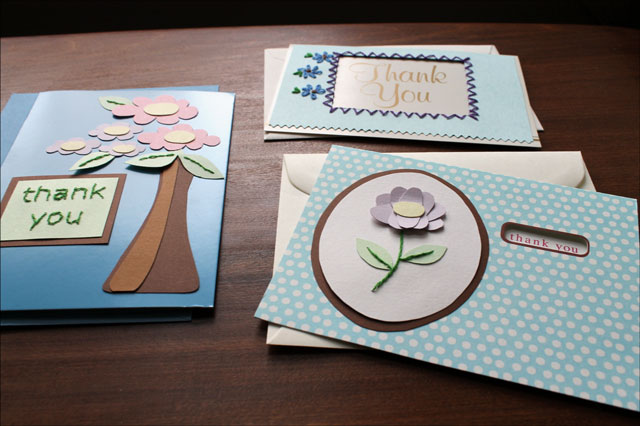
If you do decide to send something by mail, here’s a Thank You card idea that should do the trick. It looks a little fancy with the hanging letters, but it’s pretty easy to do and doesn’t take long.

Supplies:

– A pre-made card base and an envelope. (You can find pre-made card bases at shops that sell crafting supplies). Or you can make your own with thick paper.
– A piece of thick paper with no pattern on it, that is about 3/4 inch smaller than the front of our card. (That will be the background for the bunting.)
– A piece of coloured regular-weight paper, such as construction paper.
– A length of yarn, string or embroidery floss, threaded onto a needle.
Some two-sided tape.
– A couple of small stickers (these are to secure and hide your knots on the inside of the card. I used red ones but in hind-sight should have chosen white ones to match.)
– A ruler, pencil, eraser, fine marking pen, and scissors.
What to do:

– Score gently with the tip of your scissors and fold your construction paper to reflect how tall you want the pieces with the letters on them to be.
– With the pencil and ruler, divide the folded piece into enough spots for the letters (8 letters in Thank You).

– Using the marking pen, write the letters “thank you” into the spots.

– Cut along the edge of the folded piece and along each pencil line, to divide you letter “flaps”. Erase any visible pencil lines.

– Using the two-sided tape, attach the plain piece of card-stock to the front of the card.
– Knot the string and pass it from the inside of the card to the front (poking a hole with the needle, or you can use an awl to poke the hole), right along the edge of the left-hand side of the card-stock and about 1/2 inch from the top of it.
– Pass the string from the front to the back, right along the right-hand edge of the card-stock and about 1/2 inch from the top of it.
– Pass the string back through the card-front, about 1/2 inch below the top hole.
– Pass the string back from the front to the inside of the card, about 1/2 inch below the top hole.

– Using two-sided tape inside your letter “flaps”, attach the t-h-a-n-k to the top string and the y-o-u to the bottom string.
– Adjust the letters, so they hang properly.
– Tie and knot in the string and trim any excess.

– Secure and hide the knots and the “stitch” on the inside of the card with the stickers.


Thanks for dropping over. I hope you have a great weekend.
xo loulou