Small Crochet Christmas Stockings

↑ Left – slightly larger, following my pattern adaptation, below. Right – tiny, following Sucrette’s pattern as originally written. ↑
I was so enchanted by the cuteness of the crocheted mini stockings over on the blog “Le Monde de Sucrette”, that I just had to try out Sucrette’s Free Pattern.
These tiny adorable creations use up hardly any yarn at all and are easy to make. So, with my stash of vintage tapestry wool by my side, and Netflix on tv, I just kept right on going, eventually making five of them — three were given as gifts and two were kept for us.
As for size of the original pattern, using worsted weight yarn and a 4 1/2 mm hook, they come out being 6 1/4 inches from top to toe and 2 1/4 inches wide. They’re just big enough to fit a small gift inside, such as a lipstick, a bottle of nail polish or a dinky car.
*** Please keep reading if you want to make something similar but bigger ***


↑ There’s a lipstick in there! ↑

My friend Julie is a knitter, and last year she made 24 tiny stockings which she used as an advent calendar for her children. See what she did in her post here. Sucrette’s pattern could be used by crocheters to do the same thing.
Slight modifications that I made : By the final two, I decided I preferred the look of a slightly shorter toe, so eliminated one row in the foot part (the toe part specifically, if you use the same colour changes I’ve used).
Also, in order to avoid stripes that don’t match up (that you get if you just go around and around), I started a new row every row, by chaining two to start and slip stitching into the chain at the end of each row, to close it up. I ran the “seam” created by the “chain and slip stitch row closure” down the back of the stocking. (It’s not clear in the pattern if Sucrette has also done this, but by examining the pictures, it looks like she has, but didn’t mention it.)
Sucrette decorates hers in a variety of ways, but I stuck to making a faux pompom trim. Here’s how …
Make a 24 stitch chain and close it to form a loop. Chain-2, half-double into next 2 chain stiches. To make the first pompom “ball”, chain 3, create two half-double stitches into second chain from hook (forming the “ball” of the pompom). Slip stitch into last of your 3 chains and then back into the chain stitch you were in before you began the “ball”. Half-double into next 3 chains, and repeat with chain-3, 2 half-doubles, 2 slip stitches. Repeat all around loop, forming 8 “balls” in total. Attach the piece to the stocking by half-double crocheting through both thicknesses, all around. Finish with a loop for hanging, created by chain 14. Turn and go back down chain, slip-stitching into each chain. Leave about 6 inches, cut yarn and bind-off. Using a darning-needle, stitch the loop shut.


Discovering I needed a bigger (but still small and cute) stocking : I tried sticking some concert tickets that I got for Nick into one and found that they were just a tad too small to be used to present those. So I’ve modified Sucrette’s pattern, making a stocking that’s a bit bigger.
These ones are 7 3/4 inch from top to toe and 3 inches wide. This size could be used to enclose slightly larger things, such as gift-cards, which don’t fit in the tiny ones.

↑ Small (my modification, below) and smaller (Sucrette’s original pattern) ↑
Here is how you change Sucrette’s pattern to make a bigger stocking. Note: you might want to pop over to her site for reference, as she created a good tutorial, including a number of very helpful photographs.
How to make a bigger (but still small) version of Sucrette’s Mini Stocking :
– Begin with chain 4, made into a ring. Chain 2.
– Half-double crochet stitch into the ring 12 times (your first ch 2 acts as a 13th.) Slip stitch into the top of the beginning chain-2, to close the ring. Chain-2.
– 2 Half-doubles into each gap between stitches, for a total of 26, including the beginning Chain-2.
– Repeat rows of 26 stitches (25 plus chain-2 = 26) for 11 rows. This creates the foot part. Colour change after 5 rows if you want a different coloured toe part. As for colour changing, I cut the yarn and bound-off between each colour, although you can just change colours and carry the other colour along until you want to use it again.
– To make the heel, chain-2 and stitch 13 half-doubles onto your foot part, with 7 on either side of the back “seam” resulting from the “ch-2, slip stitch to close ring” thing.
– If you want the heel to be a different colour, cut the yarn and bind off and change yarns. Chain-2 and turn work and go back, making 13 half-doubles into previous row. Repeat until you have 6 rows. Leave yourself a tail of about 6 inches and cut and bind-off.
– Using the tail, “sew” down the back of the heel, by whip-stitching. I just use my crochet hook to do this, however you can attach a darning needle if you prefer. Try to round it at the bottom.
– Now you’re ready to begin the leg part. Attach yarn at back “seam”, either in colour used for foot part or a new colour. Chain-2 and make 27 half-double stitches, spacing evenly around toe and heel part (see Sucrette’s instructions here if that isn’t clear), for a total of 28 including beginning chain-2.
– Repeat rows of “Chain-2, 27 half-doubles, close row by slip stitching in to beginning chain-2” 14 more times.
– To create loop for hanging, chain 14. Turn and go back down chain, slip-stitching into each chain. Leave about 6 inches, cut yarn and bind-off. Using a darning-needle, stitch the loop shut.

I hope these instructions are clear. Again, referring to Sucrette’s original pattern and photographs will help.

↑ Included with an average sized clementine, for scale. ↑
Here are a few shots of how I used some of my crocheted Christmas stockings …

↑ There’s the bigger size with a pair of concert tickets, wrapped up and ready to go inside for gift giving. ↑

↑ Here’s one of the minis topping a gift for my cousin’s little girl. (I’ll show you what’s inside after Christmas) ↑

↑ Complete with love note! ↑

↑ I made a mini one without the added trim, to put inside a card we mailed to our niece. It had a cheque wrapped in gift-wrap inside of it. I wasn’t sure if it would go at the regular mail rate, as the envelope was pretty thick, so I took it to the post office to see. It ended up going for the “over-size” letter rate of $1.80. I was fine with that, since I thought I might have to pay the parcel rate, which is really high here in Canada. ↑
Thanks very much for reading. I hope the crocheters out there will try either Sucrette’s Mini Stockings, or my Small Stocking Modification.
xo loulou
[Final note: I saw that Sucrette hasn’t posted to her blog for a while. Since she is no longer actively blogging, she may decide to take it down one day. If you notice that this pattern for “Little Christmas Socks” is no longer on her blog, you can also find it on Ravelry, here.]
Related Subjects
crochetinghandmade-gift-ideasholidays-christmasmaking-things Christmas Crocheting : The Renewable-Scent Sachet
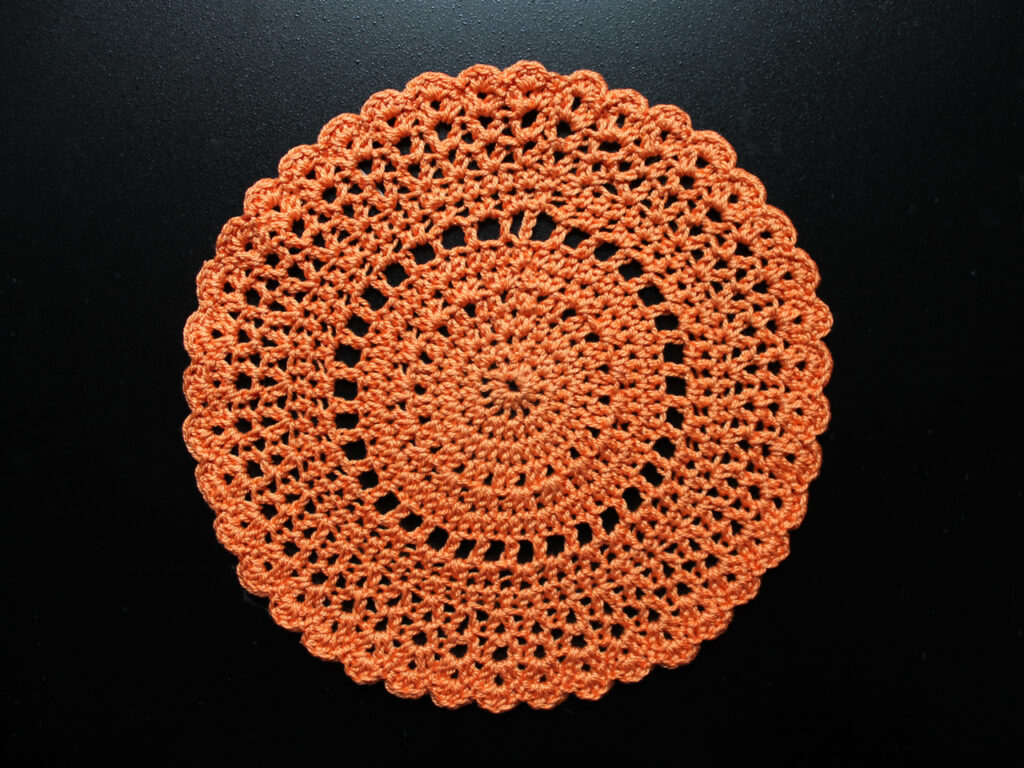 Week 36 Creative Challenge : A Crochet Doily in a Seasonal Colour
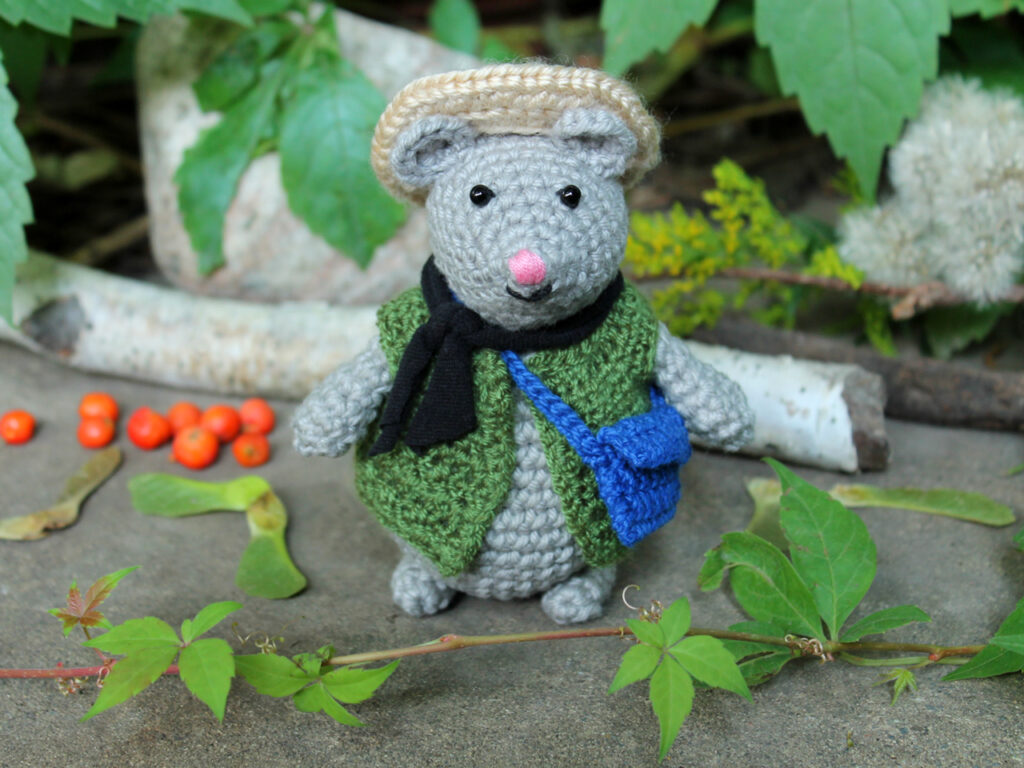 Week 34 Creative Challenge : A Crocheted Mouse with an Outfit
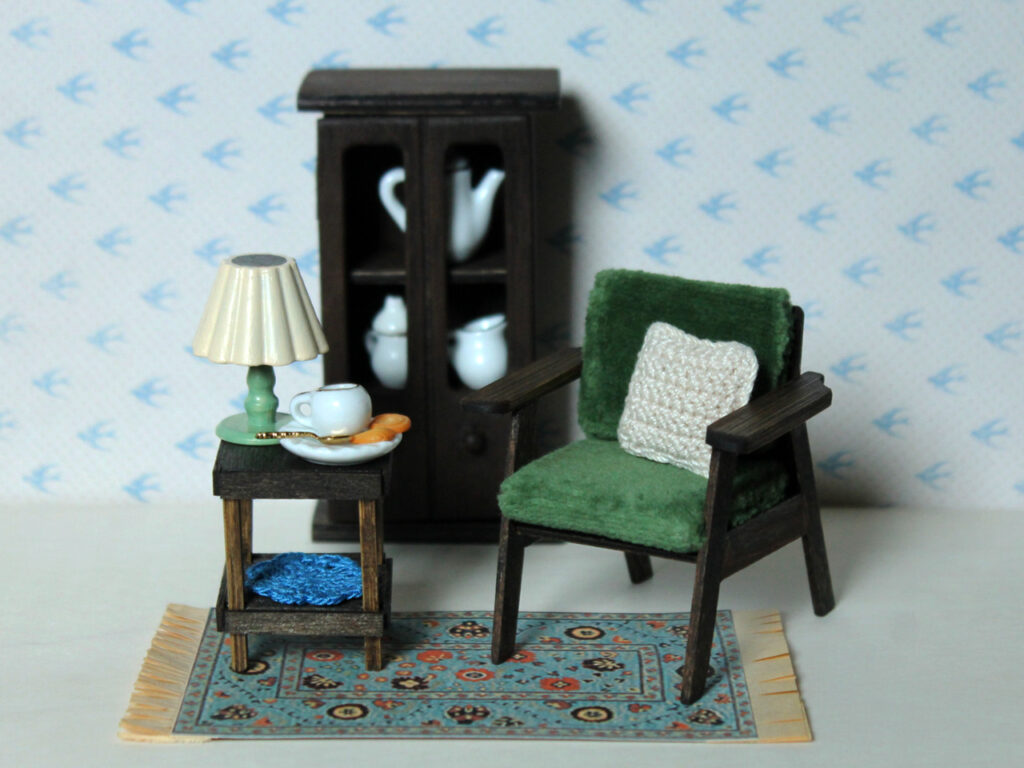 Week 32 Creative Challenge : Bitten by the Miniature Bug!
 Week 31 Creative Challenge : Vintage Barbie Dolls Get Dressed