Tying a Basic Macrame Knot : DIY Cat Toy

Hi! I am here to show you the cat toy I made for our cat Eddie. But, before you click away because you don’t have a cat, please stick around if you are interested in learning how to do the most basic of macrame knots. This knot can be used to make all kinds of things, like necklaces, bracelets, plant hangers … basically anything that requires a long and thin cord.
Here are the supplies I used to make a cat toy for Eddie’s Christmas present. I also added some beads which I only thought of including after I had started.

– You can macrame a project of any length you want. To measure your string double the length you want the finished piece to be, and add a few inches. Cut this piece off your spool of string (jute, hemp, yarn, whatever you’re using). Then, using this pieces as a guide, measure out a second piece that is 7 times the length of the first piece. Cut this length off.
– Attach your two pieces to the stick if you’re making the cat toy, (or a ring for a necklace, plant holder, or a pencil as a temporary holder that you can pull out), by folding the pieces in half and looping them through, so the smaller piece is in between the two sides of the longer piece. You will have 4 pieces of string coming down. Bundle the long ends of the two ‘working’ pieces and secure with elastics.
– It’s easier to do this macrame knot if you secure the top in the clamp of a clip board, and add weight to the middle pieces with a large binder clip. As you progress, just move your piece up and re-clamp.


– The basic knot repeats itself, once going to the right, and then a mirror knot going back to the left.
For the following directions of how to tie the knot, please see the photo below, so you know what I’m talking about:
(1) Take the left long piece and pass it under the two middle short pieces, and then over the right long piece.
(2) Take the right long piece bundle and pass it through the loop formed to the left.
(3) Pull your knot tight.
(4) Repeat these steps going the other way … right bundle under two centre pieces, over the left string. Left bundle through the loop to the right. Pull tight.

The above steps will result in one completed macrame knot! Just keep repeating this until you have the length you want. To add a bead, string it on the two centre short pieces of cord, pull it up, and just keep on tying your knots below it.
Now, you might become distracted at some point and wonder where you are in the process. Just remember this little rhyme I wrote … If the last one is “coming up from below, then it’s their turn to go”. Meaning it’s that side’s turn to go, under two, over one, other bundle through the loop.

I hope these instructions are clear enough. But if you’re having difficulty, leave me a note in comments, or look on-line … I’m sure there are others out there who have left better macrame knot instructions!
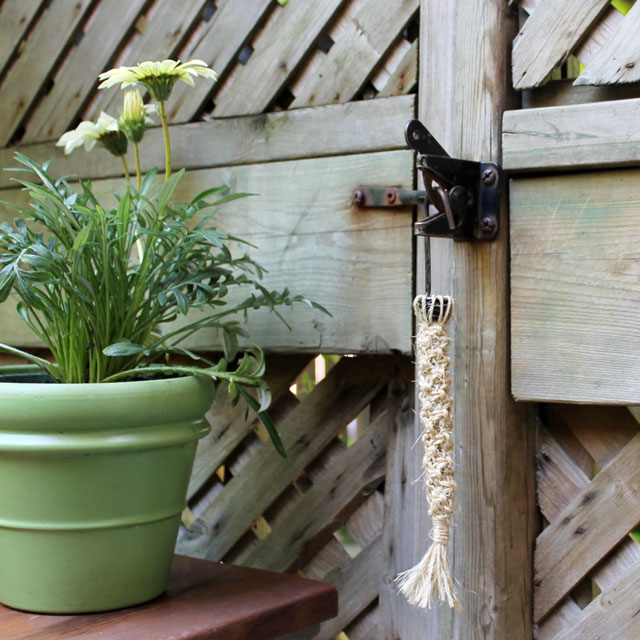
For my cat toy, when I got to the end, I tied on the bell, feathers and sparkly curly ribbon. The feathers will probably come out when your cat plays with this, but you can just stick them back in again.
Both ends are good for play. You can participate in the action by dangling and swinging the toy, or simply hang it somewhere for kitty self-serve!

Thanks for reading. I hope this has been helpful!
xo loulou