How to Cross-Stitch on Paper : Revised Method

Update : I’ve made a YouTube Video on how to Cross Stitch on Paper, including the two methods of transferring the pattern …
(Aside: If you liked the video, it would be helpful to me if you’d go over to YouTube by clicking here, and give it a thumbs up and/or leave a comment. Also, it would be great if you’d subscribe to my new YouTube channel. No pressure, though. Thank you, if you do!)
———-
Hello! Here’s one for the crafty readers, particularly those who enjoy quick little stitching projects.
A while back I wrote this post describing how to cross-stitch on paper. The method involved using graph-paper to transfer the patterns, with the suggestion to download and print up some if you didn’t have it on hand. I was using the small supply I had left over from my old DayTimer Date Book.
Well, I ran out of that and our printer called it quits and we decided not to replace it. I’m sure kids must still use graph-paper in math class but I haven’t seen it for sale anywhere, so, basically I was out of a supply that was necessary to do the craft.
But, that turned out to be no problem because I figured out a second method that doesn’t require graph paper at all. Instead, it calls for a sheet of “Plastic Canvas” that’s meant for needlepoint projects and is available at craft stores. It comes in different hole-sizes, so look for some that is “10 Mesh”, meaning that there are 10 holes per inch. I found mine at Michael’s for about $1. “7 Mesh” is more common (here’s an example on Amazon) and would work, too, but your cross-stitches would end up being bigger. You only ever need to get one piece because you’ll use it over and over again, whenever the urge to cross-stitch on paper strikes you.

Supplies :
- A sheet of plastic canvas, “10 Mesh” (10 holes per inch) is preferable but the more common “7 Mesh” works, too.
- Embroidery thread (I like to use 100% cotton thread)
- A piece of regular paper (to draw your pattern on)
- A piece of card-stock paper that will be the base of your finished piece (it’s thicker than regular paper).
- A needle large enough for the embroidery thread but no larger.
- An awl to poke holes (available in craft and sewing stores). A thin nail or tack would also work in a pinch.
- A pencil.
- At least two binder clips.
- A cutting mat (to protect your tabletop).
- A simple cross-stitch pattern.
Choosing your pattern : As you may know, cross-stitching is usually done on fabric such as linen or a woven material called “Aida Cloth”, which has an equally spaced grid of holes in it. But, we’re using paper as our backing, which has a good chance of tearing. This being the case, I suggest that you stick to simple patterns, smaller pieces that don’t call for many stitches.
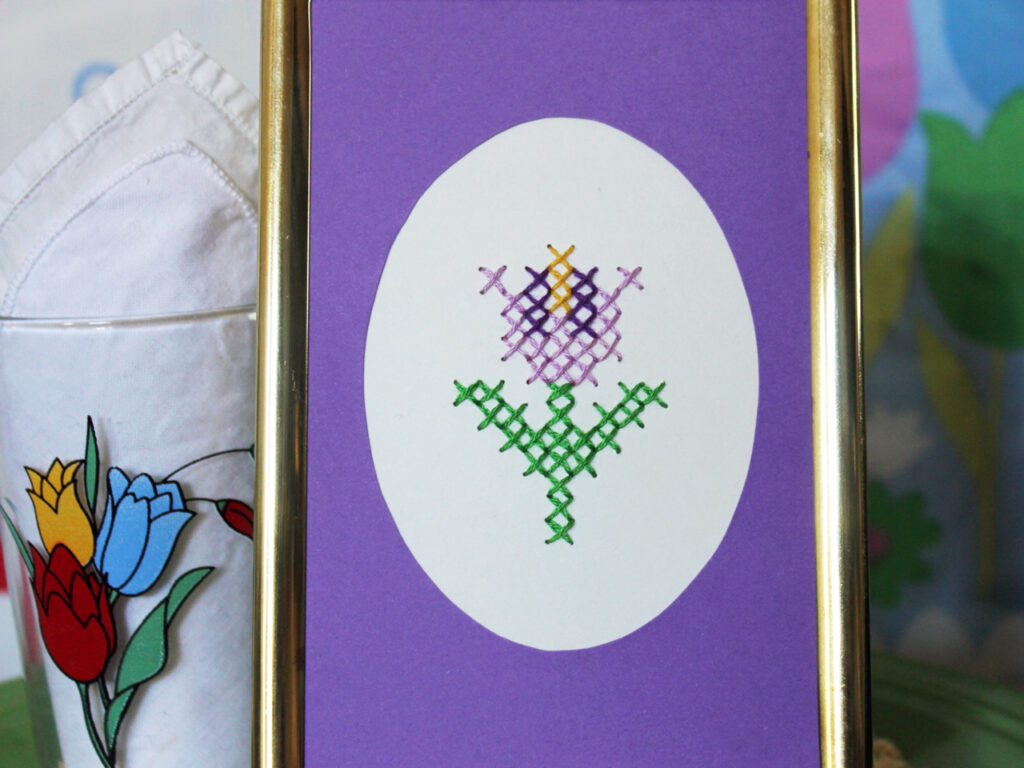
Here I’ve used letters which I got from the DMC website (found here). They have all kinds of free patterns, including many different alphabet fonts. I’ve used the “Personalized Rose Pattern”
I’ve also used a heart shape pattern, that called for three different shades of embroidery thread, which is also free to use. It’s found here.
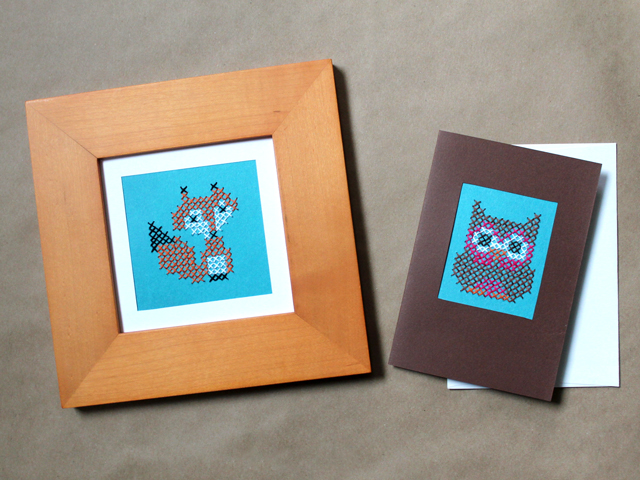
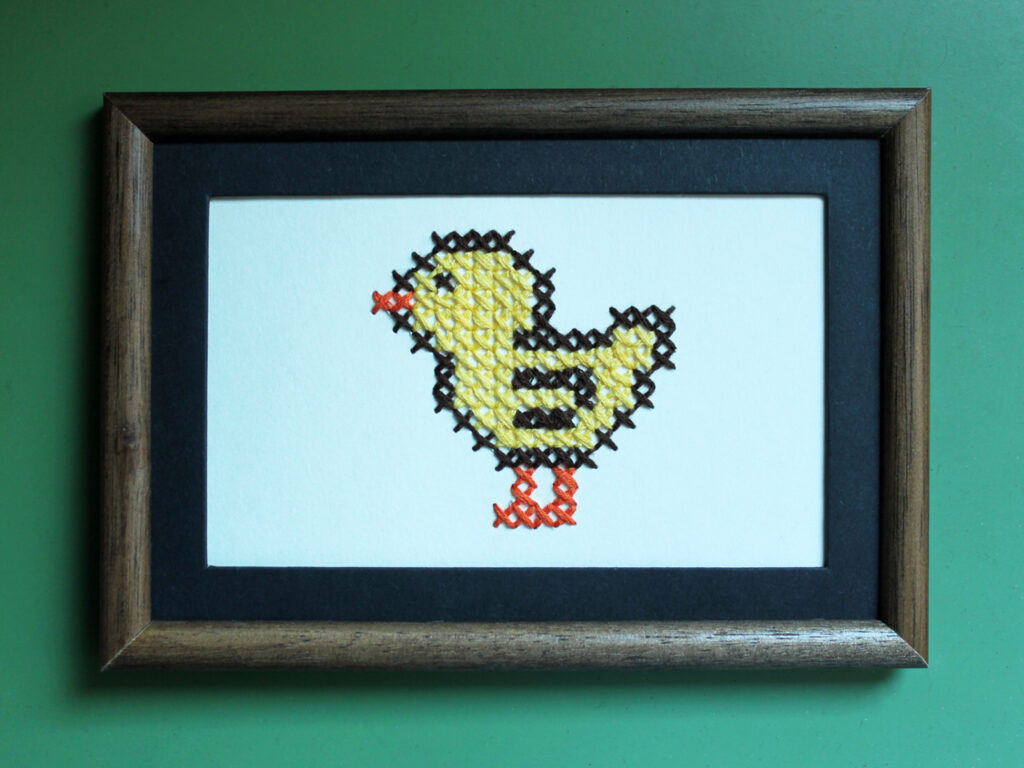
Additionally, the fox and the owl that I completed using the old method are free to use, as is this little duck. (I’ll be making another one of those for Easter, since the one I previously made was turned into a greeting card and sent to my cousin and her family.)
So, there are a few patterns to start you off, but if you search images for simple cross-stitch patterns you’ll find lots of different motifs that will work for this project.
How to Cross-Stitch : Here’s a professional tutorial that explains it better than I can here, but, in a nutshell, each stitch is an X done in a little box, going diagonally from one corner to the other, and then again from the other corner to the fourth. If you prefer to learn from video there are plenty on Youtube that give the basics.
The only “rule” is that you do all your Xs the same way, “top left to bottom right” first and “top right to bottom left” second, or vise versa. Since nobody but you will likely see the back side of your work, it doesn’t matter what that looks like.
It’s easier and you’ll have less of a risk of tearing the paper if you use several short lengths of thread to work your project, rather than beginning with one long piece of thread.

How to Cross-Stitch on Paper :
↑ Clamp the Plastic Canvas and the pattern paper together. Copy your pattern by drawing dots through the holes in the canvas. It’s important to leave at least one hole between dots, so the stitches won’t be too small. ↑

↑ It’s a good idea to outline your pattern to make sure you have it right. I won’t lie, it’s easy to make a mistake at this stage. Better to erase and make corrections now. You can even draw in little Xs, if that is helpful. ↑
↑ Clamp the pattern paper onto the “good” card-stock paper. Place on your cutting mat. Using your awl, poke holes through both papers, on the dots. ↑
Save your pattern to use again another time.

↑ Embroidery thread has 6 strands. I’ve used all six of them on these examples, but have also split them into 2 threads or 3 threads, at other times (such as the fox, owl and duck, linked above). 6 strands give a bolder result and fewer give a more refined delicate finish.
Again, it’s easier and you’ll have less of a risk of tearing the paper if you use several short lengths of thread to work your project, rather than beginning with one long piece of thread. ↑


↑ The backside, that only you will likely see. ↑
As seen at the top of the post, I turned this into a greeting card.
Here’s another letter, using the same alphabet pattern.


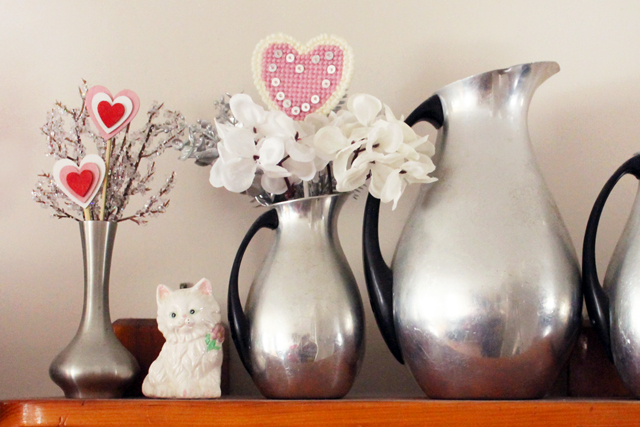
And, here are some hearts I made this past Valentine season. The larger one is made the same way as the smaller ones, however, I left three holes between each dot when transferring the pattern. (The pattern source is linked above.)


↑ The big heart, with three holes left between dots. ↑
↑ The smaller one, with one hole between dots. ↑

↑ This photo is from my “Thrifted and Handmade Valentine Decor” post for this year. See all we had out in this post, if you’d like. ↑


↑ I also made this one for our niece, who was celebrating her birthday. It’s the same as the other small heart, with additional black stitches to form a square. ↑

Stitching on paper is very fun to do. I hope you give it a try!
Thanks very much for reading, xo loulou
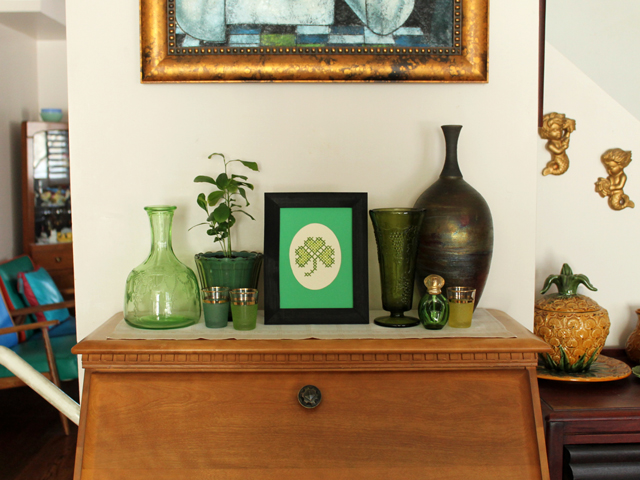
Follow Up March 2020 : Hi again. I used this same method to make a little St. Patrick’s Day decor piece. Click here if you’d like to see the decorating post for that holiday.