Hello, hello! I hope you’re doing well.
I made these customized Christmas ornaments for some children in my life. They had to be unbreakable because they were going in the mail, and also because the kids are only two and four years old.
When I showed the finished pieces to my husband Nick, he immediately said “You did not just make those!” He was impressed by how nice they looked. And, since such a reaction came from something that was fairly easy to make, I thought I’d tell you how I did it. Sorry, I didn’t take photos as I went along, but I think you’ll get the idea.
These are similar to some Valentine Decorations I made years ago (which I still use in February every year). The tutorial for those is in this post.
Supplies:
- Felt – The higher the quality, the better. Pure wool felt would be excellent but I didn’t have any. I used the kind you can buy by the sheet at fabric stores or places like Michael’s. It’s a bit thicker than that found in packets at the dollar store. But, if you only have thin felt, you could try doing this with two layers per side.
- A Pattern – The shape and size of the ornaments is up to you. As you see, I did a heart and a tree, but you can keep it simple by making a square, diamond, circle, triangle (which, if elongated would look like a tree), or a random shape. I think a square turned 45 degrees so the point is at the top, would work very nicely, too.
- Straight pins
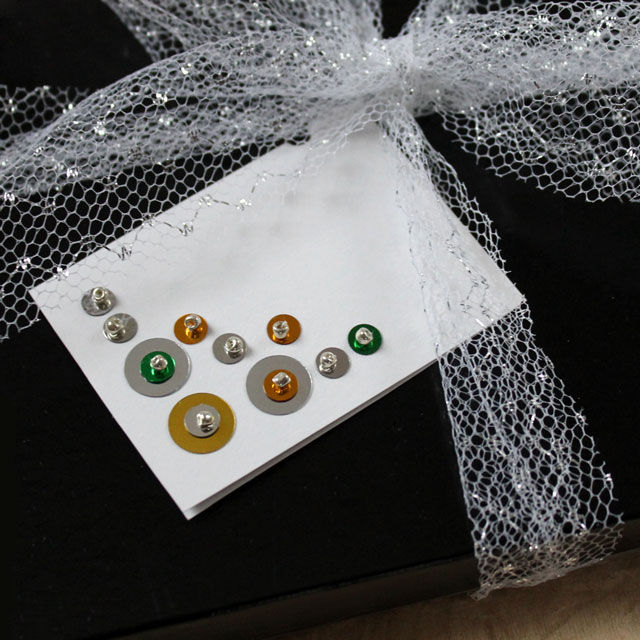
- Sequins and seed beads and a sewing needle that is thin enough to go through the hole of the beads (I mention that because mine wouldn’t go through all the beads so I had to pick through them to find ones that worked.)
- Embroidery thread and regular sewing thread
- Thin Ribbon – a length of about 6 inches long
- Small amount of stuffing
How to Make One :
Draw the pattern on paper. To make something like a heart, fold the paper in half and draw half a heart, with the fold running vertically down the middle. That will ensure that both sides of the heart are the same, because when you cut it and then unfold, one half will be the mirror-image of the other. If that’s confusing, there’s a photo of what I’m trying to say in this post . That would also work for a tree. A circle can be made by tracing around something round.
Pin the paper pattern to the felt and cut around it. Repeat so you have 2.
Begin decorating one piece of felt with the initial. Either sketch out the letter with chalk or go freehand (I freehanded it). Using regular sewing thread, start with a sequin and bead combination, by sewing through the sequin, then through the bead, then back down through the sequin and felt. (There’s a photo of what I mean in this post.) Use as many as needed to shape out the letter. Then go back and sew on beads by themselves, to help to better define the letter. Use a continuous length of sewing thread for both the sequins part and the bead part, randomly knotting between them, so they can’t be pulled out of place from the right side. Finish with a knot and cut the thread.
For the little star or snowflake decorations, use 2 threads from a strand of embroidery floss (each strand will have 6 threads in it), stitch a small dash, then two more overtop, making a star-like pattern. Without cutting the thread, randomly move to another spot and do it again. Add as many as you’d like. Knot and cut the thread.
Stitch the two sides together using 2 threads of embroidery floss, either with a regular running stitch, overstitch (how to in this YouTube), or blanket stitch (how to in this YouTube). I went with the blanket stitch.
Start by attaching the ribbon hanger at the top. In order for your ornament to hang facing frontwards (and not sideways), fold the ribbon so that the front side of it overlaps where it is attached. Please look at the photo below to see what I mean. So, don’t just fold the ribbon in half — rather twist it so the right side of the ribbon on both ends is facing up when you attach it.

Stitch around the edges of both layers of felt, leaving a hole to put the stuffing in. Fill the ornament lightly and finish off. A chopstick might be helpful to distribute the stuffing smoothly.
Here they are temporarily displayed on my tiered tray. If you’d like to see the tray in more detail, I posted photos on my Instagram.


I hope you try making some yourself. They’d make great gift tags, too, that will surely be saved for a lifetime, always reminding the recipient of you and your love for them.
xo loulou