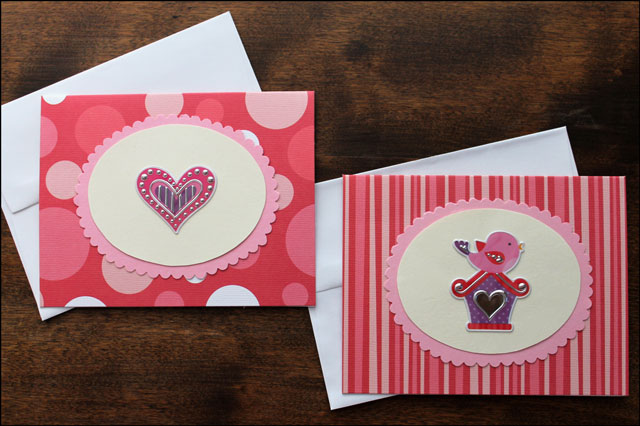
A Handmade Valentine Card : Red, Black and the Printed Word

Here’s a card I made for each set of parents this year. I couldn’t help but go with the black and red colour combination that I love so much, adding a page from an old novel for visual texture.

Here’s what you need …
– Paper : One piece of red card-stock and some black. A smaller piece of cream coloured or white card-stock or regular paper (that’s to write your message inside the card, and is optional, if you trust your handwriting).
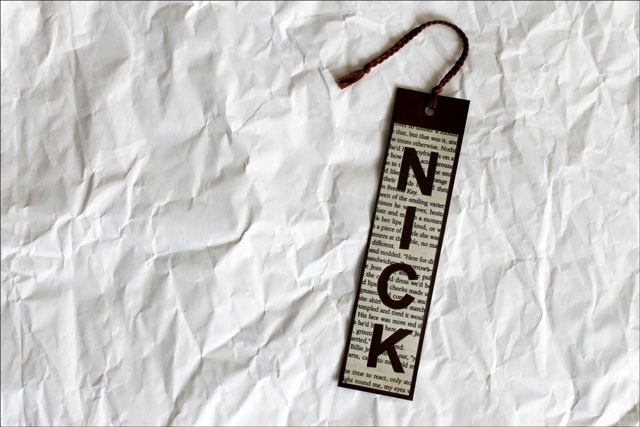
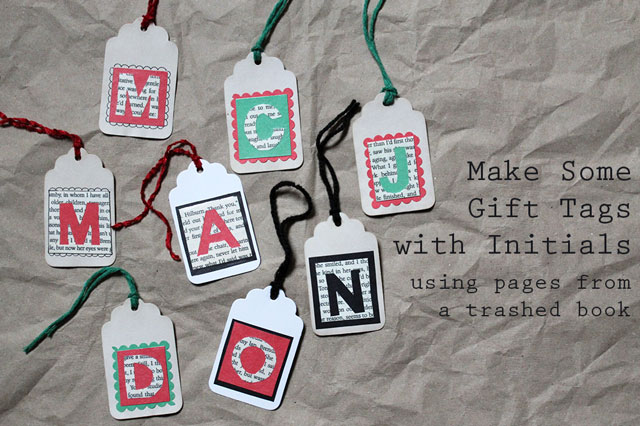
Also, find an old novel with aged looking pages, that you don’t mind using a page from. I used a book that I found set out front of someone’s yard, in the dregs of a box with a ‘take me’ sign on it. I’d previously read the book and it was already coming apart at the spine, but I took it with crafting in mind because I liked the tan colour the pages had turned to. I’ve used that same book to make a couple of other things too, like this bookmark and these gift-cards. That is all to explain why I destroyed a book without feeling guilty about it. I’m sure you can dig one up someplace too.
Look for a page that has a solid section of type that measures at least 2 3/4 inches square. Before choosing, take a look at what the type says because, no matter what the book, there might be something written there that could be offensive if taken out of context. In fact I had to pick a second page once I noticed the one I’d chosen said something not quite appropriate for our parents to have on the front of their valentine card!
– Other things you’ll need : Some two-sided tape, a pencil with an eraser, some scissors, a pair of crafting scissors that cut an interesting edge pattern such as zigzag (optional), a ruler. Also I find my cutting mat, which has a grid printed on it, to be handy for helpful in creating perfectly square edges, but if you don’t have one, your results should be fine with some careful measuring. You might also find a cutting knife handy too, but I was able to make these cards without one.
You also need an envelope to fit your card. I had a supply of envelopes made to fit a 4 x 6 inch card, so that determined the size of my finished card. You might have to adjust the size of yours based on the envelope you have, or you can just use one that is larger than your card.

What to do :
– Make the card base out of the red paper. As mentioned, I needed mine to be 4 x 6 inches, so I cut a piece that was 8 x 6 inches. Then score the folding line (by gently running the point of your scissors), and fold it. It can be hard to get the fold perfect, so if it’s a little off, just trim around the edges of the card if you want.

– Lightly draw a square on the front of the card. I made mine 2 1/2 inches square, centering it horizontally (with 3/4 of an inch on either side), and beginning 1 inch down from the top. Cut the square out. I find it easier to make a neat square by poking a hole in the centre to begin with, and then cutting diagonally to each corner. Then you cut the corners off to make the square (as shown in the pictures). Gently erase any pencil lines remaining.


– To make the black ‘frame’ part, cut 4 strips from the black paper. Use your fancy-edged crafting scissors on one side of each, if you’ve got some. Attach each piece to the edge of the square by placing a small piece of two-sided tape on the edge of strip and then lowering the card onto the strip so that the edging shows through the square and it’s nice and even. Repeat with each strip, around the square. Don’t worry that the piece of tape is small and doesn’t stick the whole thing down … it’s really used more to tack things in place at this point, and more tape will be used later on.


– Cut your piece of book page to be about 3 1/2 inches square, and first tack it in place, using a piece of tape with only one sticky side revealed, facing up from behind the book page. Lower the card down to meet it (so you can see exactly how the script is lining up from the front). Then turn your work over and apply more tape, with only one sticky side revealed, around the edge (as seen in the picture).

– Made a heart shape that will fit into the square and stick it in place.


– To hide all that is going on on the back of the inside cover of your card, cut another piece from the red paper, that is slightly smaller than the card. Put a piece of two-sided tape on each corner of the inside cover of the card, remove all the tape backing (including those left when you attached the book page) and stick the red paper into place.

↑ The white things are pieces of two-sided tape. One side sticks the pieces of your card into place and the other side sticks the red rectangle in, hiding everything, so the inside of the card looks good. ↑

– If you’re like me, and tend to make hand-writing mistakes, you might not want to write your message directly into the card you’ve just spent time making. If so, cut yourself a rectangle of cream or white card-stock or paper, and write your message on it in ink. Once you’re happy with what you’ve written, attach it to the inside of your card with pieces of two-sided tape. Add another black heart to decorate it, if desired. Note: in the picture, that plain piece on the inside isn’t stuck down yet. I wrote on it first and then stuck it down.

I hope you try to make a Valentine card like this, and I hope the loved person you make it for loves it!


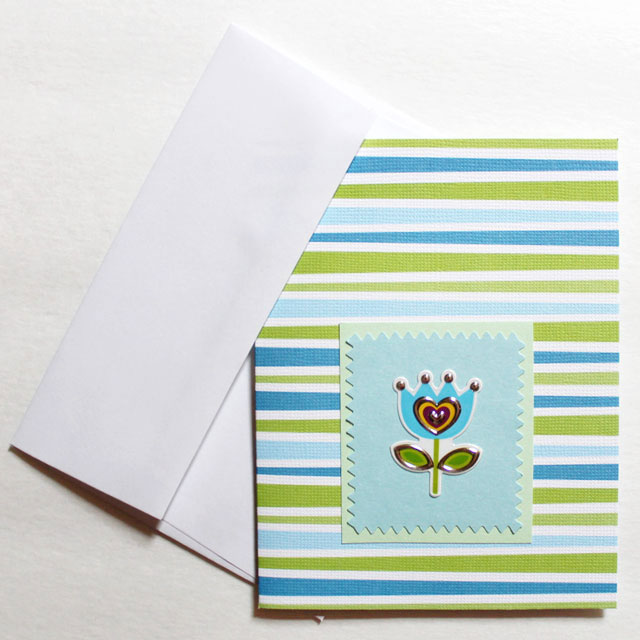
Each card took about 40 minutes to make. If you’d prefer something you can make more quickly, here and here are some other ideas, that begin with pre-made card bases and take less time. Or if you like to put the time in, here and here are a couple more suggestions.
Thank you very much for checking out my post.
xo loulou
These stories were linked to.
Related Subjects
greeting-cards-diyholidays-valentines-daymaking-things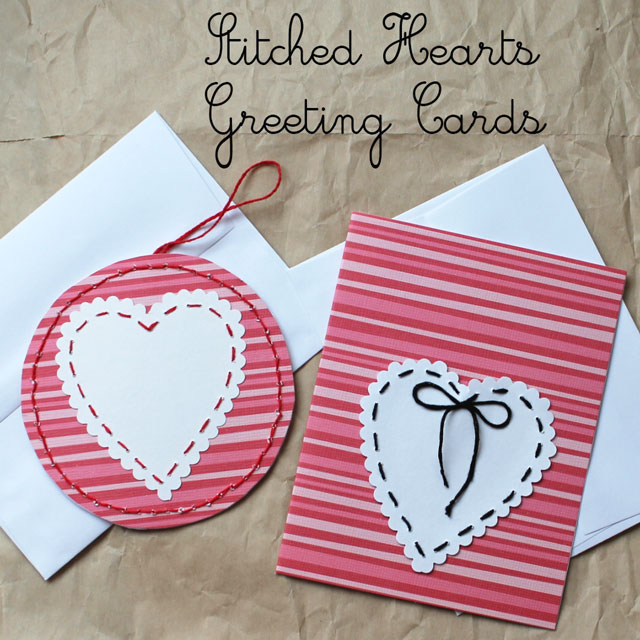 Stitched Hearts Greeting Cards : Two Styles
 Little Origami Shirt : A Handmade Greeting Card for a Man
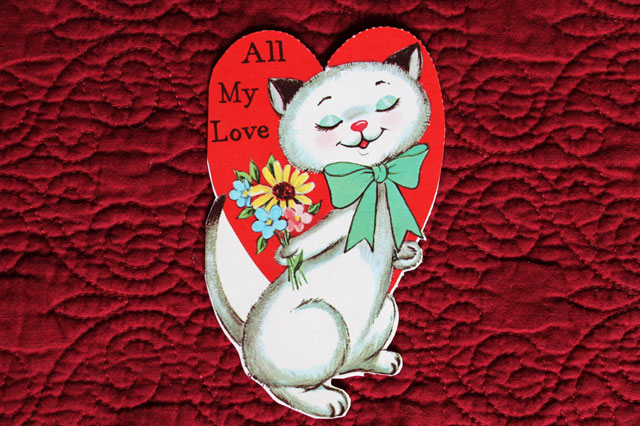 Vintage Valentine Cats
 Making Felt and Cotton Heart Decorations
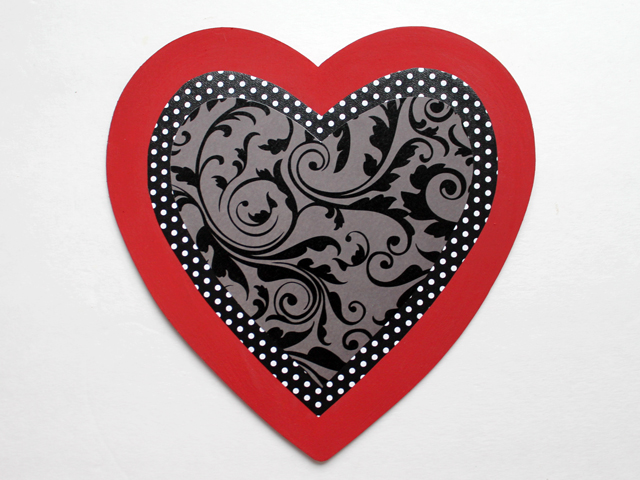 How to Make a Heart-Shaped Decoration for your Wall
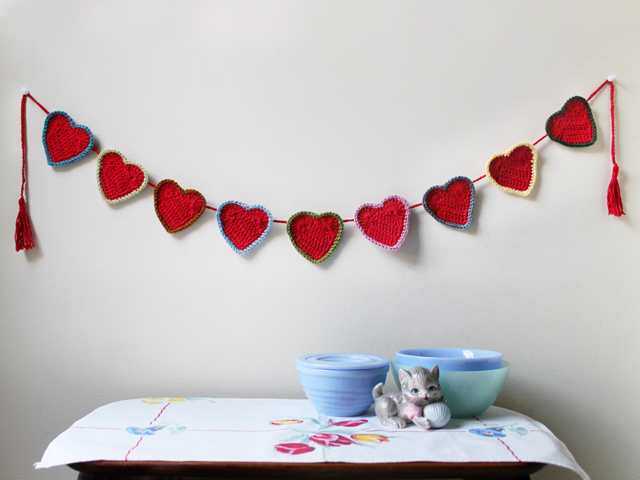 Valentine Crafting : How to Crochet a Heart Garland
 Thoughts on Valentine’s and a Seasonal Decoration Tutorial
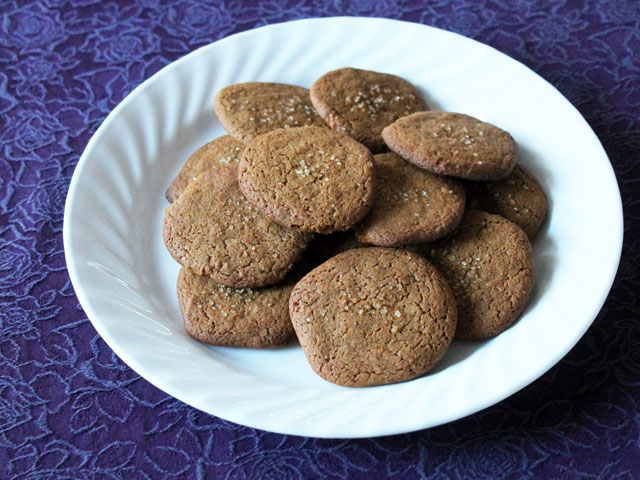 Our Favourtie Cookie Recipe : Ginger with a Spicy Kick
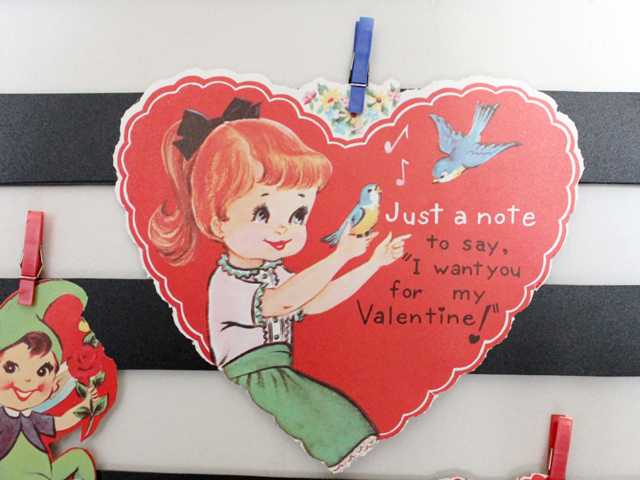 A Handmade Valentine Display using Vintage Cards
 Crafty Behaviour : Handmade Valentine Decorations 2020