Last week’s make for my Creative Challenge was something I needed, so I tried combining a useful item with one that is nice to look at and feels good in the hand.
If you’re not a regular hand-stitcher and are thinking to yourself, “What the heck is this necessary for?!”, there are many different kinds of sewing needles for different jobs — some are big, some small, some thin and some chubby, some very pointy and some purposely blunt, some with large eyes and some with tiny — and this helps to keep them all organized! I even have a needle that was my husband Nick’s, that he’s had since the late 80s. It has a special tip made for sewing through leather. He had it before I met him (when I voluntarily took over all his stitching tasks), so I “inherited” his sewing needle, haha! I also still have and regularly use, the very same tapestry needle I got when I first began crocheting when I was 7! That is all to say that if you keep your different sewing needles organized in some sort of case / holder, they will last you a lifetime!
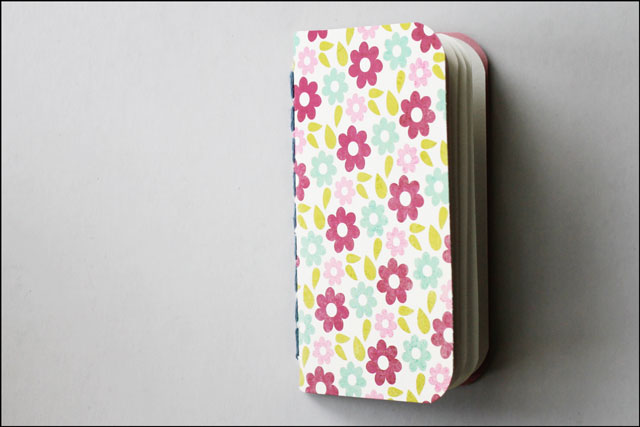
I made a sewing needle book about 8 years ago, and although I’ve used it a lot, it had some obvious shortcomings, so I finally replaced it with this new and improved version.

↑ This is the old needle case, made in 2015. The cardboard cover, which was made from a piece of a tissue box, actually worked out really well, so that aspect of the old version was fine. Also, the felt was still in good shape so I reused it in the new version instead of using new. I also reused the snap closure. ↑
The most annoying thing was that the thin felt pages of the first one made it a bother to stick the needles in without catching the page behind it, so I quickly ended up with all the pages stuck together and needles hidden between pages. So, this time, I made fewer pages but I encased a piece of thin plastic within them, so the needles could slide in easily and the pages could remain separated. This worked out really well!
The second thing was that, being a sewing needle book, it was handy to always have a needle threader with it, so I used to keep one sandwiched in there somewhere, but it often fell out. It needed a home so this time I made a little pocket for it.
Thirdly, I often had enough thread left on a needle after using it for another little stitching job, so I didn’t want to waste it. I would just stick the needle, with the thread trailing behind it, into the felt but the thread just hung out in a messy way and got tangled up. This time I added a couple of felt tabs to one of the pages for the extra thread to be wrapped around tidily.
Although, using a sewing machine would make the creation of one of these much quicker, my machine is on the fritz so I took my time and stitched this all by hand. It was fun to try a different style of blanket stitch. I’m ridiculously happy with this little things!

How to Make One :
Supplies
- A small piece of fabric, about 8 inches x 7. I used a remnant of vintage cotton.
- Some thin felt
- Some thin plastic “sheet” — I used part of the cover of a binder that I’d already cut up (for this project) but you could reuse one of those containers that loose lettuce comes in, or some other thin plastic you have.
- Embroidery floss, regular sewing thread, needles, and a snap.


↑ To make the pages, cut two pieces of felt double the length of each pages (because they will be folded in half) and two pieces of plastic in a size that can be sandwiched between the felt, leaving a gap where the spine of the book will be. I used a blanket stitch to sew them together but a simple running stitch would work fine, too. I only made one that, when folded would give 4 surfaces to attach needles to, but make a couple if you’d like more, keeping in mind this will made the book double in thickness. ↑

↑ Cut your cover fabric so it will end up being slightly larger than your pages. Check to make sure it will be long enough to cover your page piece, when it’s folded. I cut mine in one rectangle, which I ironed in half, saving myself the need of stitching along one of the edges. In the photo: with the wrong sides together, I’ve already stitched down one end and along the side. Then I’ve turned that right-side out and ironed. So, the edge on the right is open. Then I cut two pieces of plastic to fit into this tube, again leaving a gap for the spine of the book. Slip those in and sew the open end shut. ↑
Once the pages and the cover were made, I cut two oblong circles of felt for the closure flap. I also cut a half circle of plastic to sandwich between those, so I could sew through it and therefore reinforce the snap (so it wasn’t just sewn onto a thin piece of felt, which would have ripped easily otherwise). Then I sewed one part of the snap onto the end of the oblong. Then layer both pieces of felt, with the plastic semi-circle hidden between them, and attach them to one end of the cover.
Sew the other side of the snap to the other end of the cover, going right through the plastic to reinforce it. Don’t worry about the stitches showing on the other side, because they will be covered by the little pocket.
Use a small piece of fabric to make a pocket and stitch it into place.
If you want to add the small pieces of felt (to wrap thread around). Cut and stitch those onto one of the pages.
I used “coptic binding” stitching technique to attach the page to the cover (as demonstrated in this post), but a simple running stitch would work, too.


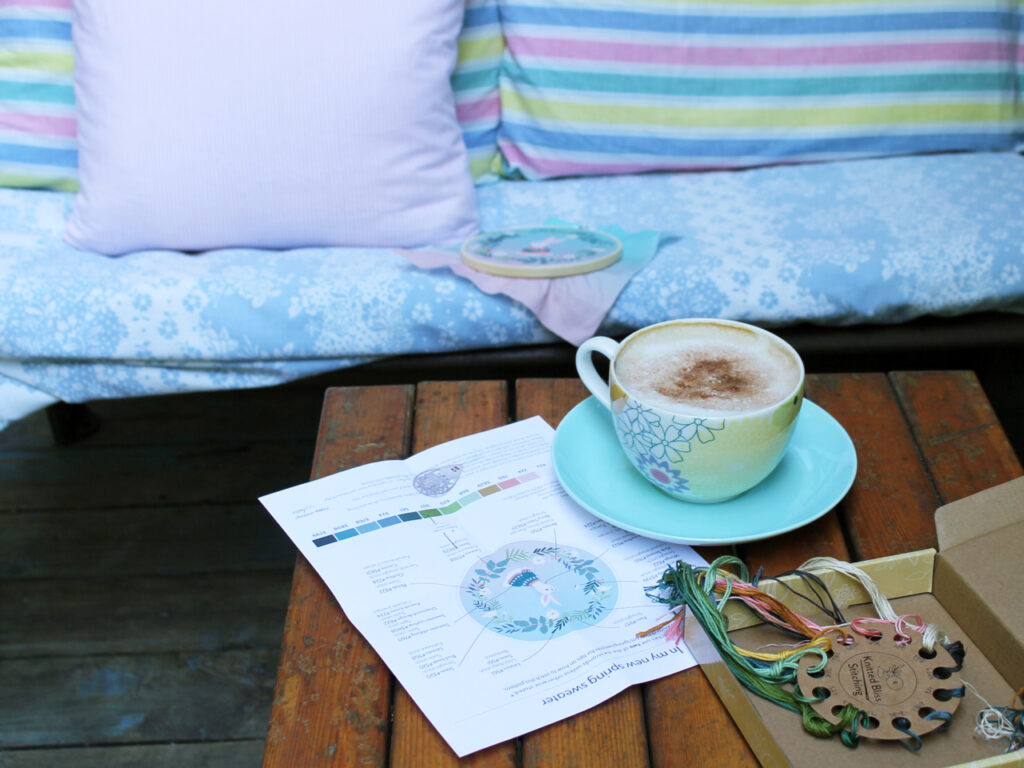
↑ I got this lovely needle threader in an embroidery kid from Knitted Bliss, shown in this post. (Her kits are absolutely charming and fun to do, so check them out if you enjoy stitching. Full disclosure, she’s one of my best friends but that’s irrevilant!) ↑


↑ I tried a different style of blanket stitch for this, which forms this “triangle” pattern on one side and just looks like regular blanket stitch on the other. It is done with a double thickness of thread (I used embroidery floss). I learned it from this Instagram short, but ended up doing the stitch in two steps, one going through from the front, and two, coming back through only one thickness of thread. Yikes, this kind of thing is so hard to describe in writing! ↑

Thank you for reading. If you try making your own needle case, I hope it’s a fun experience. I think you’ll find it very handy to have if you’re into stitching and have never had one before.
xo loulou