While I’m a fan of decorations for all holidays, and although I like our flag, there’s something about the usual red and white Canada Day decor look that doesn’t really appeal. However, change the white to a softer cream colour and add some black to the mix and I’m in!
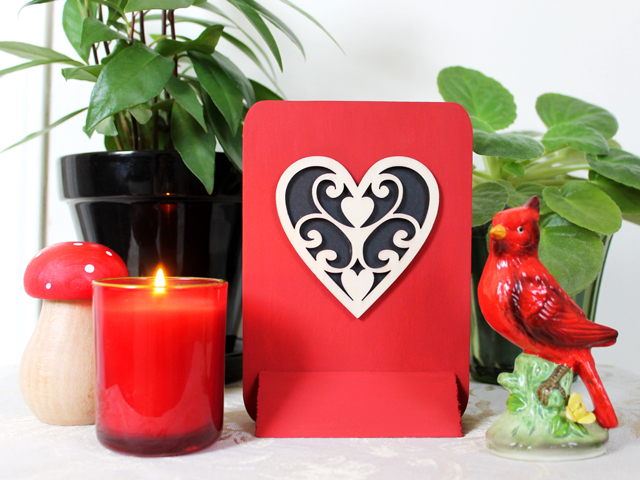
Here’s a simple table-top item I made following the technique used to make this Valentine’s Day decoration, which just happens to be in the same colour scheme.
It takes supplies that I found at Michael’s (I shopped at the Richmond Street and John location, in Toronto) and at Dollarama.
Also, it calls for a couple of pieces of re-purposed trash, specifically the wooden corner pieces from those boxes that mandarin oranges come in. I’ve seen the oranges offered in those boxes year around here, however, they are typically found at Christmas — If you can’t fine some now, you can either save this idea for next year, after you’ve gathered the corner pieces at Christmas, or, if you have some quarter-round wall trim, that can be used, as well. Just cut a couple of pieces to fit along the bottom of your plaque.

Here’s how to make one :
Supplies:


- One wooden plaque from a craft-store.
- One wooden cut-out leaf, also from a craft-store. (Found where the other pre-cut wooden shapes are, not with their Canada Day decor stuff.)
- Two corner pieces of wood salvaged from a mandarin orange crate, or two pieces of quarter-round wall trim.
- Acrylic craft paint in red and black and two foam paint brushes, found at Dollarama.
- A piece of cream coloured or white cardstock.
- A pencil, small scissors, glue.
Glue the two wooden pieces, flush, to the bottom of the plaque, to create a stand.

↑ I forgot to take a picture of what it should look like, but had one from when I made the similar Valentine’s Day decoration. ↑
Paint that part black and the leaf red. I found that it took three light coats of paint to give a nice finish. It dries quite quickly, so you don’t have to wait around long. (Note : the foam paint-brushes are reusable if you rinse them out soon after you’ve used them.)
While you’re waiting for paint to dry, trace the leaf shaped wooden piece onto your card-stock. These shapes have a front side and a back side, which aren’t that different, however, you’ll want your finished piece to have the nicest side on the front, so, with the nicest side facing towards the paper, trace around the leaf shape. (The leaf shape I found was not symmetrical, which is why it made a difference that it was face down on the paper when I traced it.)

Since you want the paper to form a border around the leaf, you’ll have to draw a second line, about 1/8 of an inch further from the centre, all around the leaf.

Cut out the paper leaf, which will be about 1/8 inch larger than the wooden one, all around.


To complete your project, glue the paper leaf (with the pencil marks facing the back) to the wooden leaf. Then glue that to the black plaque-stand part, either straight or at an angle. And you’re done!


Wishing a Happy Canada Day to fellow Canadians and, to all, a good week-end.
Thanks for reading, xo loulou
