How to Make A Greeting Card and a Bookmark Combined

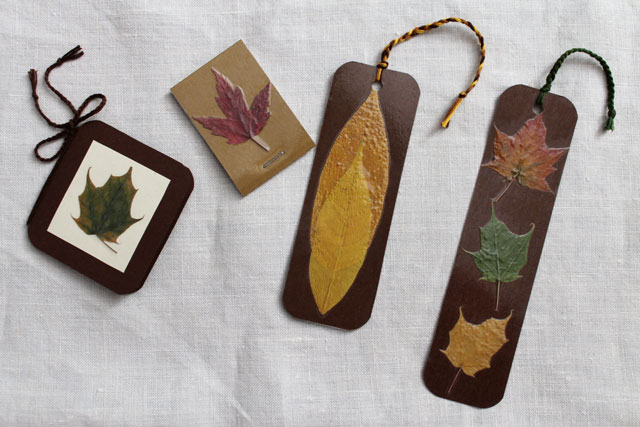
Here’s an idea for when you want to send a greeting card with a little something extra tucked inside. The card has a pressed leaf motif on the front, but when it’s opened up, a secret bookmark is revealed.
I’ve shown you this bookmark making technique before (in this post), where you preserve a pressed leaf under a layer of plastic – aka regular packing tape. This time I’ve added more texture with a layer of printed paper, that’s part of a page from an old book.
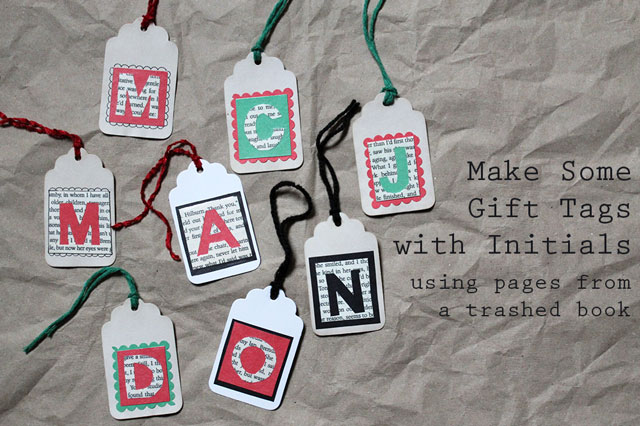
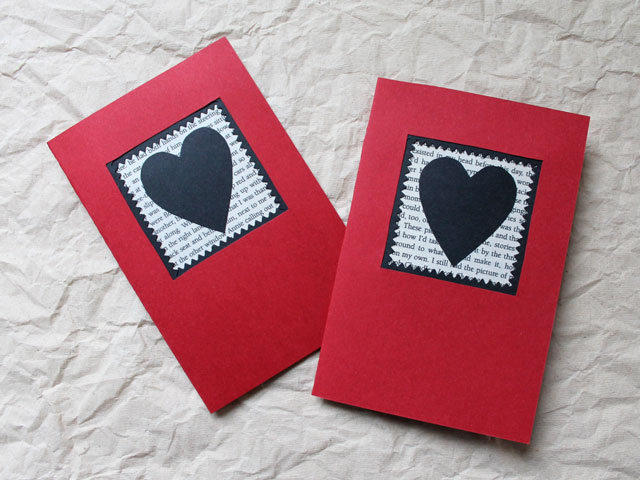
My book, an old paperback, was damaged when I found it, but I liked the vintage sepia colour the pages had turned with age, so I saved it and have used pages from it for several crafting projects (like these gift tags, this personalized bookmark, and these Valentine Cards). But if you don’t have an old book you want to take pages from, you could use a piece from the newspaper or skip that layer.


Here’s how to make a Greeting Card with a Bookmark Combination.

Supplies :
2 pieces of card-stock paper (the fact that it’s thicker than regular paper is what makes it “card-stock”). Once piece will be for the book-mark and one will be for the greeting card, so choose either one colour for both, or two that go together nicely.
A piece of printed paper from an old book or a newspaper (optional).
A leaf or leaves (see below for hints on choosing it/them) — I prefer coloured leaves in the autumn however these can be made with green leaves too.
Two-sided tape.
Packing tape.
Embroidery floss that coordinates in colour.
Piece of light coloured paper to write your message on – optional.
Tools: Scissors, a ruler, a pencil with eraser, a hole-punch. Also a cutting mat and cutting knife is very handy, but you can make these without if you don’t have those. Also optional : a punch that makes rounded corners.
To Make The Bookmark Part :
Note : To make this you have to begin a few days before, because the leaves take time to flatten and dry out.
(1) Select your leaves : Make sure they are small or narrow enough to fit under a strip of packing tape. Here the standard width of this kind of tape is 2 inches. Also, choose leaves that are fairly thin, so they can be sealed under packing tape smoothly.
(2) Press the leaves between the pages of a magazine you don’t want anymore (because the process might ruin the pages).
Once your leaves are completely dry, you can go ahead and make the bookmarks.

(3) Cut strips of coloured card-stock that are a little narrower than the tape, so about 1 3/4 inch for tape that is 2 inches wide. You can make your bookmarks as long as you want, but I made mine six inches long, to fit inside a greeting card that will be mailed in a standard envelope that is 3 5/8 x 6 1/2 inches — you can find boxes of these envelopes at any office stationery shop.
(4) Find a page in your book that has a solid block of print, and cut a piece of that which is slightly more narrow than you card-stock base, and shorter by about 3/4 inch.

(5) Optional step : Use a punch that makes rounded corners.

(5) Using small pieces of two sided tape, stick the printed paper to the bookmark base, leaving the extra length of the base at the top end.
(6) Attach your leaves, also using a bit of two sided tape. Note that you are just tacking the pieces together with the two-sided tape, because it’s the packing tape that will really stick everything together.
(5) Take a piece of tape that is about 3 inches longer than the card-stock, and place it sticky-side-up on your work surface, by folding a small bit under (as shown in the picture). Make sure it’s laying flat and tight.
(6) Place your book mark onto the tape. This might be a little tricky, to get it on there straight, so if you’re making these with children you might want to help with this part.
(7) Repeat the process on the other side of the bookmark.

(8) Press everything well to seal the paper within the plastic.

(9) Trim the edges of the plastic tape.
(10) Punch a hole in the top.
(11) Take three strands of embroidery floss, around 12 inches each. Fold them in half, pass the fold through the hole, and then pass the ends through the loop. This will give you 6 pieces of floss to braid together, in 3 sections of 2.
(12) Braid to a length of about 5 inches and tie a knot.
(13) Trim the ends.

To Make The Greeting Card Part :
(1) Make a card base that’s slightly smaller than your envelope, so it fits inside nicely. When you go to make the fold, score it first by running the end of your scissors where the fold will be.

(3) Cut a window into the card base that is the width of your bookmark, and long enough to display the leaf attractively on the front of the card. Mine are about 3 1/2 inches long. Draw your square on and then cut it out – you might find an cutting knife handy, but scissors work too. Erase any pencil lines still showing.
(4) Cut a piece of matching card-stock that’s about 1 3/4 inches shorter than your card, so about 4 1/4 inches for a 6 inch card, and about 1/4 inch more narrow than the front of your card.
(5) Attach that piece by attaching two-sided tape about 1/8 inch along each side of the window you cut into the card. Note that you only put the tape on the two sides, and not the bottom, so your bookmark will be able to slip right to the bottom of the card (otherwise part of it will hang over the top of the card). So it’s more like a sleeve than a pocket, but the bookmark stays in there just fine.


(6) Optional : If using dark coloured card-stock like mine, you can add a piece of light coloured paper inside the card, on which to write your message. I always write my message first, before sticking it inside the card (with two-sided tape) in case I make a mistake when writing.


I hope you give this “Greeting Card with a Little Extra Surprise” a try!
Thanks for taking a look,
xo loulou