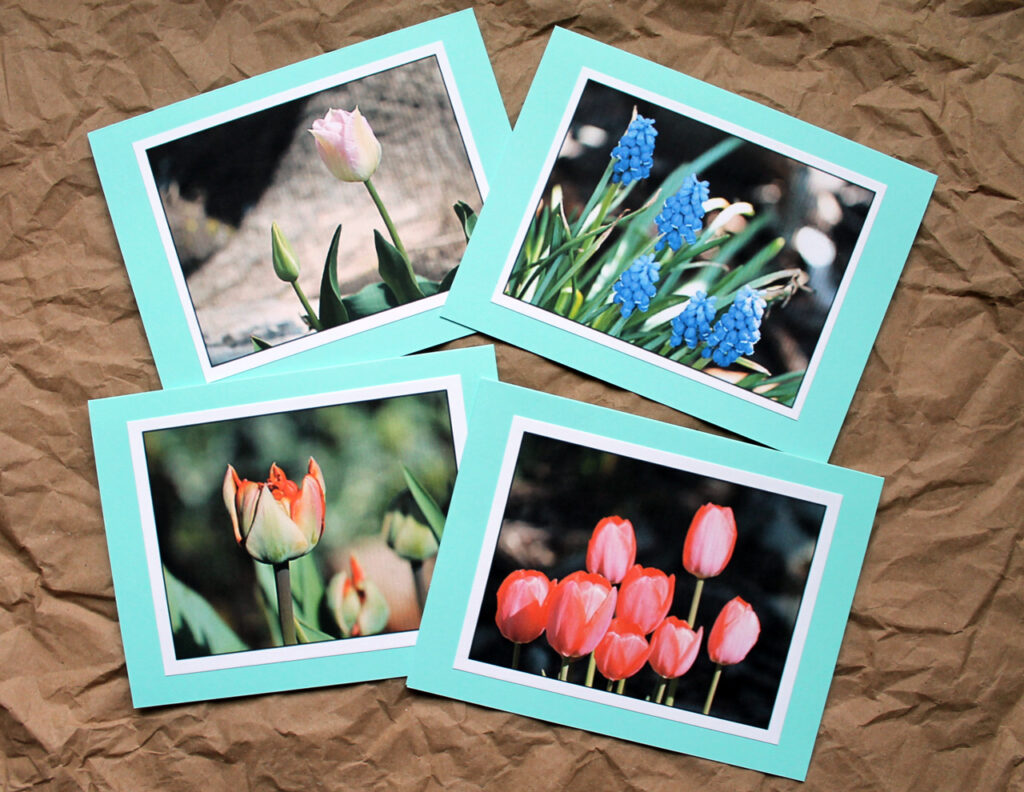
No matter how old their children get, I think that mom’s always appreciate a hand-made card. That notion and the fact that making a greeting card is a quick little creative-outlet that I really enjoy doing, so I keep on making them!
I have a whole drawer-full of supplies, which is currently blocked by the cabinet that usually lives in our kitchen, but has been moved to the living-room during the reno.
So, after having lunch with a friend (Nyla) the other day, I popped into this “Odds and Ends / General” store, that I’d only ever seen from the outside before, while passing it in the streetcar. It’s located on the north-east side of Bathurst and Bloor, (for curious Torontonians or visitors to the city), and I am a bit stumped as to what exactly to call this type of store. If everything in it were a dollar, I’d call it a dollar store, but it’s not. Everything in it is very reasonably priced and most things are a dollar, but this store is so much more than that! For example, I paid $10 for a terrific carrying-case for my new iPad, which I love btw. Anyway, it was a fantastic place and I must have spent an hour in there, looking around and gathering unique bits and pieces!
But I digress … back to the card making …
Since my usual supplies were blocked from access, I grabbed a couple of card-making kits from the store. This type of pre-packaged assortment of goodies was new to me, each containing everything you needed to make two greeting cards, including the envelopes. Not as down-and-dirty-hand-made as I usually try for, but they looked pretty good, for sure. I laughed at the little slogan on the back of the package … “No skills required”.
For my mother’s card, I went with the the pinky colour combo pack, on the left. But I wanted to personalize things a bit more, so I grabbed a piece of blank business card stock, trimmed it to a point and punched a hole into it, to make the semblance of a tag. I was able to snake my hand into the forbidden craft supply drawer and get the top thing out, which was a sheet of letter stickers, which I used to write MOM on the tag. I attached it with that blue “keep-your-blouse-on-the-hangar” ribbon, (mentioned in yesterday’s gift wrapping post), so the tag could dangle and move. Then I stuck the card printed with Happy Birthday inside, and hand wrote my personal greeting below it.
Thanks for reading :)


