Origami Wrapping for Gift-Cards and Love Notes

We mail things to the children in our lives at this time of the year, and with postage rates for sending packages here in Canada being very high, we like to mail gift-cards or money where it suits the situation. This way we can give more gift because we spend way less mailing it. For the cost of a regular letter stamp we can send a greeting card, with a little something tucked inside, anywhere in the country.
[Note: I mail gift cards in low amounts or just a little bit of cash — enough for a child to pick themselves a small gift they like — because there is an element of risk in sending that kind of thing in the mail.]
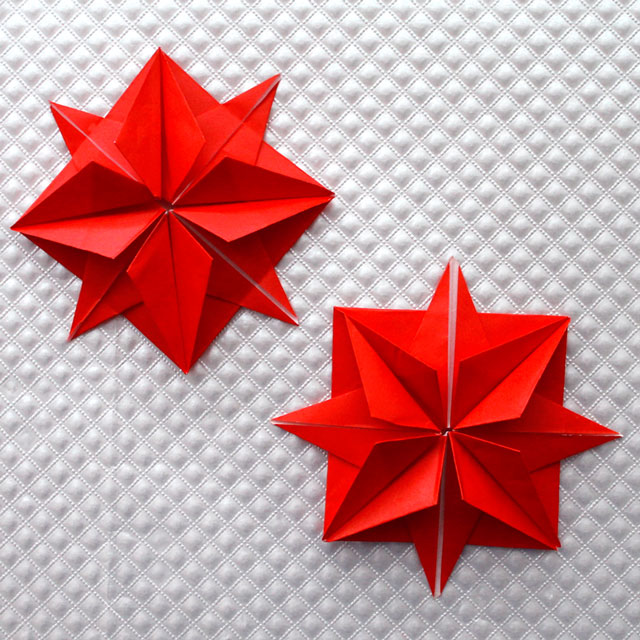
Of course, how a gift is wrapped adds a lot to the fun of giving and receiving, so I try to think of good ways to mail these presents. Here is an origami envelope and bow that I used this year. These are meant to be mailed within a greeting card.
I made a couple – the green one was mailed to our niece on Friday and the other one is for Nick’s birthday coming up. That one will be hand delivered!
Supplies :

– Two 6 x 6 inch squares of paper, one a plain colour and the second in a coordinating print. Through trial and error, I found that the thinnest of origami paper works best to make the bow. Thicker paper is good for the envelope though (although thin is fine too). I used paper that is specifically meant for origami — it comes pre-cut into 6″ squares — but you can cut your own out of any plain and patterned paper too.
– A sticker or seal.
– Scissors.
– A pencil and ruler.
Making the Bow :
I found the tutorial for the bow online here. << I’m sorry that site has a lot of advertising on it, but it’s the best one I’ve found for origami tutorials.

Note, the coloured part you want your bow to be is folded on the inside of the square base you begin with. My level of origami skill is beginner to low intermediate and I was able to make this, however I should mention that it has one part that is pretty tricky (and a bit frustrating), called a sunken tip. I don’t find that easy to do, but I think it’s a standard origami fold, so maybe I haven’t practiced enough.


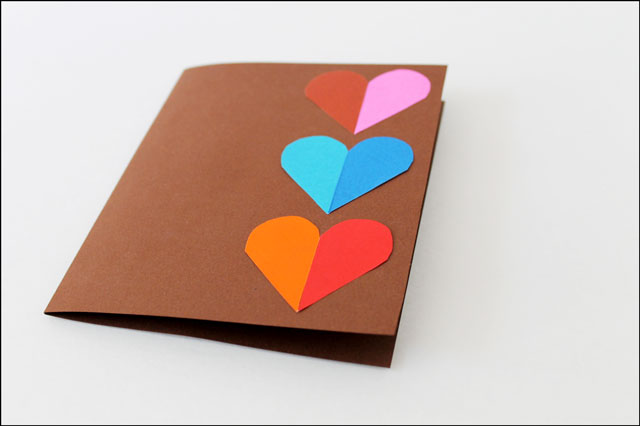
Making the Envelope:
Using your pencil and ruler, mark the centre point of the square of paper.
Fold one corner in, so that the point lies about 1/4 inch past the centre point. Repeat with the remaining corners.

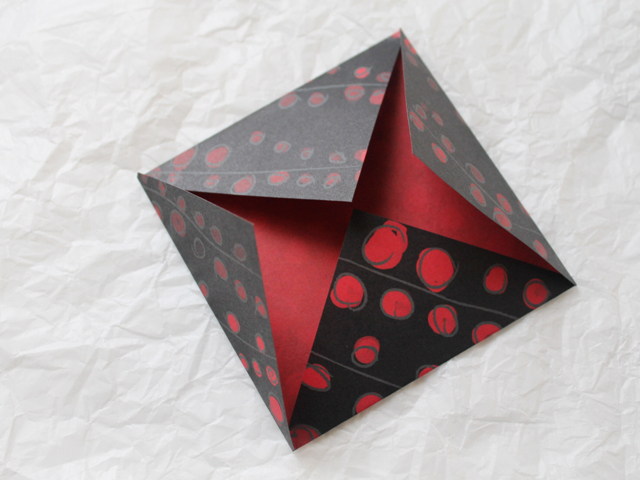
Add your note, gift-card, IOU, or money

…and seal the envelope shut with a sticker or seal. That is the back of your gift.

↑ That envelope was the first one I made and I didn’t overlap the points, but overlapping them as described in the instructions above, makes an envelope that hides the contents better. ↑
Attach the bow to the front of the envelope with a small piece of two sided tape.

In the last step of making the bow, you can either leave the “arms” unfolded, so the bow has a 3d look, or you can fold the “arms” down, which is what you’d have to do if you’re mailing it.

Oh-oh, look who’s make a second appearance in his Christmas portrait — click here if you’d like to see pictures from that photo-shoot and how I made the cards.