Colourful Crocheted Coasters (with Waterproof Backing)

Coasters are a common crocheting project and there are many nice looking patterns out there, however, although I’ve been crocheting since first grade, I’ve never made any. As much as I’ve liked how they look, a coaster made of any kind of fabric that absorbs liquid just didn’t really make sense to me. Certainly they would look cute sitting under a dry glass, but if that glass had cold liquid in it on a hot day, it would inevitably be wet on the outside, and the coaster would let the moisture go right through, ruining any wooden tabletop the coasters were meant to protect.
So, I set about figuring out a way to make some crocheted coasters that have a waterproof backing.
I found a free crochet pattern online for these nice looking colourful ones, Simple Arts Planet Sunshine Coaster, but before beginning them I had a good think about how to make them waterproof. Plastic that was stiff enough to keep them flat, but thin enough to easily cut and stitch through was in order, and I found just the right material in the office supply section of the dollar store – an inexpensive plastic binder did the trick.
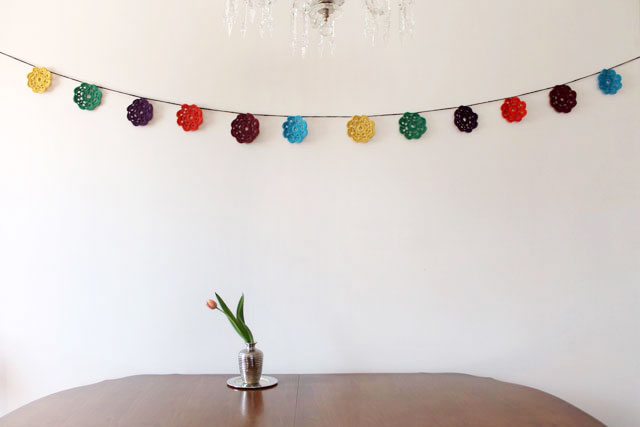
First I crocheted the coasters using some cotton yarn (left over from this project for a garland of flowers we currently have hanging in our kitchen). There are two sizes included in the pattern and I made the smaller one.


Then I measured to determine how large to make the plastic disks to stitch onto the backs. Note that the disks are smaller than the completed coasters, so the ‘petals’ hang over the edge and you can’t see the plastic from the right side, except a bit through the holes between the stitches. I used a bowl that was about the right size to make a round paper template. I also marked the places through which I would pass the needle and thread to stitch the plastic to the coasters.
[Over-Complication Alert : The pattern I used had eleven points or petals, so figuring out exactly where to pre-punch the holes to stitch through, so they’d be equally spaced, was a bit more tricky than it would have been if there had been an even number of points, in which case I could just have folded the circle in half, and then again, until I had as many folds as there were points, and then used the folds as a guideline for the holes. Anyway, I found the right spots to make my holes by putting the template on one of the coasters and marking it by eye. Then I went back with a ruler and determined the accurate spacing. Of course you could just stitch anywhere through the plastic and not worry about the spacing between the stitches being an equal distance all around, since that part is on the underside of the coaster and nobody would ever notice but you, but hey, sometimes I make things more difficult than they have to be!]
Then I traced the template onto the plastic of the binder using a pencil (which you can see on the black plastic), and cut them out with regular scissors. I pre-punched the stitching holes with an awl (a tack would work fine for that, too).

↑ I was able to get all four of the coaster backings from one side of the binder, saving the metal clip and the second side for another use. ↑


Then I just hand-stitched the plastic disks onto the back of the coasters.
We’ve been using the finished coasters daily, and they really work well at keeping the tabletop dry, no matter how wet the glass gets. And, they don’t stick to the bottom of the glass like many coasters do!


This method of making a waterproof crocheted piece could be used on any shape of coaster. Since I only used one side of the binder to make all four of these, I’m planning to use the other half to back a larger crocheted table-mat, that I’ll use under a plant.
Thanks for taking a look. I hope my friends who like to crochet will find this idea helpful.
xo loulou
[Follow up – Summer 2019 : Now on their 5th summer of use, these coasters still look good! We’ve used them a lot, when our cold drinks have become quite wet with condensation and all wooden surfaces remain unmarked by moisture damage. In fact, they’ve turned out to be amoungst the most used things I’ve ever made!
I’ve hand washed them by wetting them and gently rubbing liquid detergent on with my fingers. Then I rinsed them well and layed them flat to dry.
They’ve done a really good job at doing what they’re meant to do, all while looking cute and cheerful!]