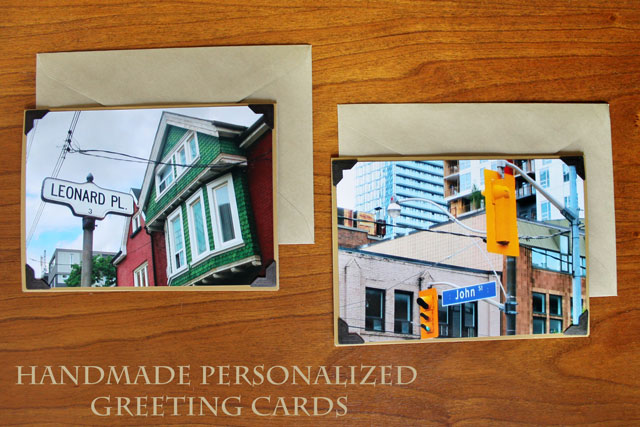
Today I will show you an idea for making your own greeting cards, featuring a photograph you have taken yourself. Texture and interest are added with photo corners.
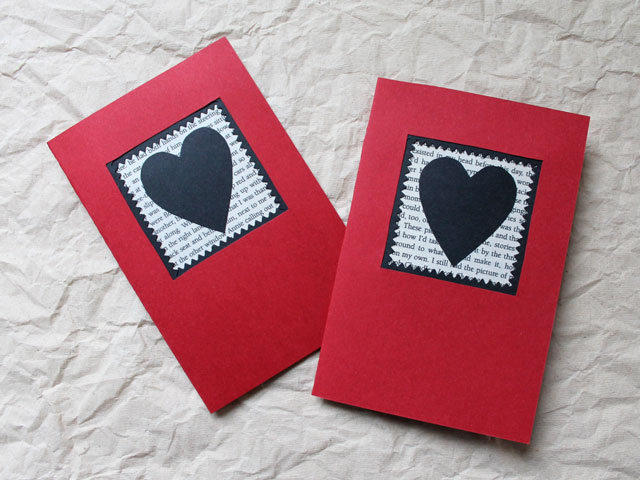
The picture I will be using is of our cat, Eddie. (You might recognize the photo from our wreath making session here). In keeping with my black, red and white theme, I chose red (pre-made) cards and envelopes. These are readily available in many colours in craft stores. You can also make your own plain card bases if you want.


(1) First I got the photograph ready. I added a black border to the original to give the card a more finished look (using photoshop, this is done using the stroke feature under layer style). Then I sized the picture, depending on the size of the pre-made cards I was using. For mine I used a size of 4.5 inches wide and I was able to get two per page. Using plain printing paper I used our home printer (HP deskjet) to print up the photographs.
(2) Then I carefully cut them out so no white paper would show.
(3) Using two-sided tape, I stuck the images onto the cards, making sure my tape was towards the centre of the image, leaving the corners loose.
(4) I then added the photo-corners, by slipping them on the loose corners and then sticking them to the cards. Note that the corners are for looks only.
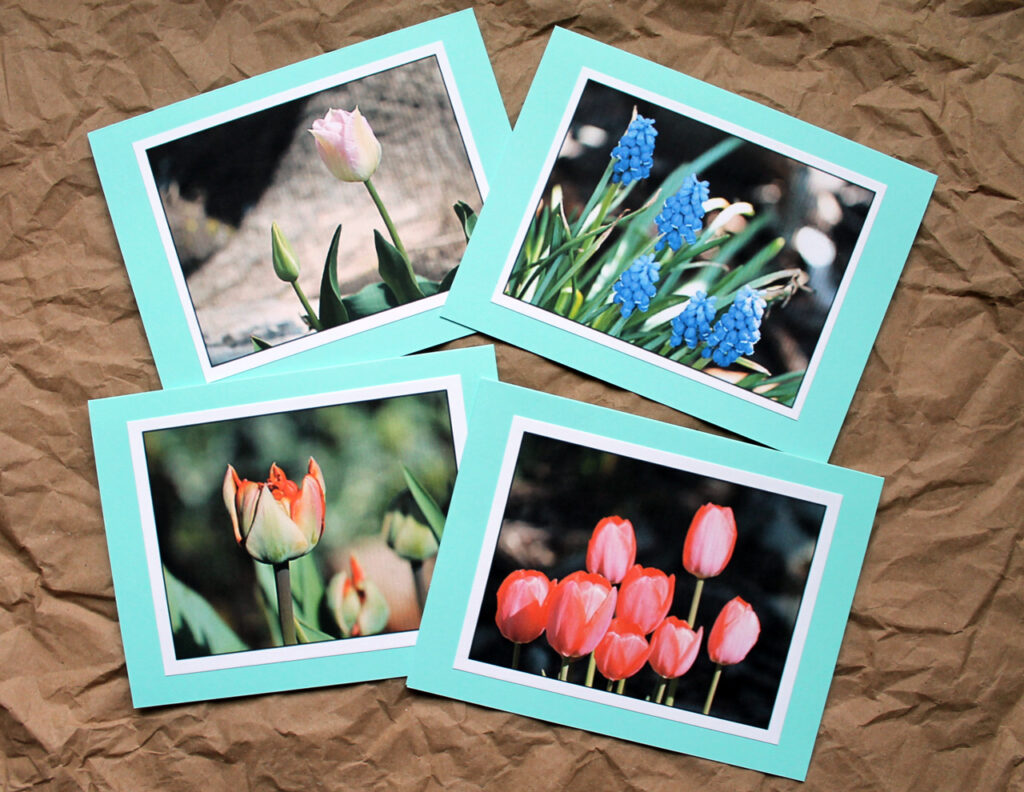
While I am using my handmade cards for Christmas, I have used this technique to make greeting cards for all occasions. Keep future card-making in mind when you have your camera out. When you’re at a birthday party, snap a few shots of the balloons, decorations or cake to make birthday cards later!

Hope you try this card-making idea.
(Notice how I snuck Eddie Boycat into this post for Saturday is Caturday?! ;)
Thanks for dropping in! Wishing you a happy day.
xo loulou