Crocheting : Figuring Out a Very Particular BUT Quite Magical Yarn

———————-
Follow up : Well, I guess this cool yarn ended up being something people didn’t enjoy working with in the end, because shortly after I wrote this post, it was discontinued and is no longer available. That said, it was a challenging product to work with, so I can’t say I’m surprised.
Personally, once I’d figured out how to get it working properly, I loved it and am glad that I still have an unused skein in my stash. xo loulou
————————
Hello, hello. I realize that today’s post will only be of interest to the crochet enthusiasts out there, so I completely understand if those of you who don’t partake in the craft, quietly click away!
While writing about a specific type of yarn is a very narrow topic, I’m going ahead with it because this is information that I really wish I’d been able to find before wasting a lot of time trying to figure this fascinating stuff out.
The yarn is “Pooling Plaid” by Loops and Threads. I found it at Michaels but I imagine it’s available wherever the Loops and Threads brand is stocked.
For the past few years, I’ve started a personal tradition of crocheting a new scarf for myself over the Thanksgiving weekend, so, back in the fall, I picked up a couple of skeins of the Red, Black and Grey colourway of this yarn, when I saw it priced two-for-one. To be honest, I quickly grabbed it based on the soft cushy texture and the colour combo, which is a favourite, thinking that it was a regular variegated yarn.
It wasn’t until I got it home and looked at the label more carefully, that I realized that the colours were arranged along the yarn so that, if done properly, they would work up into an attractive tartan pattern. That was an added bonus and I became quite keen to begin my first “planned colour pooling” project.
So, on the Friday evening of the long weekend, I poured myself a glass of wine, selected the right-sized crochet hook and sat myself down. I opened up the label to reveal the instructions printed on the underside and got to work.
A couple of hours later, I was still at it, but rather than have a good foot or so of the scarf completed, as would normally be expected after that much time, I was retying the beginning slipknot and starting the whole thing over again, after ripping out my work several times over. I just could not get the tartan pattern to work out!

Now, you’ll see by the photos, that I have, indeed, succeeded in creating the intended plaid and have gone on to do it again, with two other colourways.
And, given that Michaels still has them in stock, I’m not stopping with this magical yarn yet, because there are a couple more colourways that I really want to try out, specifically a black, white and grey one and a blue one that has some coral in it.
Since I could find no photos of this yarn worked up online, each new colour combo is a complete surprise, in that, by looking at the skein, you have no idea exactly what the plaid will look like. It’s really fun to see, as it slowly reveals itself, after several inches of crocheting is complete.
Well, there is the tiny photo on the label, which I’ll admit to analyzing with a magnifying glass, in an attempt to count how many stitches there are in each row, because, with all due respect to whoever wrote the instructions on the packaging, no matter how much I tried, I simply could not get the desired results by following them as written.
The main inaccuracy, which makes all the difference, is the width of the completed scarf. The instructions say it should be 7 inches (17.7 cm) wide, when my finished results were 3/4 of an inch shorter, or 6 1/4 inch wide. Sure, when crocheting a scarf a 3/4 inch difference in width only means a few stitches, but that’s the clincher in this case … this yarn is designed in a way that even one extra stitch in each row, will make the plaid pattern impossible to achieve. Even a slight change in your tension, as you proceed, will knock the pattern out of whack.
I believe that it’s this absolute requirement of precision and confusion with the instructions that has frustrated crocheters, leading them to rate the product on the low end of the scale. But, it really is such a fun and interesting yarn to work with, that I encourage you not to give up on it!
Instead, please give my guidelines a try, as I really think we crocheters will be missing out if the brand decides to discontinue the product because it’s such a challenge to use. It is so worth persevering, as the results are really unique and cool looking, and without any weaving in of ends which is everyone’s least favourite part about crocheting with multiple colours.
Here’s what I think you need to know about working with the “Loops and Threads Pooling Plaid Yarn” and some photos to help guide you along …

↑ This is the colourway called “Peacock Parade”. The hook size required is 5.5mm (US – I,9). The yarn is 100% acrylic and is very soft and cushy. ↑

The skeins are very generous at 200 grams, however, the image is deceiving, in that the flap that goes over the model’s shoulder will end a few inches down her back. I found there is enough in one skein to make a cowl scarf for an adult, or a fringed one for a child. I used one skein and about a half, to make a scarf that will wrap around my neck and have some length to hang down on either end.
NOTE: It’s important to line up and attach a new skein so that the exact measurements of the colours changes carries through. This also applies if/when the manufacturer has begun a new piece within the skein, you know, when they tie a knot within a skein. If you come to a knot, undo it and line up the colours so they exactly match the pattern/lengths of the previous piece, before you continue, or the plaid pattern will not continue properly.

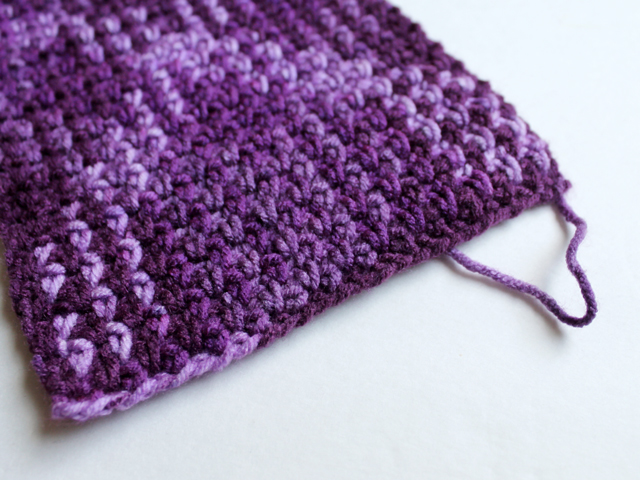
↑ See what I mean, when I say that you really have no idea how the plaid will end up looking, by simply seeing the skein? This colourway is called “Purple Plush. ↑
Each colourway has four colours within, however, in some cases, the shades are very close, as in the red one … there is a brighter red right beside a more burgundy red, which are very hard to tell apart. The ones with four very distinct colours (such as the “Peacock Parade” – lime green, dark green, purple and teal) are easier to use, as you can better see what is going on.

↑ Begin with a 28 stitch chain, with the final one being a new colour (after a distinct colour change in the yarn). I estimated that this will occur if you begin your chain 17 inches before that distinct colour change. ↑
The first row (after the chain) is a Single Crochet Stitch into every second Chain Stitch, with a chain-1 between each. There will be 14 Single Crochet Stitches across each row, with 13 chain-1 between each, plus the beginning Chain 2 turning part. The Single Crochet Stitches go right through the “Chain-1 holes” in the previous row.

The actual crocheting part could not be easier. It’s just a repeating of a single crochet plus a chain, across the length, ending with a single crochet into the “ch2 turning part” of the previous row.
The colour pattern is not easy to see at first and will take several rows to become visible. The variance in colours is achieved by the combination of rows back and forth (so it only works on a strip, turning at each end, rather than going around, as you would when making a hat, for example).


I think that’s all that requires saying, so I’ll leave you with more photos and best wishes for wonderful results!


↑ This colour-combo is called “Red Hot”. Note the two shades of red that are pretty hard to tell apart. Since that was the first one I tried, I was well over halfway done, before I even noticed that there was a difference in the reds! ↑


At this point, the red one is still here with me, while the “Peacock Parade”, and the “Purple Plush” ones, are in their new respective homes, as they became Christmas gifts. Each one was fashioned into a different style of scarf, and each has an added hat/headband to go with it (not created with this same yarn).
I’ll be back over the next few weeks to show you the completed projects, but, fear-not non-crocheters ;) , I have other, more universal, things to show you in between!
Thank you for reading, xo loulou
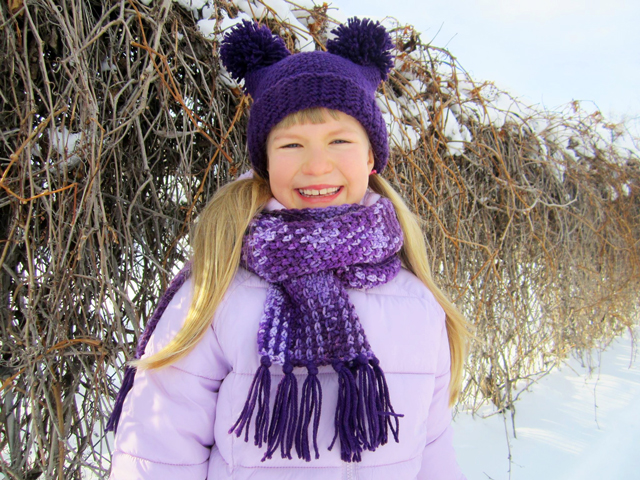
Follow Up : Here’s a post about the first finished project using this yarn. I used the purple one to make a scarf for a child, plus used some coordinating yarn to make a hat with pompom ears.
These stories were linked to.
Related Subjects
crochetingmaking-things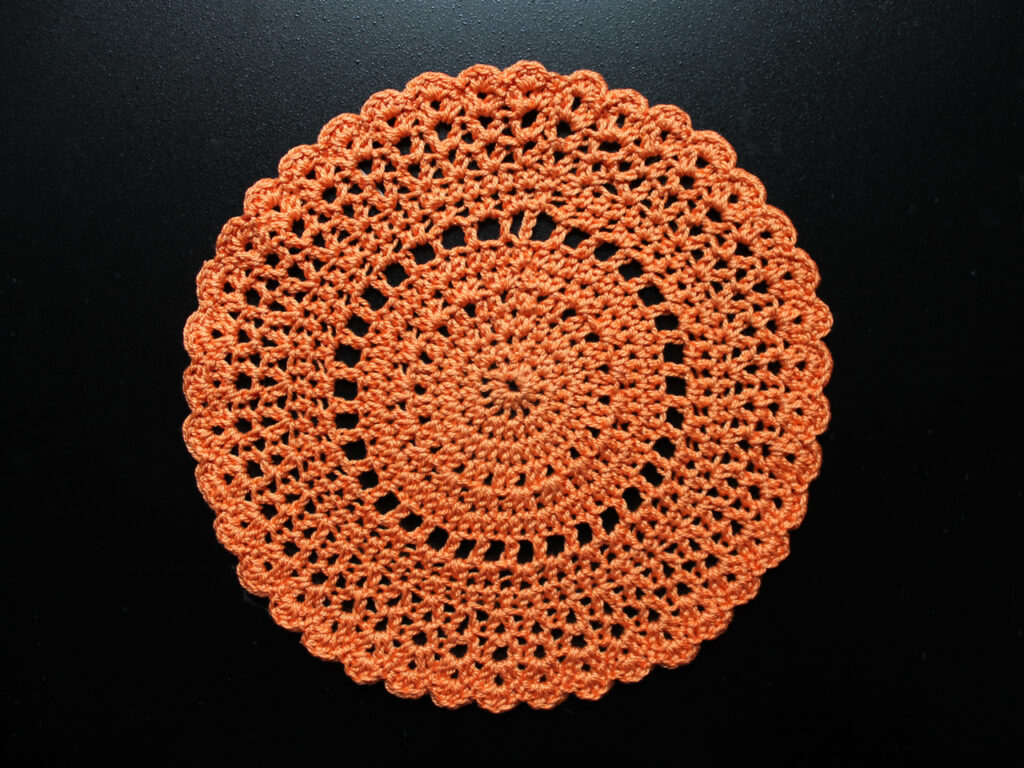 Week 36 Creative Challenge : A Crochet Doily in a Seasonal Colour
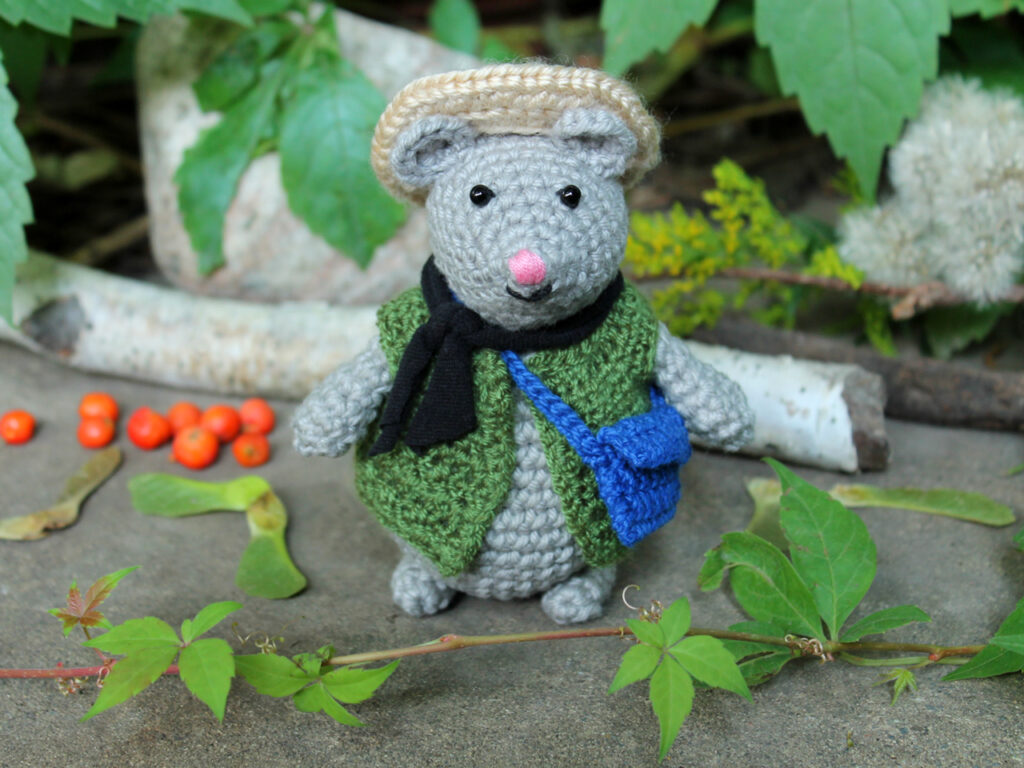 Week 34 Creative Challenge : A Crocheted Mouse with an Outfit
 Week 32 Creative Challenge : Bitten by the Miniature Bug!
 Week 31 Creative Challenge : Vintage Barbie Dolls Get Dressed
 Week 29 Creative Challenge : Crocheting Doilies with a Specific Purpos...