Hello! It’s time for photos of Delilah!
She is my cousin’s daughter, to whom I’ve been sending a handmade gift every Christmas. Then, in the new year, her mom Lisa has sent over some pictures of this darling child with her gift. Since she lives a plane-ride away, it has been a true pleasure for me, watching her grow up via these treasured photographs.
The tradition began when she was 2 and she is now 7, so there are six handmade gifts and corresponding sets of pictures. If you’d like to see the others, and/or get ideas and “How-Tos” for gifts for young girls, here they are:
- A Cotton Flannelette Blanket, when she was two
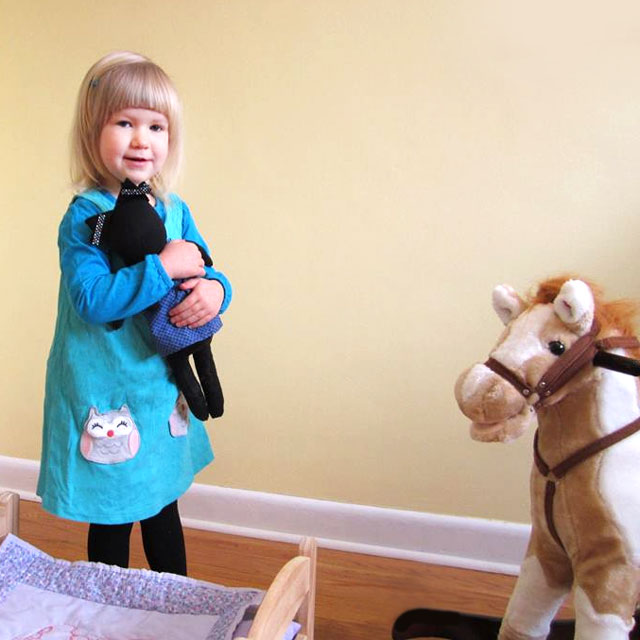
- A Doll Made from Socks and Clothes, when she was three.
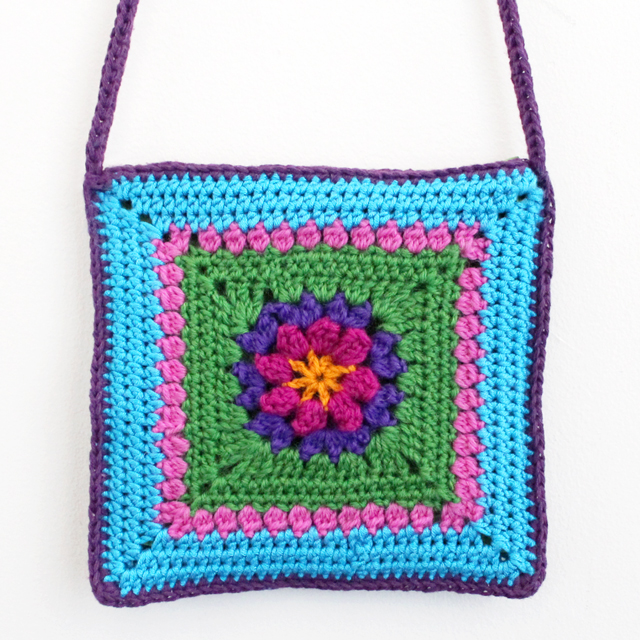
- A Crocheted Cross-Body Purse, when she was four.
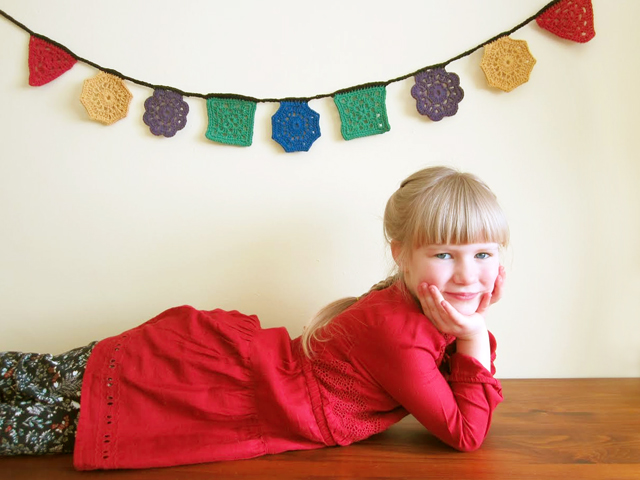
- A Decorative Garland, when she was five.
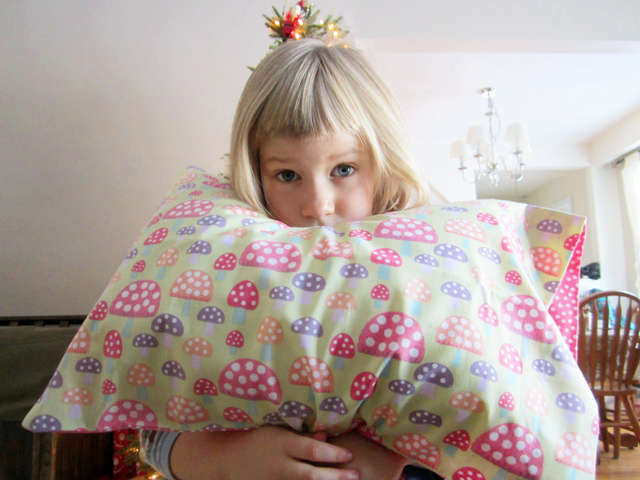
- Some Mini Pillow Cases to go with a Child-sized Pillow, when she was six.
It’s been fun thinking up a new idea for what to make each year. This year, she was at an age that I thought she’d appreciate something to wear and, since she lives in one of Canada’s coldest and snowiest cities, a cozy scarf and hat set seemed the perfect thing.
First, let’s look at the shots of her wearing them. Below, you’ll find instructions for how to make them.


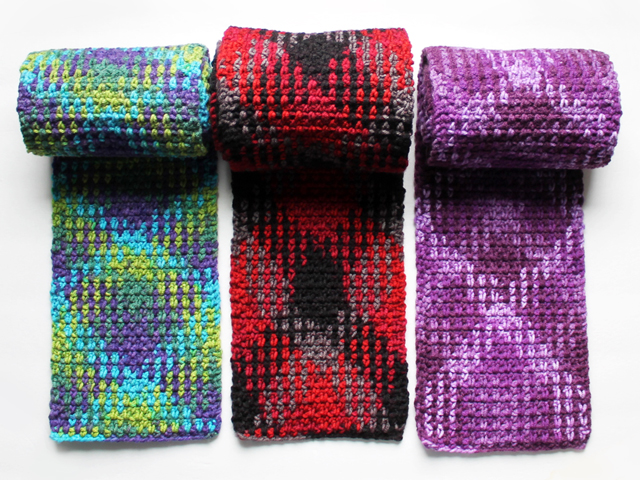
The scarf was made with the neat “Planned Pooling” yarn I wrote about in this post. It is made by Loops and Threads and is carefully created so that when you crochet it in a very precise way, you end up with a length of tartan fabric. It comes in several colour combinations and, so far, I’ve tried three of them.


Delilah’s was made with the colourway “Purple Plush”. The skeins are a generous 200g in size, so one was enough to make this child-sized scarf measuring approximately 58 inches by 6 1/4 inches, plus a four inch fringe at either end.
So, to make the body of the scarf, using the “Pooling Plaid” yarn, please follow the directions in this post.
Then create the fringed ends like this …

↑ Cut 4 x 10 inch pieces of yarn in a complimentary solid coloured yarn, for each bundle. I went with 7 bundles, equally spaced over the 6 1/4 inches, so that’s 28 pieces of yarn. (I used Bernat Super Value yarn, which is a medium weight Acrylic, in the colour “Mulberry”. It’s the same yarn I used to make the matching hat, detailed below.) ↑


↑ Using a large crochet hook, pull 4 pieces through. ↑

↑ Again, using the hook to help, create a single knot close to the edge of the scarf. ↑


↑ Trim the ends. ↑


Moving on to the hat : Yarn = Medium “4” Weight and 5mm “H” hook. The yarn I used is Bernat Acrylic Super Value in the colour “Mulberry”.
As you can see from the photos, the hat a squarish shape adorned with two pompom “ears”. There is a 2 1/2 inch ribbed band around the opening, which is a bit stretchy, and which allows for the hat to be worn with the brim turned up or left down. I’m thinking that will mean that it will fit Delilah for a few years, as she can wear it with the brim up now and down when she gets bigger.
You make the ribbed section first, then hand-sew it into a ring. Then, you single-crochet along one edge, continuing on from there, to form the rest of the hat.
For mine, the ribbed section is begun with a chain of 12 (10 plus 2 for turning). Then, using half-double-crochet stitches, you go back and fourth, stitching into the back-middle loops of the stitches in the previous row. There will be an obvious front and back-side to your piece.
Basically, the rib you see from the front is the top of the row of stitches from the previous row.
I hope this makes sense … it’s a bit hard to explain! Here are some pictures that might help …


To make a hat to fit a child of 7, I made the ribbed length 20 1/2 inches long (it will be stretchy). Whatever length you make, leave a tail of yarn about 10 inches long to use to sew the ribbed piece into a ring. Note, it’s hard to make that seam invisible, so, since you will be able to see it a bit, plan to have it worn at the back of the hat.


↑ Then, attach a new section of yarn and single-crochet along one edge of the ribbed ring, three stitches per repeat in the ribs. (mine turned out with 72 single stitches, but a couple more or less won’t make much difference.) ↑
Then, “Single Crochet + Chain” into every second SC in previous row.
There’s no need to worry about beginning and ending each row, just keep going around and around until your piece is long enough.

↑ From there, “Single Crochet + Chain” into each hole left by the chain in the previous row. Continue this way until you reach your desired hat-height. (I made mine 8 inches tall, including the ribbed section.) ↑
Note, the hat will gently taper towards the top, but this just naturally happened. I did not reduce any stitches, just kept going, creating a tube.
Once it’s tall enough, you can either leave yourself a long enough tail of yarn to hand-stitch across the top of the hat, or crochet across the top, using a slip stitch (that is what I did). If you’re going to crocheting across the top, stop your rounds 1 inch from the side of the hat (remembering that the seam in the ribbing will be exactly in the centre of the back of the hat).


↑ You want to taper the top of the hat a bit, so it’s not too wide and floppy at the top. Do this by folding in a two-inch section on either side (like a “dart” in sewing.) Include the top stitches of the folded part within the seam that goes across the top of the hat. ↑


Use a pompom maker to create two pompoms that are approximately two inches wide. Or, use a couple of cardboard tubes (yes, these are the inner tubes from tp).


↑ Cut and tape the tubes so they are about 1 1/4 inches across. ↑

↑ Positioning the tubes side-by-side, begin wrapping the yarn around the tubes. It takes more wraps that you’d imagine to make nice fluffy poms. I wrapped mine 85 full turns (using medium weight yarn). Admission : the first one I made wasn’t fluffy enough with 70 wraps, so I turned it into a gift topper and made another one. ↑

↑ Pass a 20 inch piece of yarn between the tubes and tie tightly. Wrap the yarn around again and tie again, to make it extra secure. ↑

↑ Pull out the cardboard tubes, and then cut the loops. For some reason I forgot to take a picture of the cutting step, but you gently pull the loops away from the centre of the pompom and cut a few at a time. Leave the long ends from the 20 inch piece you used to tie the centre, but trim any uneven ends and fluff up your pompom. ↑

Attach the pompoms to the top peaks (the inner part of the “dart”) using the extra length left from tying the pompom centres.

↑ Since I wanted to help Delilah easily know which side was the front of the hat, I embroidered her name on some ribbon and attached it to the back. ↑

I hope the crocheters out there will try making this hat and scarf set!
Thanks for reading, and thank you to my dears, Delilah (model) and Lisa (photographer), for participating in this post. xoxo