Valentine Crafting : How to Crochet a Heart Garland

Happy Valentine’s Day to you, if it’s a holiday you celebrate. We quite enjoy it ourselves. The table has been set with the heart-printed tablecloth and we plan to cook dinner together later, while enjoying a bottle of champagne.
Speaking of hearts … perhaps the crocheters out there would like to learn how to make a garland to go with the season and beyond? Hearts are my favourite shape, so this little number will probably hang around for some time yet. It will also work for birthdays and anniversaries, and would even make a cute decoration for a child’s room.


This is a smaller garland, measuring just under 5 feet, from tip to tip. Each heart is 3 inches by 3 inches, and there are 9 of them. The main part of the hearts are medium-weight red cotton, and because I had it in a variety of colours, the border is vintage woolen tapestry yarn. I was the lucky recipient of an elderly lady’s stash after she found she could no longer crochet, so ended up with dozens of tiny skeins of wool, in a wide range of colours. Therefore, my colour palette was chosen from this supply, with the aid of some vintage fabrics as inspiration, however, of course, feel free to use whatever colour combinations you desire.

↑ Some of the vintage tapestry wool I was lucky to have been given. ↑


I tend to prefer the look of tight crochet stitches, so used a 3.5 hook, one that would normally be considered on the small size, versus the weight of the yarn used.
The hearts are formed by creating a square. which is then turned 45 degrees to form a diamond. The “arches” of the hearts are two scallops, one on each of two adjacent sides of the diamond.
Note, whenever possible I like to hide my ends as I go, within the following row of stitches, and tips of when to do this are given in the pattern. Also, I am left-handed so these pictures reflect that. Please imagine things going the opposite way, if you’re right-handed.

How to Crochet a Heart Garland :
Chain 10.
Turn, and hdc into 3rd from hook and 7 more for the row – total = 8 hdc stitches, plus bar from beginning chains. Chain 2 and turn.
Repeat for 4 rows (should form a square). Chain 1.


Go all the way around the square with a row of single crochet, 8 per side, with the 8th ending up in the next corner. Ch 1 to turn, and begin the next 8 in the same corner stitch — so the corners have sc,ch,sc. Hide the beginning tail of yarn as you go. At the end of the fourth side, add one more sc, to close the border around the square — so the final side has 9 sc.

To make top “arches” of heart : 9 tcr into 5th sc and then slip-stitch into corner stitch,to form a scallop. Repeat with 9 tcr into 5th sc of the next side. Slip-stitch to corner stitch to form a second scallop, and therefore finish heart shape.

Border – change yarn colour, if desired, attaching it to dip between scallops (middle of top of heart). sc into next 3 stiches, 2 sc on very top of scallop, and 2 sc in next 4 (to get around the curve), hiding the beginning end of new colour yarn within the stiches. 1 sc in each stitch down the side (will be 11 stitches), hiding end of red yarn within the stitches.

At bottom point of heart, 1 sc, 1ch, 1 sc. Turn to go up the other side, mirroring what you did on the first side – 1 sc into each stitch up other side. In 12th, 13th and 14th, 15th and 16th, 2sc into each stitch of scallop, again, to get around the curve without tightness. Sc in ext 3 to finish border. Ch 1, cut yarn leaving a 2 inch tail and pull the end through.


Thread end on a needle and stitch to back of first border sc (right in the middle of the two scallops). Stitch in end of yarn to hide.


The “string” part of the garland is a 250 stitch chain. Note, if you’re going to add the tassels at the end (described below) leave yourself a good 6 inches of yarn at either end.
The hearts are hand-sewn onto the chain, beginning in the center, so they will be equally spaced across the “string”. I left about 4 chains between each heart. In order to have the “thread” match exactly, I separated the strands of a 16 inch piece of the cotton yarn, and used the separated strands as “thread”.

Optional: Finish the ends with tassels.
Wrap yarn around a 3 inch piece of cardboard, 7 full times, making sure the beginning of the loops and the end are at the same side of the cardboard. Cut, leaving a bit extra at the beginning and end, just to make sure they’ll be long enough to blend in with the rest of the tassel.

While still on the cardboard, using the tail from the end of the chain “string”, tie the loops of yarn together tightly. Allow the tail end to join the rest of the downward loops.

Cut a second piece of yarn about 10 inches long. Remove cardboard and tie that piece around the downward loops and the tail end of the chained “string”. Knot it and then wrap the second piece of yarn around the bundle a few times. Knot again.

Pass the ends of the second piece of yarn down through the centre of the tassel, so they join the rest of the downward loops (it’s like yoga but with yarn … haha, are you reading this?!).
Snip the loops and trim ends.


Repeat tassel making steps at the other end of the chain “string”.

Oh, did I just hear you asking for a close-up of the kitten figurine?


In closing, I’d like to send some good vibes and a thank you out to the kind anonymous person who, one evening last summer, left a collection of gorgeous vintage glassware on the corner of Queen Street West and Markham, along with a sign stating that they were free for the taking. I came upon the trove of beautiful glass and selected a few pieces, with much appreciation for their generosity. That’s where I got the Jadeite (light green) bowl and Blue Milk-Glass bowl in these photos, plus a Pyrex bowl in the Spring Blossom pattern. The lidded Blue Milk-Glass is one that I got on ebay. The ceramic kitten was found at an incredible vintage market my mother took me to in Barrie, where she and my father live, as written up in this post, one of the very first I wrote back in 2011.
Here’s to vintage, kind people, making things and love for friends and family.
Thank you kindly for checking out my blog.
xo loulou
These stories were linked to.
Related Subjects
crochetinghandmade-gift-ideasholidays-valentines-daymaking-things Crocheted Heart Shaped Sachet : Renewable with Essential Oils
 Crafty Behaviour : Handmade Valentine Decorations 2020
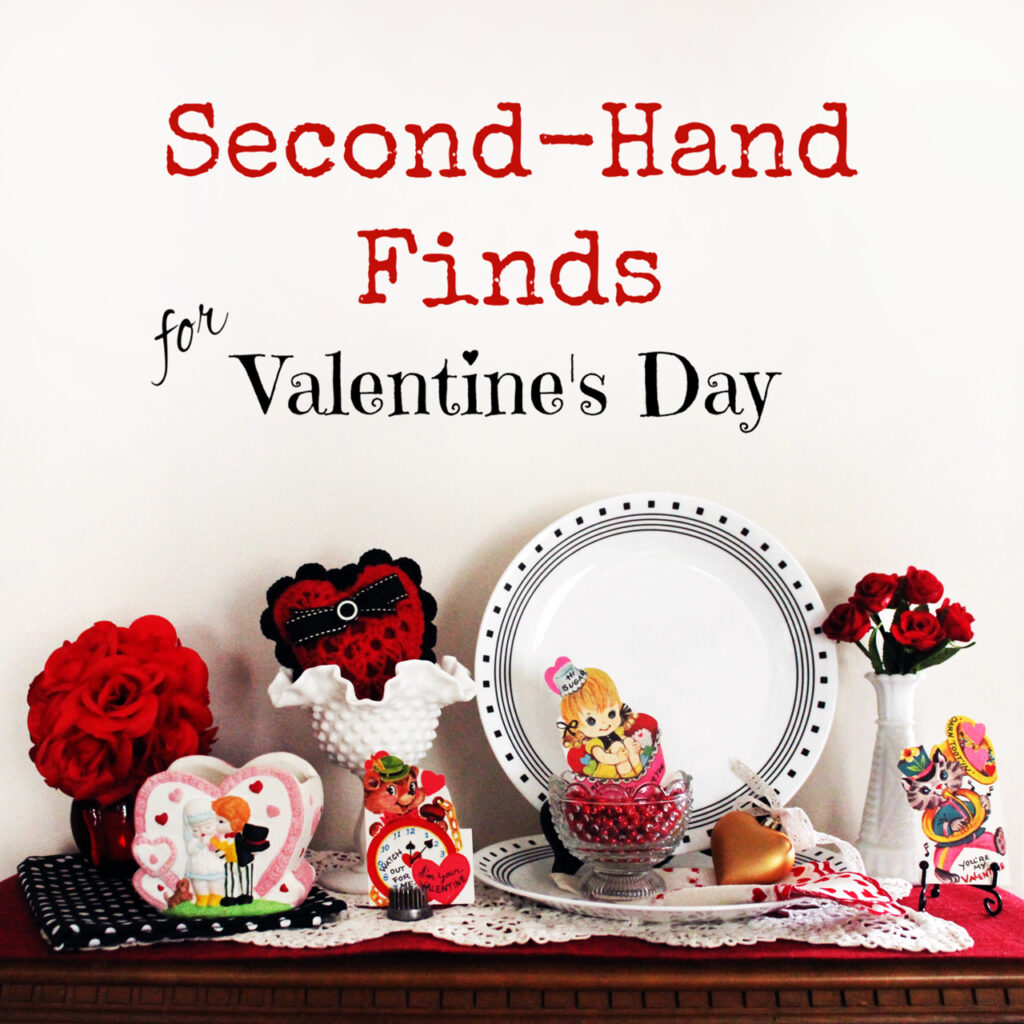 Secondhand Valentine’s Décor – Thrift Store and Ebay Find...
 Week 36 Creative Challenge : A Crochet Doily in a Seasonal Colour
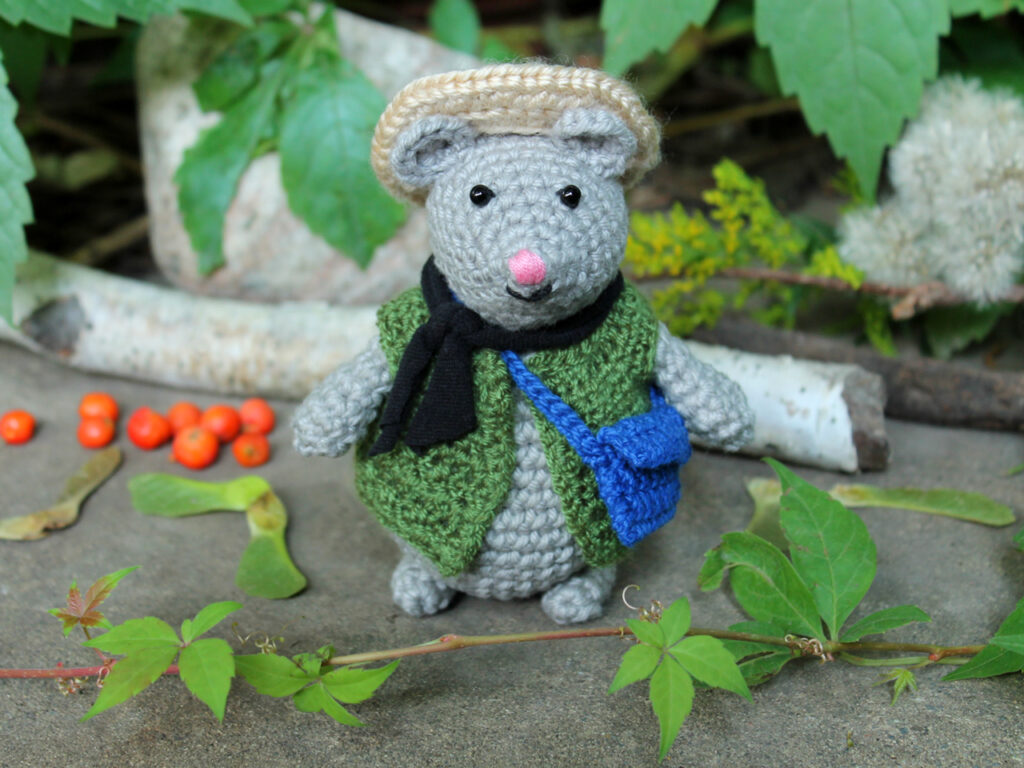 Week 34 Creative Challenge : A Crocheted Mouse with an Outfit