Hello and Happy April! Last week for my Weekly Creative Challenge, I crocheted some Easter Eggs.
By using worsted weight cotton yarn (I used this kind by Bernat that I found at Michael’s) and a 4mm hook, these work out to be just slightly larger than a regular chicken egg. I do plan to also make some mini ones using finer cotton yarn and a smaller hook.
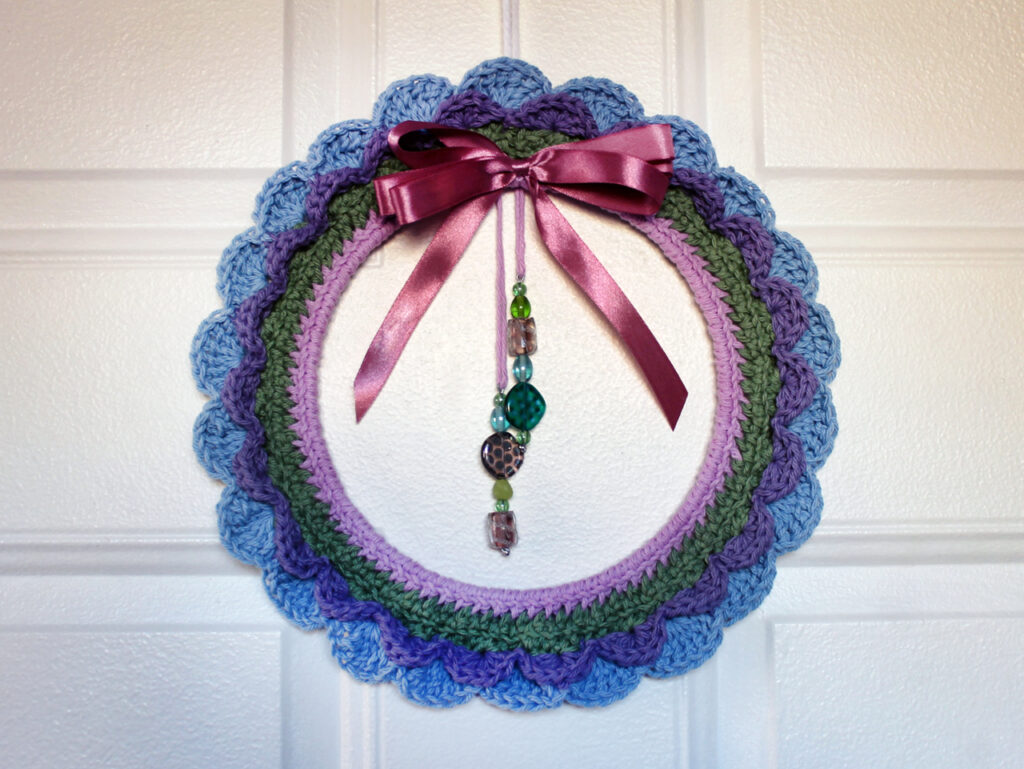
Each only takes a small amount of yarn and they are a great stash-busters to use up what you may have on hand. I ended up using the last bits of 4 skeins I’d been working through, on this Easter Wreath project and this Easter Basket project.

Crocheted Easter Eggs
It took me 38 minutes to make one.
Note: Each row flows directly into the next row without any “slip stitch to complete row” to end a row, so you might want to use a stitch marker of some sort to indicate the beginning of each row.
Chain 2. Into 1st chain (furthest from hook) make 8 single crochet stitches.
2nd row : 2 single crochet stitches into every stitch in previous row = 16 stitches
3rd row : 1 single crochet stitch into next stitch and 2 single crochet stitches into the following. Repeat pattern for the whole row = 24 stitches (or more or less 1 stitch as it makes little difference because, from here until the finishing part, you’re just crocheting a tube)
4th and 5th rows : 1 single crochet stitch into every stitch in previous row = 24 stitches.

6th to 11th row: change colour of yarn (don’t cut previous colour yarn) by creating a slip stitch on the new colour and using it as your “yarn over” when doing the next single crochet, leaving previous colour inside egg. See images below.


Do 2 rows of each of 3 colours or 2 of one, 2 of another, and back to the other colour for 2 more rows (6 rows in total). 1 single crochet stitch into every stitch in previous row = 24 stitches.
Cut yarn for the other two or three colours, leaving tails inside the egg. To secure, tie the ends of each colour together in a knot inside the egg.


12th row : Pick up the first yarn colour again. 1 single crochet to change colours, then, do a “2 in one decrease stitch”, followed by single crochet stitches into the next 5 stitches. Repeat that, with a decrease stitch every 6th stitch, until you’ve done this for 5 rows.
The egg will narrow down more with every row until you’re left with a small hole about the diameter of a finger.
Stuff the egg quite tightly. It’s easier to add most of the stuffing as you proceed with the final rows (while the hole is still larger, and top it off before you close the hole at the end. It takes more stuffing than you thought it would!

To finish, slip stitch into next stitch, chain one, cut yarn leaving a 5 inch tail.
Pull on the loop over the hook until the end comes through (now it won’t unravel when you pull on the end). Pull end tight.
Thread the tail of yarn onto a darning needle and whip stitch through the outer loop of each stitch around hole, pulling tight to close the hole (like a drawstring).


Knot and pass the end of the yarn through the egg, to hide the the tail within. Remove needle and trim the end. The end will go inside the egg and you won’t be able to see it.

If you have any questions about how to make these eggs, please send me an email at the address in the blog footer.
Thank you for visiting. xo loulou