![]()
The truth about this hat is that it started out being a headband ear-warmer. I had a small remnant of red yarn and a keen desire to try out a new-to-me stitch called “Chevron Lace”, designed by the creator of the crocheting blog Moogly. The pattern, found here (for free!), is actually for an infinity scarf, but as mentioned, I only had a small bit of suitable yarn at the time, so I thought I’d practice the stitch by making a headband.
After I’d finished it I wasn’t thrilled with the results. I loved the Chevron Lace pattern and now have some yarn to make the full infinity scarf as per the pattern, but I found that as a headband, it was a bit too wide. I tried it as a neck-warmer and it was ok, but too loose to be very warm and too short to be a cowl. So I set it aside, chalking it up to a sample of a newly learned stitch.
Then I found a second small remnant of red yarn tucked into the back of a drawer where I keep some crafting supplies. It wasn’t quite the same weight and colour, but it was close enough that I got to thinking about how I could use it to turn my headband into a hat!
![]()
The result is soft, light and slouchy, perfect for those days that are cold enough to need a hat, but not so freezing that you need something thicker. I like how the chevron lace pattern naturally formed vertical ridges around the band.
This was a stash buster extraordinaire, as I was left with only a foot or so of yarn from each remnant.
And since photos of someone wearing a crocheted creation will do the best job at showing how it looks, and I couldn’t convince Nick to model it, here are some mug shots of me in the hat …

![]()

![]()

I wore it out as soon as it was finished and plan to post some pictures taken during that outing, later in the week. A spot of shopping was involved. [Edit : that post is here.]
Thank you for dropping over. I hope you had a good weekend.
xo loulou
—————————-
For fellow crocheters who might be interested in knowing how I made it:
The yarn I used was a fine sport/baby weight.
As mentioned, the band/body part was made following these instructions. I made mine 22 inches long, but I have a pretty big head and I prefer my hats to fit loosely.
To make the cap part: Note, the fit of the hat is loose and forgiving, so you don’t have to be exact and can can modify to suit your head. I wanted some slouch so added more rows than you might want.
Chain 5 and slip-stitch (ss) to form a ring.
1st row: Chain 3, this takes the place of your first double crochet stitch (dc), as it will for the remaining rows as well. Make 11 more into the ring. SS to top of beginning chain.
2nd row: Chain 3 and dc into the base of the chain. Make 2 dcs in every stitch in previous row, and close with a ss. (Total 24 stitches)
3rd row: Chain 3 and dc into the base of the chain. Make 1 dc in next stitch and 2 dcs in following one. Continue like that all the way around (36 stitches)
4th row: Chain 3 and dc into the base of the chain. Make 1 dc in next TWO stitches, and 2 dcs in the third. Continue sequence around (48 stitches)
5th row: Chain 3 and dc into the base of the chain. Make 1 dc in next FOUR stitches, and 2 dcs in the 5th. Continue sequence. Last set will only have 2 stitches with 1 dc. (58 stitches)
6th row: Chain 3 and dc into the base of the chain. Make 1 dc in next EIGHT stitches, and 2 dcs in the 9th. Continue sequence. Last set will only have 3 stitches with 1 dc. (65 stitches)
7th row: Chain 3 and dc into the base of the chain. Make 1 dc in next TWELVE stitches, and 2 dcs in the 13th. Continue sequence. (70 stitches)
8th row: Chain 3 and dc into the base of the chain. Make 1 dc in next SIXTEEN stitches, and 2 dcs in the 17th. Continue sequence. (75 stitches)
9th row: Chain 3 and dc into the base of the chain. Make 1 dc in next TWENTY stitches, and 2 dcs in the 21st. Continue sequence. (79 stitches)
10th row: Repeat 9th row.
This yielded a cap that fit onto the headband quite closely with minimal puckering. I lined up the seam in the cap and the seam in the band and attached them together used a running slip stitch on the inside.
To make the small detail on top, chain 20, turn and make a single crochet stitch in each. Fold in half, poke ends through the beginning loop and sew.
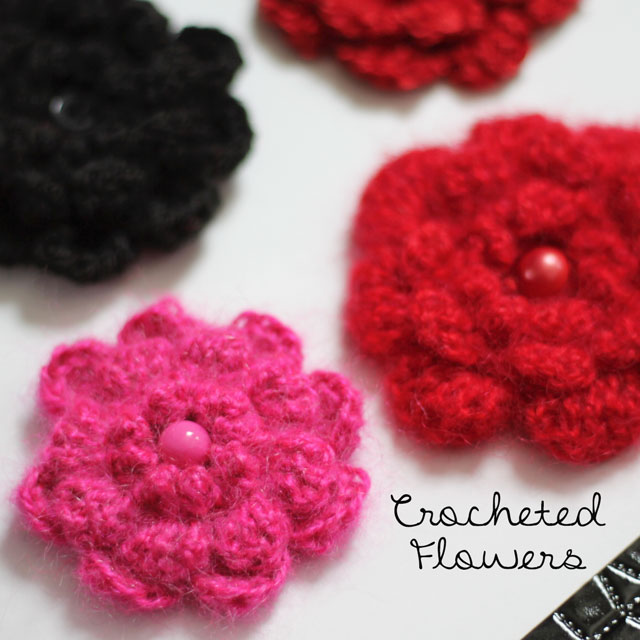
The flower is the pattern I demonstrated in this post, however because the yarn was so fine, the flower, as instructed in the pattern looked too small, so I added an extra row of petals at the back, following the same method (chain 5 ss to bottom middle of previous row, all the way around, to create 8 petals, but increasing the number of treble crochet stitches per petal to 7. I chose to sew the flower directly onto the hat rather than attach a metal brooch clip, because I like to stick my hats into my coat pocket when I’m inside, so I didn’t want any metal parts that might pull at the delicate lace.
![]()