Hello! Here’s what I made last week for my Weekly 2023 Creative Challenge.
As previously mentioned, I’ve become a wee bit obsessed with miniatures lately, so I’ve added to that new collection by creating some tiny books.
The one I like the best was this “The Secret Garden” book, which was bound using the same historic technique, called “Coptic Binding”, that is used to make a regularly sized book, so it has separate pages that can be turned.
The Secret Garden was my favourite book as a child and I recently revisited it, by listening to the e-book. I still love it. It was first published in 1911 and has been rereleased with many different covers over the century plus of its existence, but I chose the one illustrated by Tasha Tudor, which was released in 1962.
That is somewhat beside the point, since the image of this book cover and the others I made, were degraded so much when shrunk down to an inch and a half, that they look blurry. The cover started out looking very crisp and clear on my monitor, but lost that due to what is known as “the problem of pixilation”, when shrunk down so much. So, please don’t think it’s your eyes failing or my lack of camera focus when you look at these images! I tried a few different ways to make them print up more clearly on my home printer but failed. My mister, Nick, suggested I convert them to a different kind of file before printing, so I’ll try that next time.
I used pages from an old paperback that I found by the curb, so the print size is out of scale, but it does the job. Next time, I might try scanning some print and shrinking it down, but I expect I’ll run into the same issue with a degraded image due to shrinkage. (Haha, yes, George Costanza did just come to mind!)

The methods used are called making a “Text Block” and “Case Binding” it. I learned how to make the separate “signatures” and then how to sew them together properly, by watching this Youtube video by “Sea Lemon”. Then, I followed another of her videos, this one, to properly attach the cover.


Now, I’ve discovered that book-binding is a fun thing to do!
I also made some others, using a great printable offered for free, my miniaturist Poppy Seed Mini. I had saved the link to this last Christmas after coming upon this Youtube tutorial for an absolutely charming tiny “Elf on the Shelf” display. Even if you’re not into making things, I think you’ll get a kick out of this cute creation. Anyway, there are books on the shelf, with the elf, and the creator offered a printable for them, which I used for my project. And, I’m planning to tackle the elf this Christmas! Note that this is done in the 1:6 scale meant for dolls the size of Barbie, so I shrunk the image down, to use with my 1:12 scale.
Here’s a book I made using a cover by Poppy Seed Mini, and the extra “pages” image she provided. I followed her instructions to make it, however, instead of using foam-core, I used two thicknesses of cardboard. I also gave the cover a coat of mod podge to see how that worked. It turned out looking quite realistic and I really like it, however, it can’t be opened.

Then, I made some books using the Poppy Seed Mini covers, but wrapped the pieces of cardboard in print, so the books can be opened. No separate pages, though.

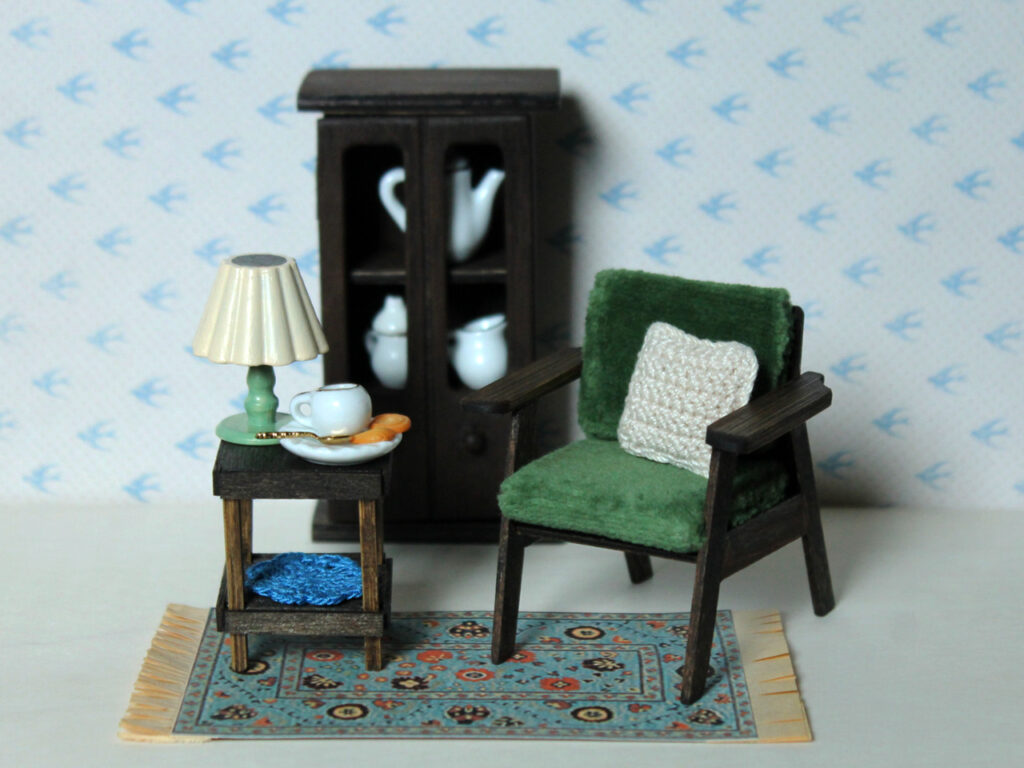
You may recall, this post from a couple of weeks ago, when I refurbished a piece of rough wooden dollhouse furniture from the dollar store, to a smooth and stained cabinet with a door that opens. Well, I had another dollar store cabinet, which I refurbished to make a bookshelf. For this one, I pried off the top in order to get to the top cupboard doors, which I removed. There was a shelf piece that had been the bottom of the cupboard, which I also removed. Then I sanded the pieces well, (except the cupboard doors I’d removed), and glued it back together.
FOLLOW UP : I wasn’t happy with the print showing on the sides of the “pages” so I later went back and carefully painted the sides with some white acrylic paint mixed with a tiny bit of brown.


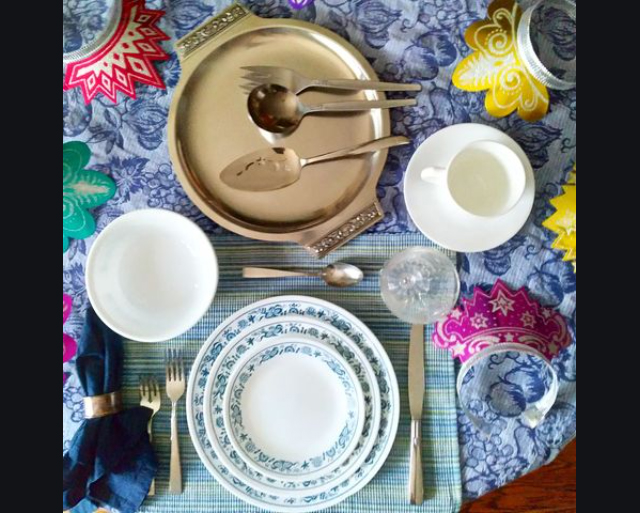
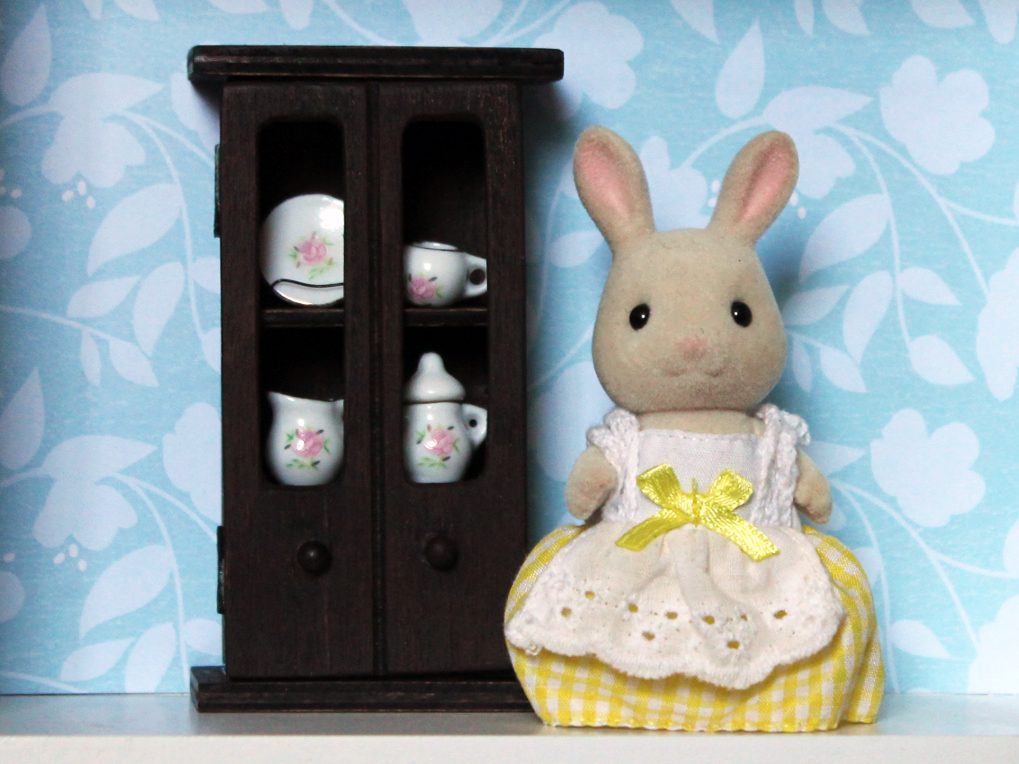
One final thing — we previously learned the hard way that we have to drive our car regularly to keep the battery going (we don’t use the car much). So, we take it out for a run once every 2 weeks. Most of the time, this drive involves grocery shopping, but we also try to come up with fun places to go for this drive. So, last week, we went to a toy store uptown that I’d seen online carried “Calico Critter” families. We went up to Mastermind Toys on Mount Pleasant Avenue, where I (Nick stayed in the car, lol) found a freshly stocked shelf full of them and lots of accessories, as well. I greedily picked up a few different families and then thought, “what the heck am I doing? I definitely don’t need more than one family of Calico Critters, for goodness sake”. So, I left with the Sweet Pea Family of rabbits. I do kind of want to get more, though. Yikes. I have to get out more.

Thank you for reading and happy crafting if you’re also on a creative journey! xo loulou