Holiday Crochet : How to Make a Wreath

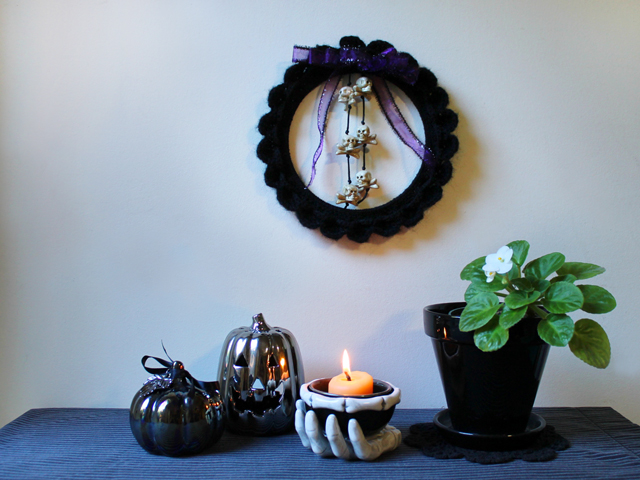
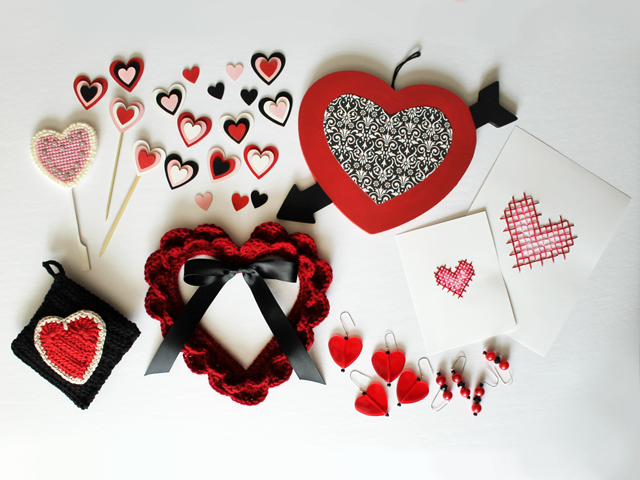
Follow up : Hi! I used this pattern again but with a smaller ring and finer yarn, to make a couple of wreaths for Autumn and Halloween. If you’d like to see them, they are over here. Also, I made a heart shaped one for Valentine’s Day, described in this post. And, a four coloured Easter one, seen here, Thanks for visiting!
—————————-
Hello! For those of you who like to crochet, I hope I can inspire you to make something you end up loving.
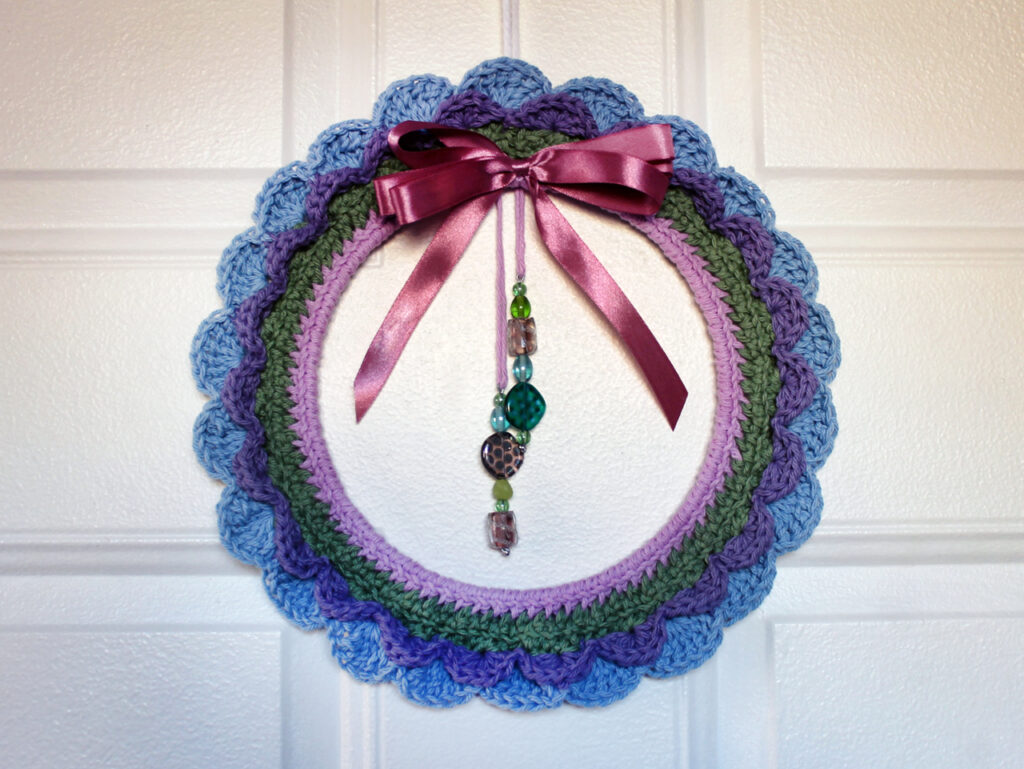
Here’s a crocheted holiday wreath. The beauty of making things yourself is that you can use whatever colour you want. Personally, I love the colour of turquoise and felt a need for a holiday wreath in that shade. Well, more accurately, I felt the need and I also had some leftover bulky yarn in variegated shaded of turquoise, just sitting in my stash, and a metal ring base that I’d been given a while ago but hadn’t found a use for. So, I combined those elements with some medium weight cotton yarn, and made this wreath. The soft and fluffy bulky yarn added just the right amount of cozy wooliness to the finished creation.
Perhaps you’d like to make one too … here’s how …

Supplies:
- a floral hoop (mine is 12 inches across, but, in hindsight, I would have preferred to use the 10 inch one that they carry at Michaels.)
- about 70 grams of medium weight yarn (I used cotton because I had it but anything would work fine)
- optional – a change of yarn, either in texture, weight and/or colour, such as the bulky yarn I used – enough to make a row or scallops around your wreath (sorry, I can’t be more specific than that about quantity because mine was leftover from another project.). Or, just continue with the first yarn. See different examples linked above.
- two hooks, a smaller one (I used a 5.5) for the medium weight yarn and a larger one (I used a 6mm) for the bulky yarn (not shown in image above), or just one hook of not using a bulky yarn.
How to:


↑ 1st row – Single crochet closely all around ring, adding enough stitches to completely hide the ring. Slip-stitch to close ring of stitches. ↑

↑ 2nd row – “Chain 1 + Single Crochet” into every second stitch. Slip Stitch to close ring. ↑

↑ 3rd row – “Chain 1 + single crochet” into every “space made by chain-1-space in previous row”. Slip-stitch to close ring. (Photo taken when this row was complete.)↑

↑ 4th row – Ch1, *sc into back loop of every stitch for 5 stitches (this is “the 5” referred to in next row), “single-crochet, chain-2, single-crochet” into next (6th) stitch*. Repeat between ** all around. Slip-stitch to close ring. (It doesn’t matter so much if your count isn’t exact at the end, ending with fewer or more than 5 won’t really show up very much, and that part can be hidden behind a bow when you hang your wreath.) ↑


↑ 5th row (1st row of scallops) – *7 double crochet stitches into middle stitch of “the 5”. Slip-stitch into front loop below “sc, ch2, sc” in previous row * (first scallop formed). Repeat between ** all around. Ss to close ring. Cut yarn. ↑

↑ Image out of order – Included here to show you where the second row of scallops will be made. ↑

↑ Scallop is “anchored” by slip-stitching through a loop behind the scallops in the previous row. Choose a loop that’s centered behind the scallop, down from the top edge, so the slip-stitch doesn’t show from the front. (That is hard to explain, so I hope I’m making sense!) ↑

↑ 6th row (2nd row of scallops) – Change to bulky weight yarn. Attach through back of middle stitch in a scallop in previous row. *Skip to “ch2 hole” in previous row and make a scallop of 7 triple-crochet stitches. Ss through back loop of previous row scallop.* Repeat between ** all around. Ss to finish round. Cut yarn and weave in ends. ↑

Decorate with a ribbon bow and some ornaments, if desired.


Here it is, in action …


Thank you for taking I look. I hope you’re enjoying the holiday season so far!
xo loulou