Making Greeting Cards with Photos and Some Pictures of Our Flowers

Update : Since making these cards using our home printer, the printer stopped working and we chose not to replace it, however, I’m still making greeting cards with my own photographs, by getting them printed up at a regular photo printing shop. They turn out nicely. See examples linked in the “You May Also Like” section at the bottom of this post. Thanks for reading!
———-
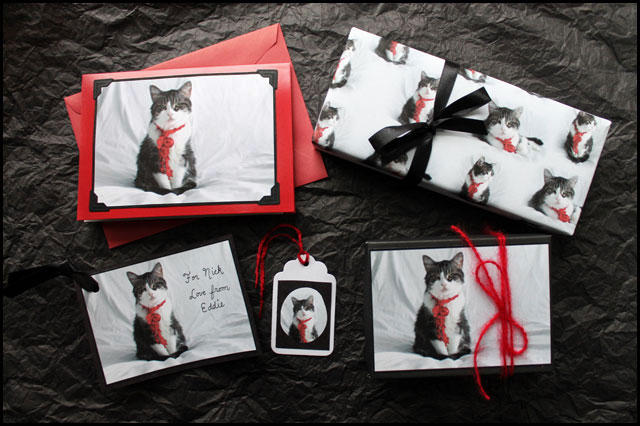
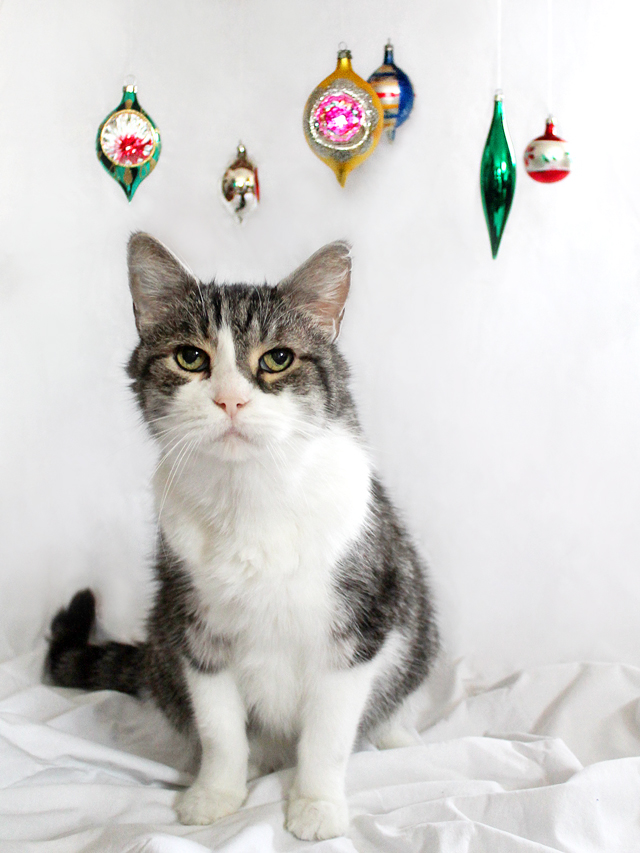
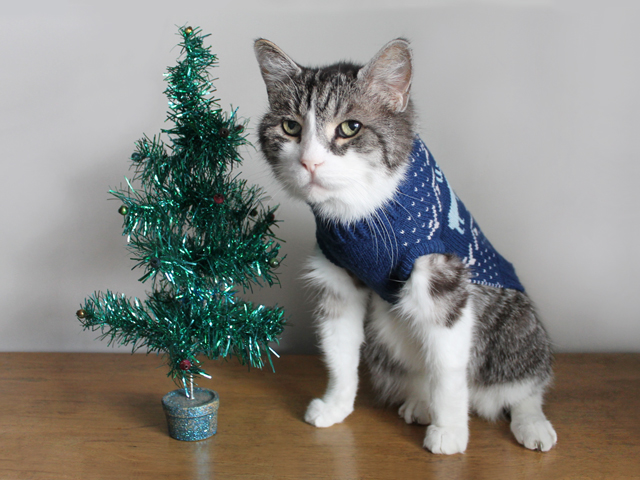
I have shown this greeting card making technique before when making Christmas cards with a picture or my cat Eddie on them, here and here, however I’ve not posted about making other types of cards this way too.
You can use any of your digital photographs to make nice cards. Imagine ‘Save the Date’ cards with an engagement photo, or a ‘Thank You’ card with a picture of you using/wearing the gift. How about a birthday card with a picture of the birthday person celebrating a childhood birthday? Or next time you’re at a birthday party take some shots of the decorations or cake and use those pictures to make future birthday cards.


Here is how you can make your own greeting cards with photographs you have taken :
– Editing your photo : I use Photoshop to crop and brighten my pictures so the images print up crisply. But if you don’t have Photoshop, www.picmonkey.com is an excellent free program to use. Select the “Edit a Photo” option.
You will also want to add a black border around the picture so it looks more finished, and makes it way easier to cut the photo out. Use the “Frames” function within the “Edit a Photo” function on Picmonkey.
– Resizing your photo : You will need to resize your photo to fit your greeting card base, so that it at least 3/4 to an inch more narrow, in order to have a border of about 1/2 inch on each side. Picmonkey gives you the photo size in pixels, but here are a few conversions from pixels to approximate inches.
640 px x 427 px = 9 inches across by 6 inches down (too big for a greeting card)
360 px x 240 px = 5 inches across by 3 1/3 inches down (this is the size I made mine, to fit a 5 3/4 inch card base)
324 px x 216 px = 4 1/2 inches across by 3 inches down (would work for a standard note card sized at 5 1/4 inches across)
– Printing your image : I just use regular white paper and our regular inexpensive inkjet printer and am happy with the results. However if you want you can have your pictures printed up professionally. Try putting two images to a page to save paper or printing costs. If you’re going to make a lot of cards, consider printing up one good copy that you’re happy with and then duplicate this using a colour photocopier.
– Choosing your card base : I like to use pre-folded card stock that comes with a matching envelope, which I buy at the dollar store Dollarama ($1 for 5), but these are sold in any craft supply store. Or you can make your own by cutting heavy paper or card stock to size and then scoring using the point of a pair or scissors and a ruler. I make two score lines very close together (about 1/16th of an inch apart) as I find this makes a nicer fold.
– Creating your card : Note that the photo corners are just for show. The photo is first adhered to the card and then the photo corners are slipped on. I use thin two-sided tape to stick my images down, but glue stick or spray adhesive would work too. Just be sure to leave the corners free of glue so that you can then add the photo corners.
– Finishing the inside : For the cards I made today, I added a message that I printed up on paper, which I cut out and mounted on a colour coordinated piece of construction paper that I trimmed with some fancy edged scissors. (Note that Picmonkey has a function where you can add writing to an image in a choice of fonts, however I haven’t figured out how to use the writing part on a plain background).
Or you can finish the inside of your card nicely by adding a folded piece of nice paper, onto which you have hand written your message. I always write my message first and then glue it into the card after, in case I make a mistake. You can see what I mean about this inside paper part by looking here.


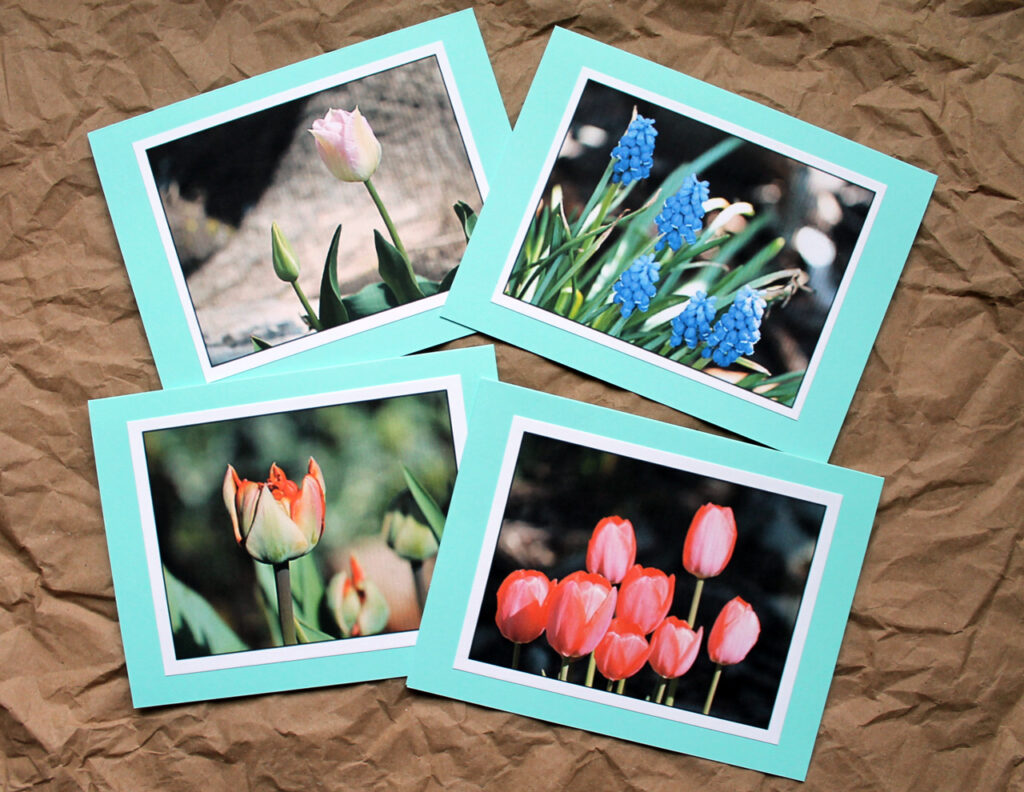
Moving on to the photos I have recently taken of the spring flowers that have blossomed in our garden. Last fall we planted some new-to-us varieties of tulips (including the big puffy red ones, the yellow ones, and the two purple-y and white ones.) The other tulips that bloomed were complete surprises, in that they were bulbs we planted years ago that haven’t blossomed for several seasons but this year they came up in their full glory.
Most of the pretty spring garden is now in ruins following a day filled with heavy hail falling, and frost overnight.
Not to imply that these are the world’s best flower shots, but if you would like, please feel free to use any of my images to make greeting cards yourself.
They are sized at 640 px wide so would be too large if you printed them up as is and would have to be resized first. I have already made a wide border around them so they’re ready to print once you resize them.
I only ask that if you use them that you don’t sell the cards you make, and consider adding a note to the back of the card that says that the photo was taken by Loulou at www.loulou.to (you don’t have to do that, but it would be appreciated).


I hope you try this out either with your own photos or one of mine!
Thank you very much for taking a look,
loulou