Making Origami Stars

I finally got our packages for the small people we love into the mail late yesterday. Since they were going to be packed in boxes and therefore any regular bows and ribbons would be crushed before the gifts made it under the tree, this year I wanted to try making some decorations that could be flattened and would still look pretty.
Using this tutorial for an 8 Pointed Star, I made these. This was my first attempt at origami and while I did find this project to be a bit of a challenge, I was able to make them. So what I am saying is that they are easy enough for a beginner.
I happened to have a package of coloured paper specifically intended for origami, (that I got years ago to use for something else), but you can do this with any paper. You start with a square that is 15cm x 15cm and your finished star will be 7.5cm, so whatever sized square you begin with, your star will be half the size.
Since I was planning to use mine to embellish Christmas gifts, I chose to use red paper, with the finished stars reminding me of poinsettias, and white paper, resulting in something that looked like a snowflake.


Note that I skipped the very last step in the tutorial, so that mine would lay flat. Also, I was such a newbie at origami that I didn’t know how to make the very first part, called an Origami Square Base, that they assume people already know, but I found some Youtube instructions here.
I hope you give these a try. They were fun to make and the satisfying feeling you will get from succeeding is worth it. Plus, you’ll have some pretty handmade decorations to put on gifts, that don’t mind being flattened in a box. Of course, they will also be nice to use on gifts you won’t be mailing, or for making garlands or ornaments for your tree.
Thanks for taking a look,
loulou
Related Subjects
gift-wrappingmaking-thingsorigami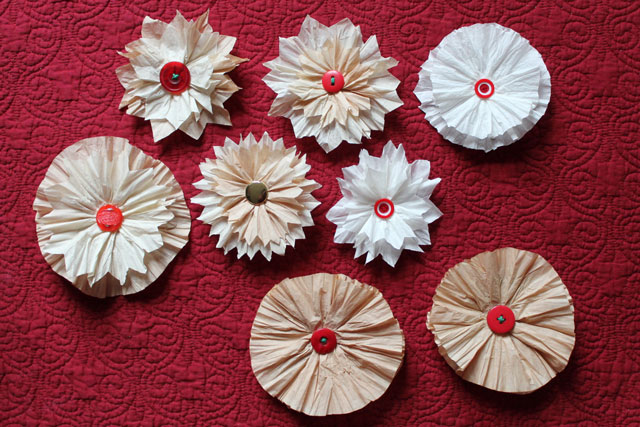 Making Gift Decorations with Coffee Filters
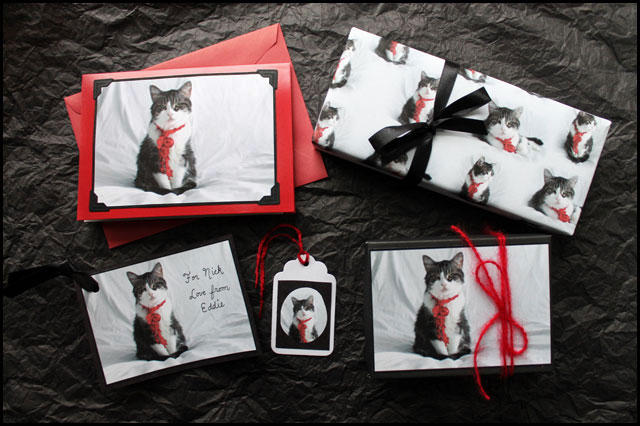 Making Gift Wrap and Cards with Photographs
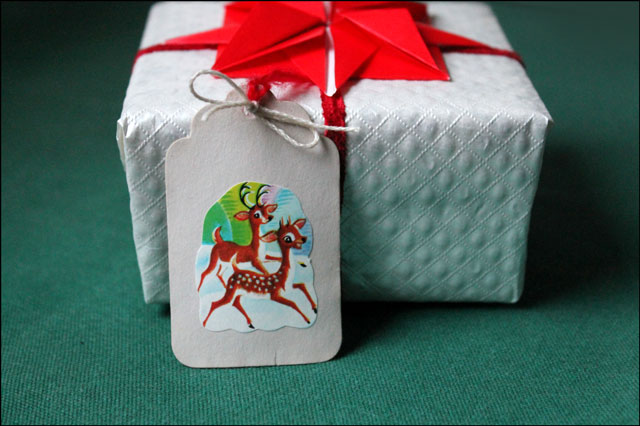 Handmade Gift Tags using Paper Aged with Tea
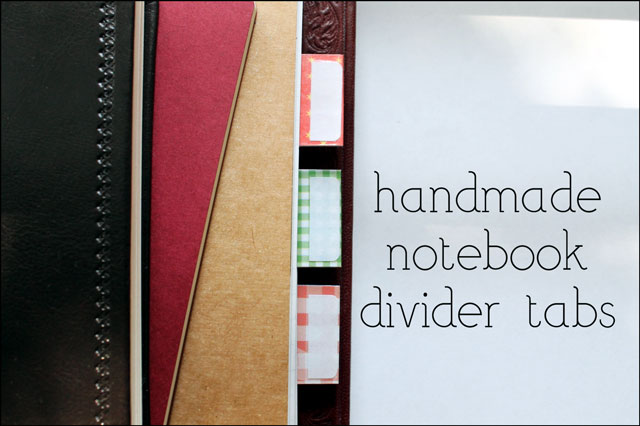 Handmade Notebook Divider Tabs
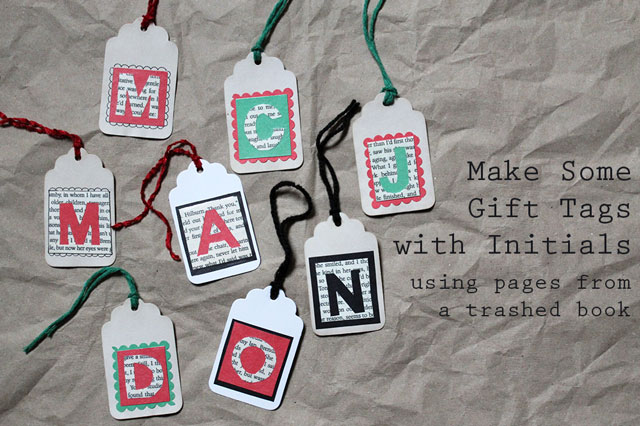 Making Initialed Gift Tags with Pages from a Trashed Book
 DIY : Coloured Feather Gift Decorations
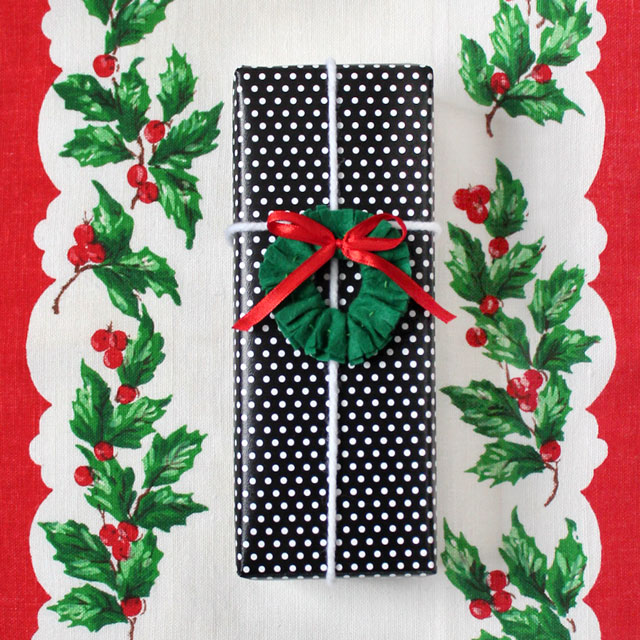 Christmas Gift Wrapping : How to Make a Tiny Wreath Gift Topper
 Little Origami Shirt : A Handmade Greeting Card for a Man
 Card Making : A Thank You Card with Cut Out Letters
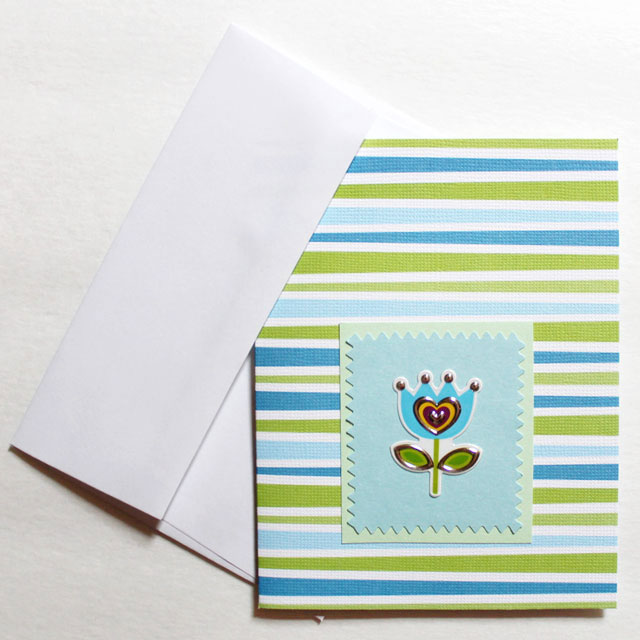 Quick and Easy Handmade Greeting Cards