


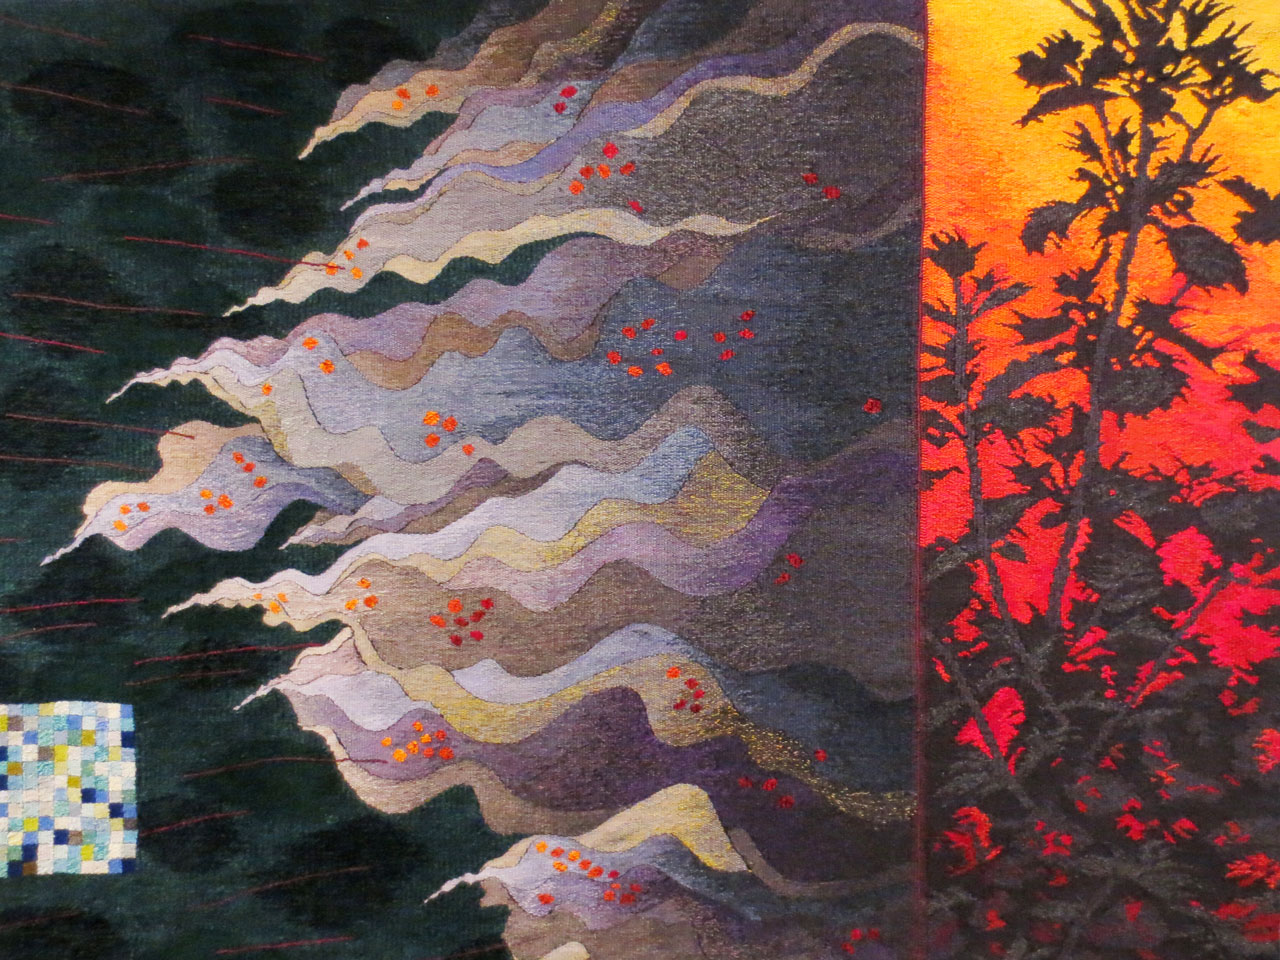
At the Textile Museum of Canada (in Toronto)

As would be expected of a city of its size, Toronto is home to several large museums and art galleries, that are wonderful when you have the time to look around and see everything. But, what may be lesser known about this town is that there are also a lot of smaller places, located throughout the downtown area, where you can see good art. A walk around any neighbourhood, will take you by at least one studio or smaller gallery, where the public is welcome to take a look. These usually feature regularly changing displays, so, unless you'd researched it in advance, you never know what you'll get, making stepping into one a very fun and interesting thing to do.
My friend Julie and I visited one such place last week - The Textile Museum of Canada.
As an added bonus, our admission was covered by the "Museum + Arts Pass" program offered by the Toronto Public Library! Any adult with a library card can go online and reserve a place at a variety of city attractions, some large (eg. AGO, ROM) and smaller (eg. Beta Shoe Museum, The Textile Museum). Using the program, card holders can go to each of the attractions once per calendar year, for free admission for themselves, another adult and up to four children. Click the link above to see all the places you can go.
I had used this in the past but at that time, it involved going to your library branch and picking up an actual paper pass. There were a limited number per branch per week, and it was first come, first served, so you didn't always get lucky. Now, everything is conveniently done online. You can either download your pass or show it on your phone. I, for one, plan to get out more this summer! It's the perfect way to treat a friend.
A Handmade Little Felt Rabbit
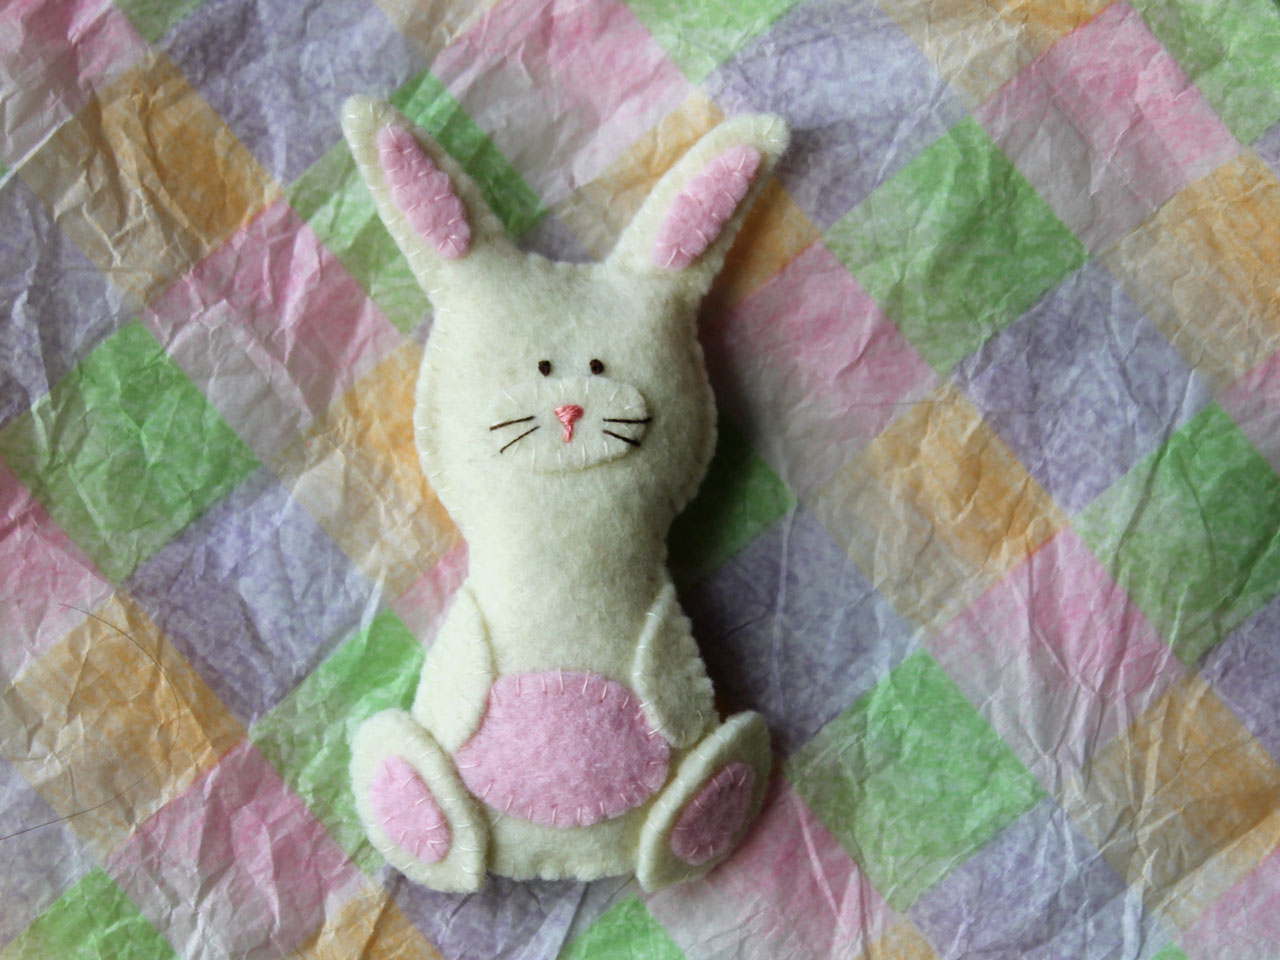
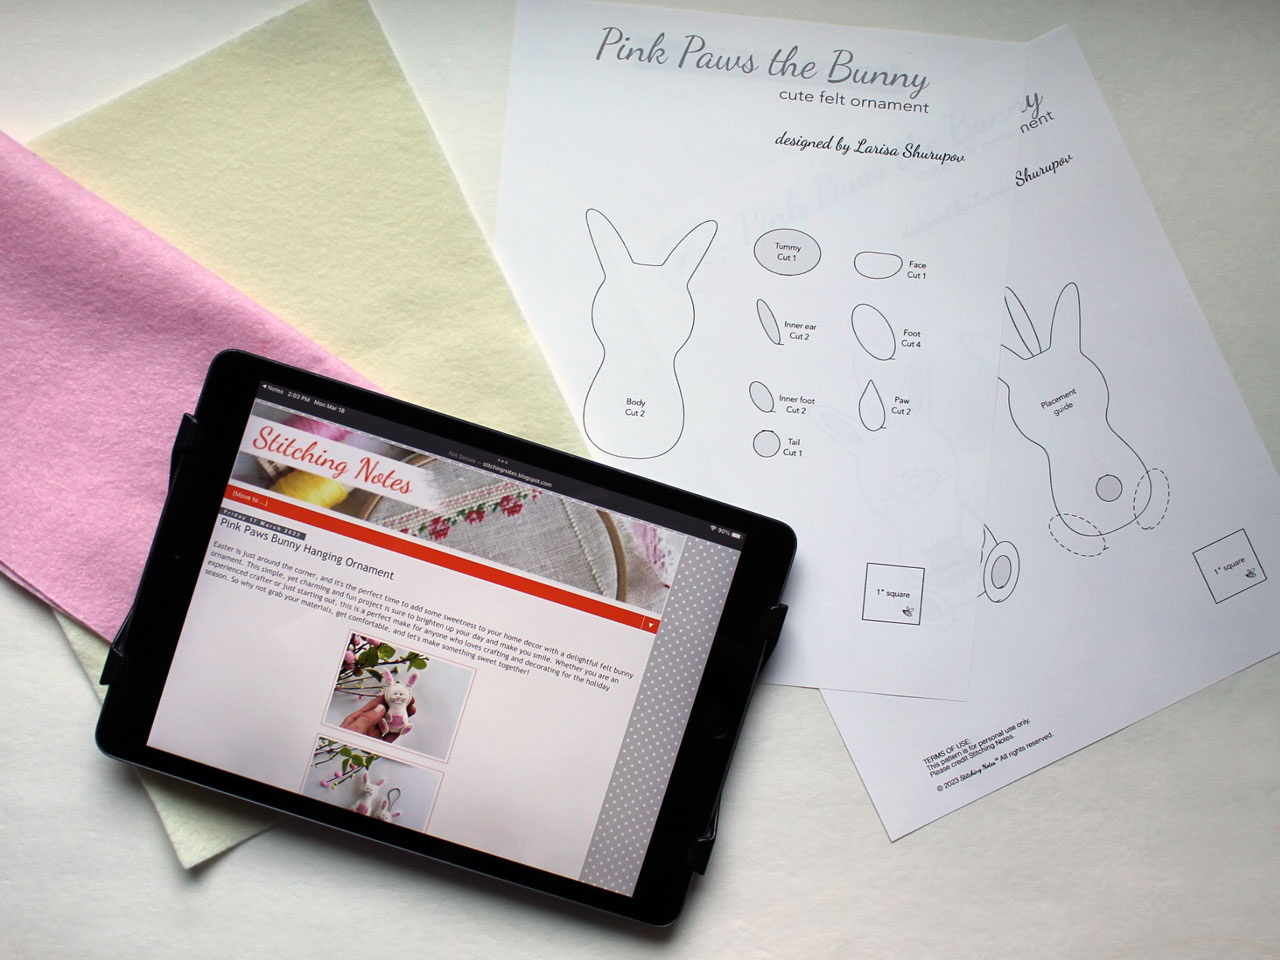
Hi! I love hand-stitching felt so this cute bunny figure was a fun thing to make. I followed this free pattern called "Pink Paws the Bunny", created by Larisa and posted on her beautiful blog "Stitching Notes".
She has a lot of good stitching information and patterns that you'll enjoy if you, too, like to hand-stitch. She can also be found on Instagram, here.
I printed up the pattern, although, in hindsight, I really only needed to print the first page which included the pattern pieces. The second pages illustrates where each piece is to go, but you will also see that while following the written instructions on the blog post.
As you can see, it's quite small, and meant to have a cord attached to hang it as an ornament. While I really like the tiny size, next time I will try enlarging the pattern before printing to make a bigger one.
It reminds me of this felt cat that I made nearly ten years ago, that I still really enjoy putting out at Halloween. So, like the cat, this rabbit will be in my life for a very long time. It will be fun to pull out at Easter / Springtime every year.
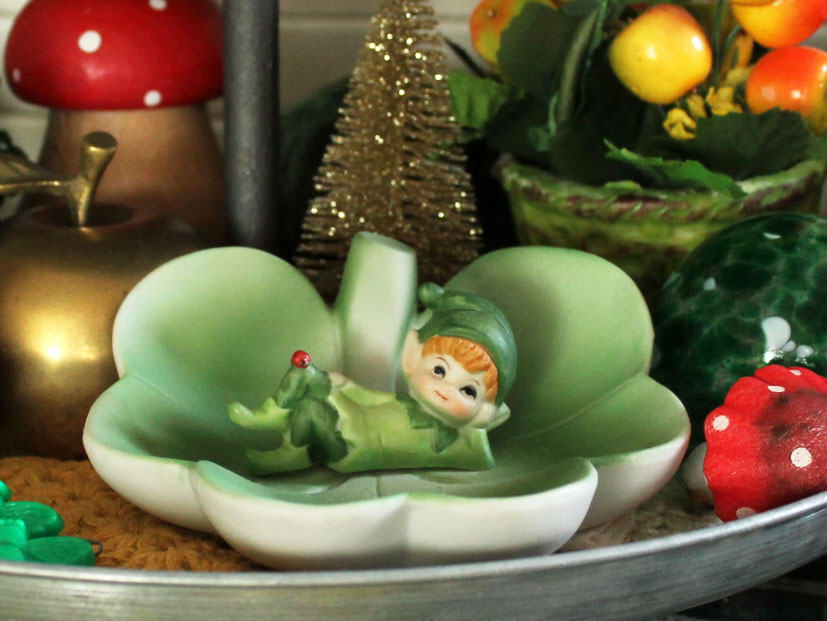
Happy St. Patrick’s Day : How I Decorated
Green greetings to you, my online friends!
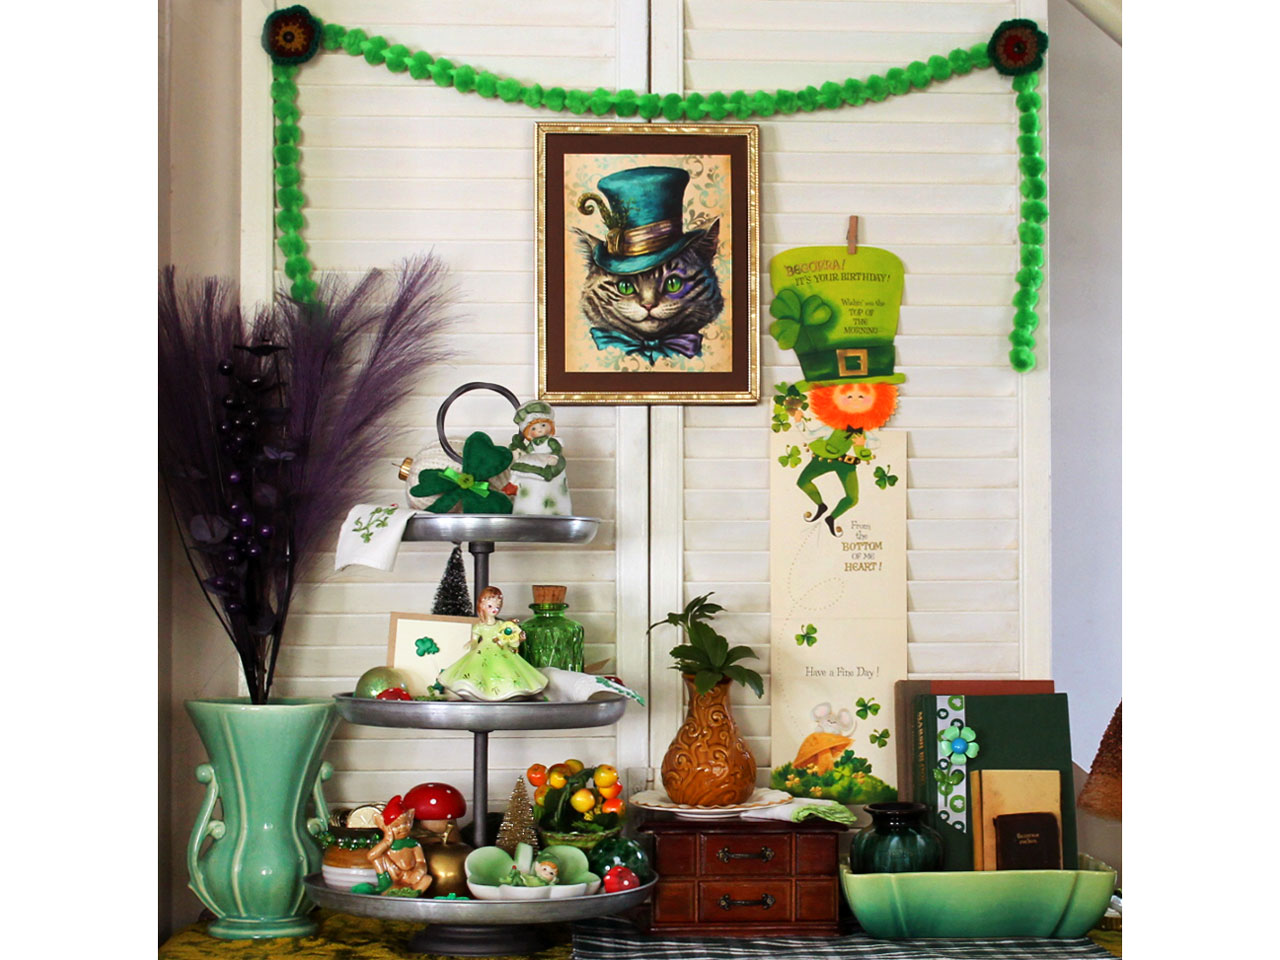
In an ongoing pursuit to surround Nick and myself in a joyous environment, I set up a little area filled with cuteness in our living room, in honour of St. Patrick's Day. The honest truth -- it's been set up for a couple of weeks and I had to point it out to him today. He hadn't really noticed it. haha. I'm not surprised. He said that, while he truly appreciates that this kind of thing brings me happiness, his only real engagement with the various seasonal decorating I do is nervousness about accidentally knocking something over and breaking it. I've assured him that if anything ever gets broken he will not be blamed one tiny bit. I might cry my eyes out on the inside, but I will never get mad. I put these things out at my own risk, and while I have a right to do it, so does he have the right to move freely around his home without worrying about breaking a figurine! That is wisdom gleaned from nearly 25 years in a happy marital home!
But, while he couldn't give a hoot, I thought you might enjoy seeing it! If you follow along on Instagram (Loulou Vintage Home) you will already have seen these photos, but I don't get the impression there is much cross-over, so here are the shots for you. I very much appreciate having you here and wish you a happy day.
Keith Haring : Art is for Everybody, at the AGO Toronto
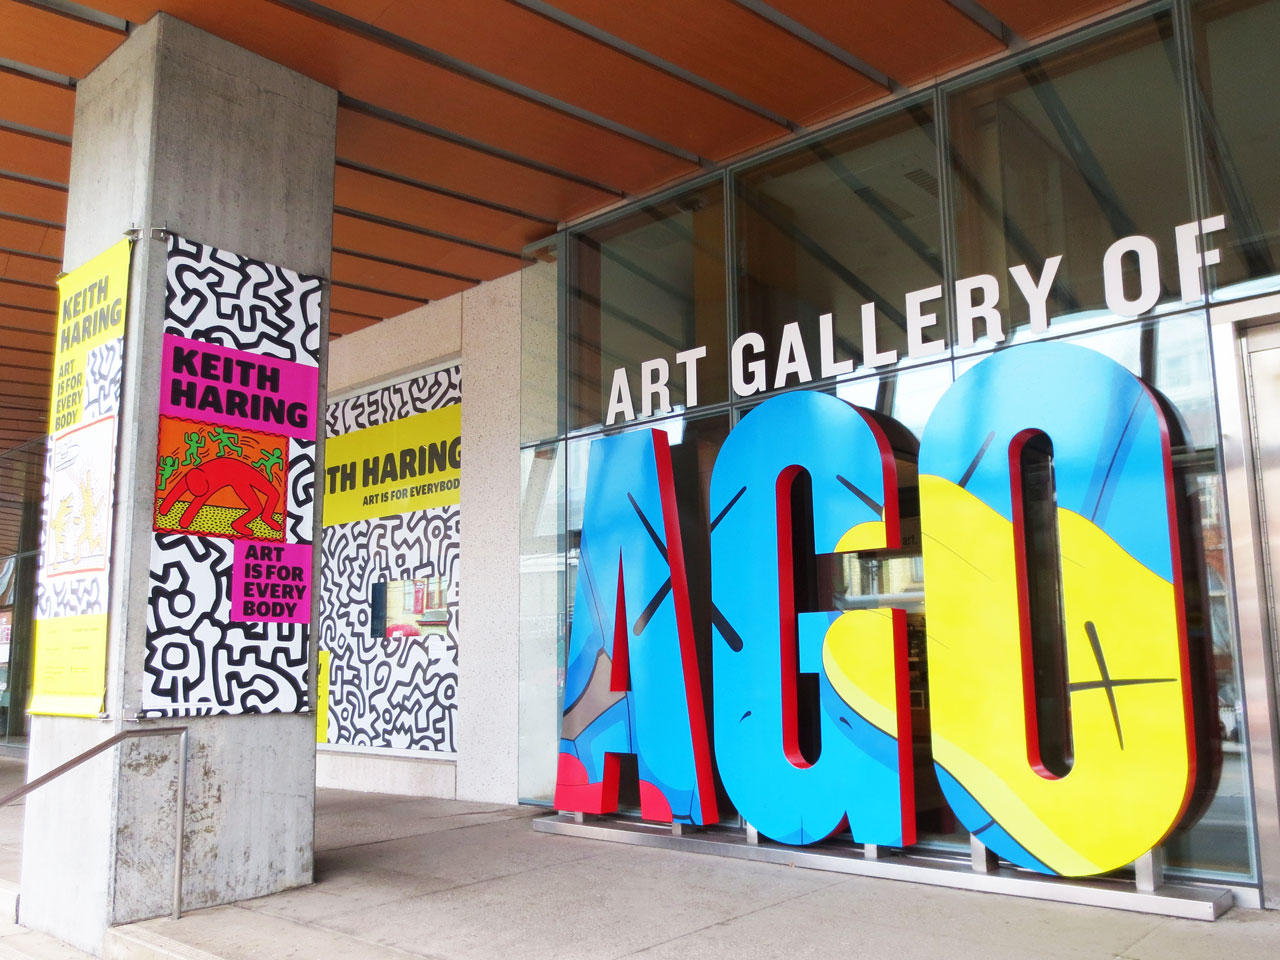
I saw the Keith Haring show at the AGO recently, with my friend Julie.
This is the only Canadian stop for this touring exhibition. It is on until March 17, 2024. Details can be found on their site, here. It’s so good.
Vintage Barbie Dolls Get Dressed Up for Valentine’s Day

Hello! If you celebrated Valentine's Day yesterday, I hope you had a good time.
The Barbie doll gang had fun getting all dressed up and going to a special concert, performed by their friend Barbie herself.


