


Monday, 12 December 2011
The Bathurst Street Bridge in Toronto

Saturday, 10 December 2011
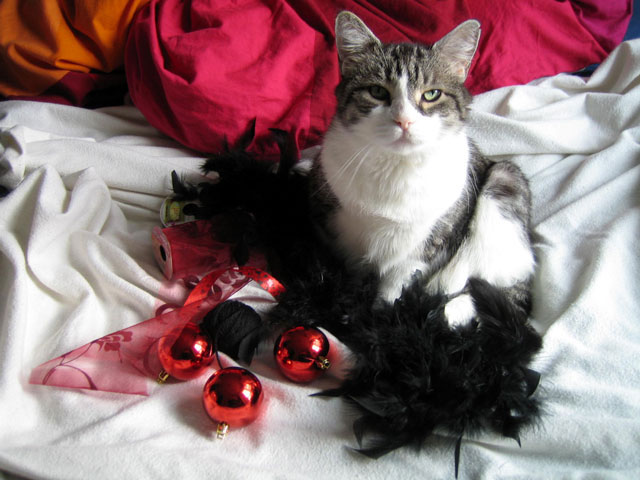
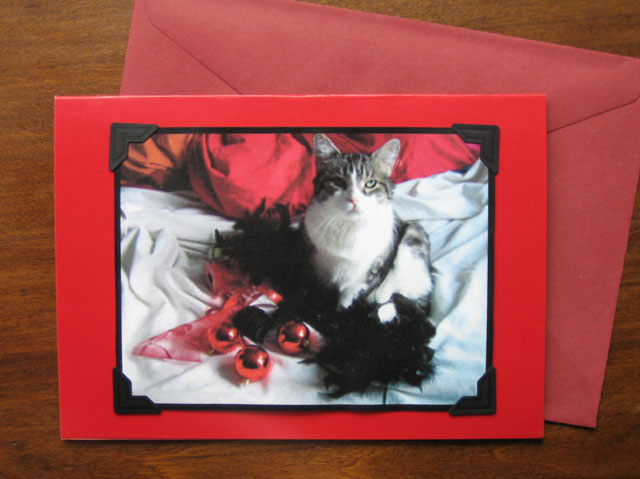
Eddie the Boudoir Cat Gets Carded : Greeting Card DIY
Friday, 9 December 2011
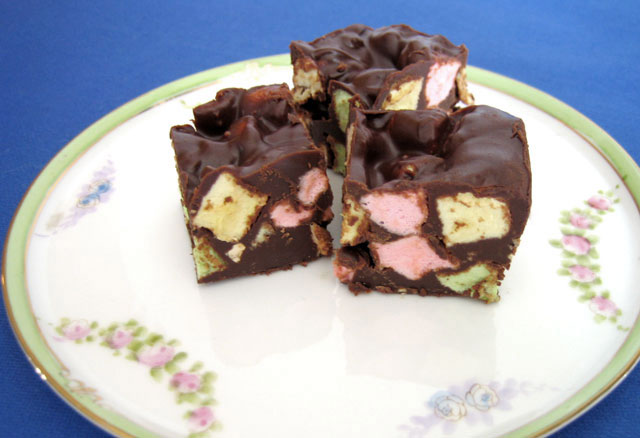
Chocolate Peanut Butter Marshmallow Squares
Using only four ingredients, these Chocolate Peanut Butter Marshmallow Squares might be considered children's food, and they are, in fact, so easy to make that even a kid could do it with supervision. No matter who makes them, they’re delicious and everyone seems to love them.
Thursday, 8 December 2011
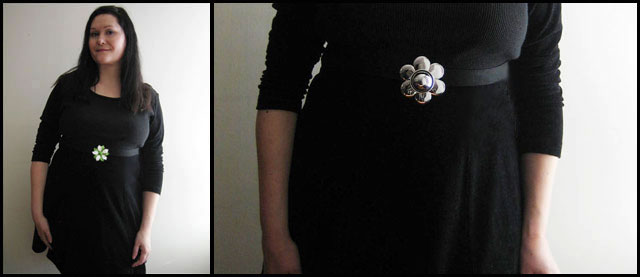
Brooching the Subject : DIY

I have ended up with quite a collection of brooches that I love, but rarely wear these days, except pinned to hats in the summertime. I used to wear brooches but stopped after finding holes and small tears in my clothing from the pins. So I came up with a way to use them with zero damage to my clothing. It was a simple solution that I have used quite a few times now, allowing me to make a plain dress prettier, and better fitting at the same time.
What I did was make an elastic belt with snaps that I wear over my dress or top, and then I attach the pin to that. In today's demonstration I'm doing black on black, making a very plain cotton velvet and waffle dress a little more dressed up, however I have worn the black band with a contrasting coloured dress too, and it looks very nice. The one I'm wearing is narrow, and made to wear with empire-waist dresses, but I plan to make a wider one soon, and try wearing it lower down. This handy little accessory is so simple that you can whip one up in 20 minutes.
Wednesday, 7 December 2011
Sending Love Across the Miles
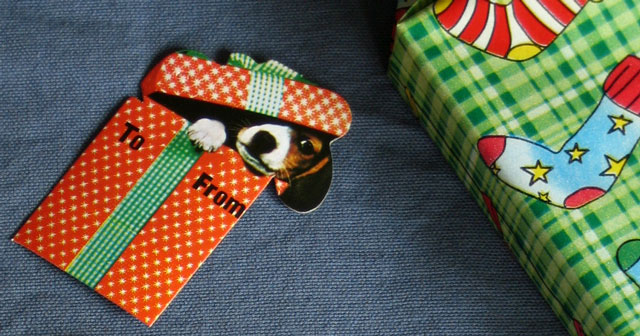
The small children in our lives live a very long way from us, so today we got our gifts for them into the mail. Getting the things ready to send to them is usually the first Christmas related thing we do (though this year I began the season by making a wreath and hanging it on our door.)
I like to imagine how the young ones will feel when they see the packages, and try to make them look as fun as I can, though most ribbons and bows are out of the question as they would get totally crushed before they arrived under their trees. And since these packages are for children, I don't part with any really precious bits from my vintage paper collection, knowing that they're not old enough yet to appreciate the rarity of having a gift sealed with a vintage sticker or tag. That's not to say that my wrapping for them this year is not special though because the tags I used are ones that can never be bought again because they were dusty old stock in a dusty old shop that was in this neighbourhood for years but that has since moved along due to sky-rocketing rents in the area. Also to further fancy things up this year I included a plush ornament for each of them too.


